


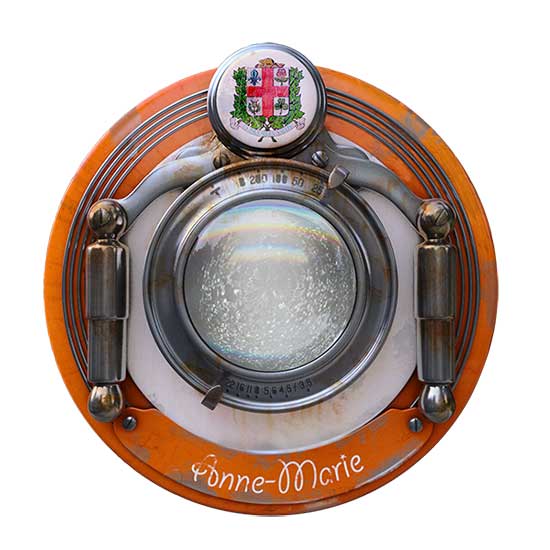
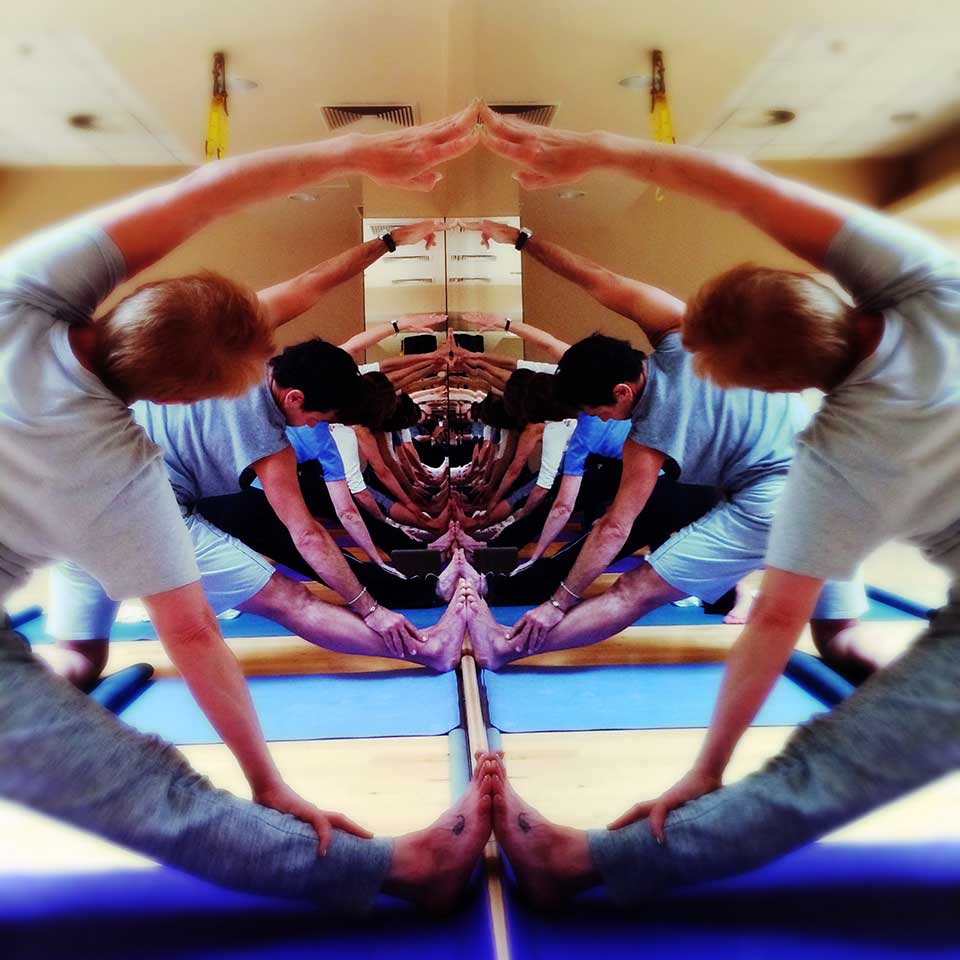
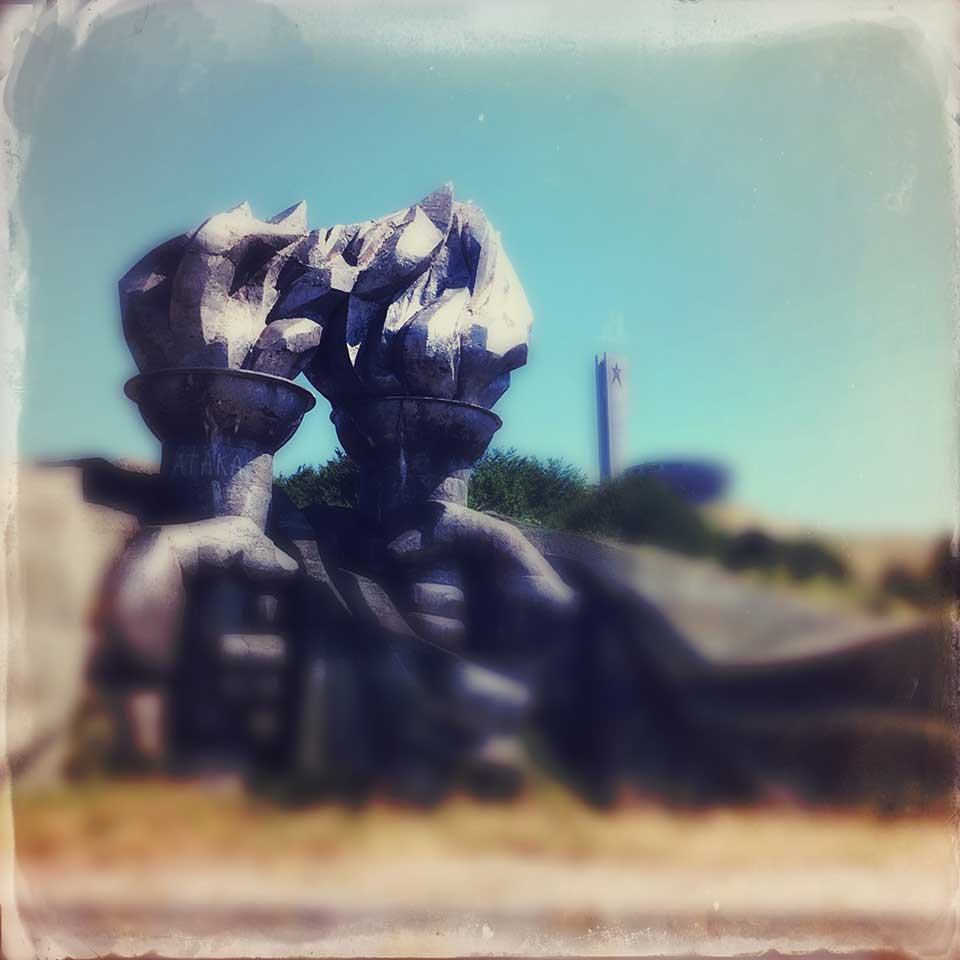
 The Montreal HipstaPak was released last Friday and includes a film, Mount Royal and a lens, Anne-Marie and one of its characteristics is a blurry effect. This is the perfect opportunity to take a closer look at one of the many functions in the Editing Suite: depth of field.
In "traditional" photography, 'depth of field' determines how much of the photograph is in focus and how gradual the transition between "focused" and "out of focus" is. The distance between the camera and the subject, the aperture and the focal length, work together to change the depth of field. A wide depth of field, which gives a gradual softening of focus, will appear more natural, with the subject becoming more incorporated into the environment. A shallow depth of field, gives a more dramatic change of focus, isolating the subject from the surroundings. A shallow depth of field is often used in portraiture, for example, to emphasise the subject from the background.
A practical example would be, for example: a friend is posing in front of the Golden Gate Bridge. A wide depth of field will result in the subject and the background being in focus; a shallow depth of field will render your friend in focus but the bridge will be blurry.
All of the above is, of course, theory related to traditional photography and, obviously, Hipstamatic works a little differently! The depth of field effect has been reproduced with lenses such as Tinto 1884, Americana, Loftus or Sergio. And from now on, also with Anne-Marie.
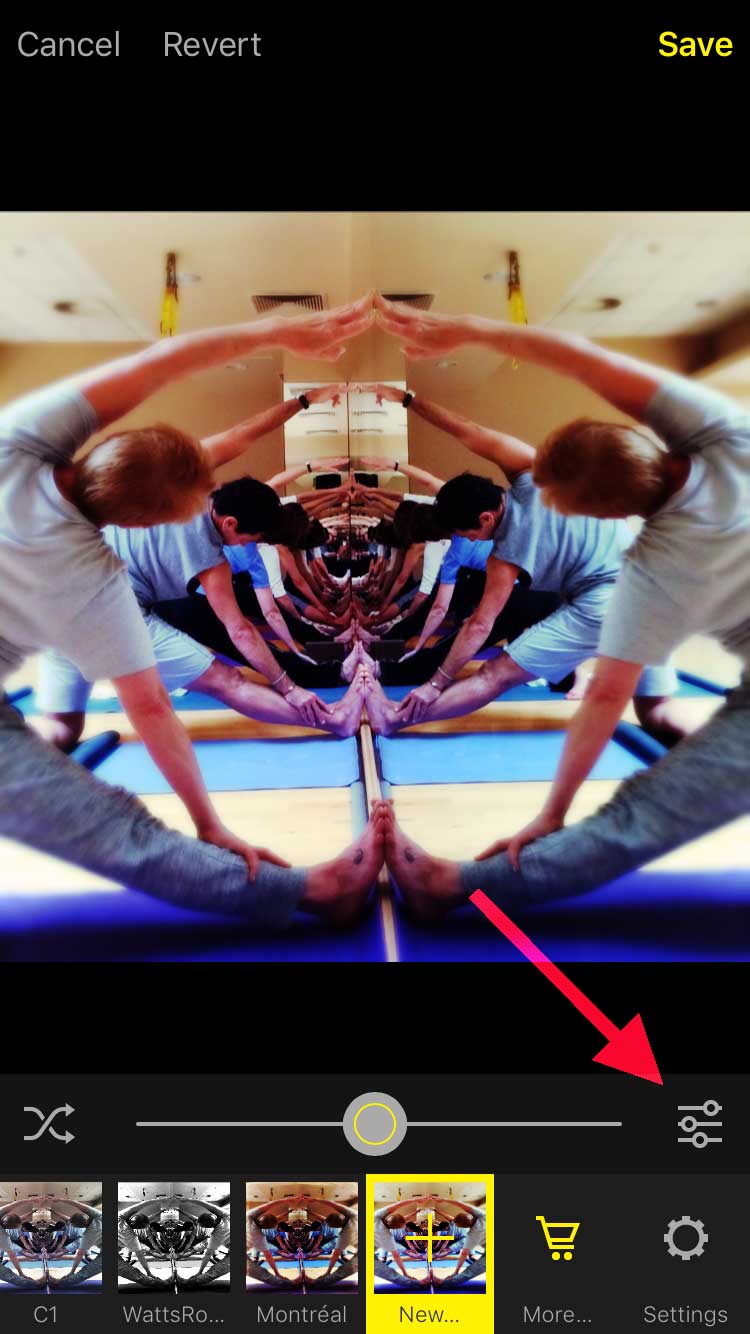
Some like the blurry effect, others don’t: it’s a question of personal taste, but thanks to the new 300-functions, you can actually adjust the blur yourself. You can add the effect to whichever lens or eliminate it altogether, if you so choose.
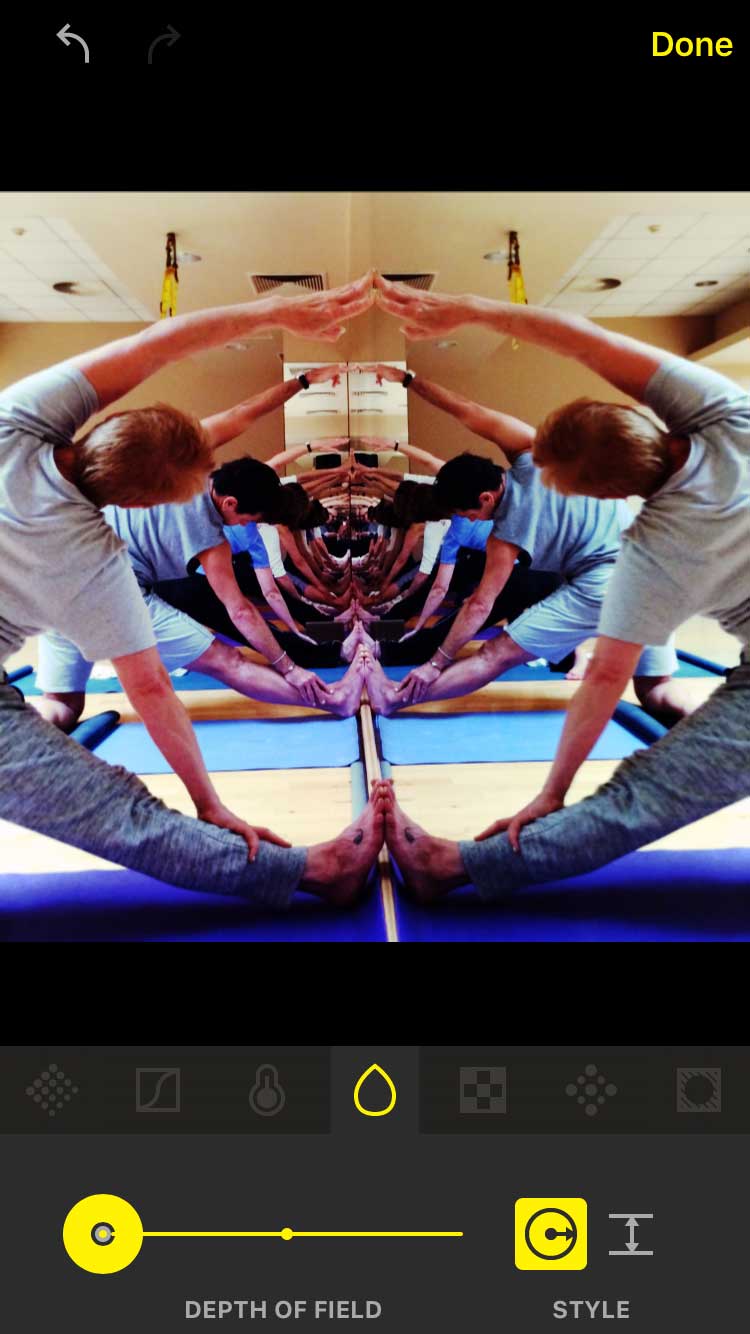
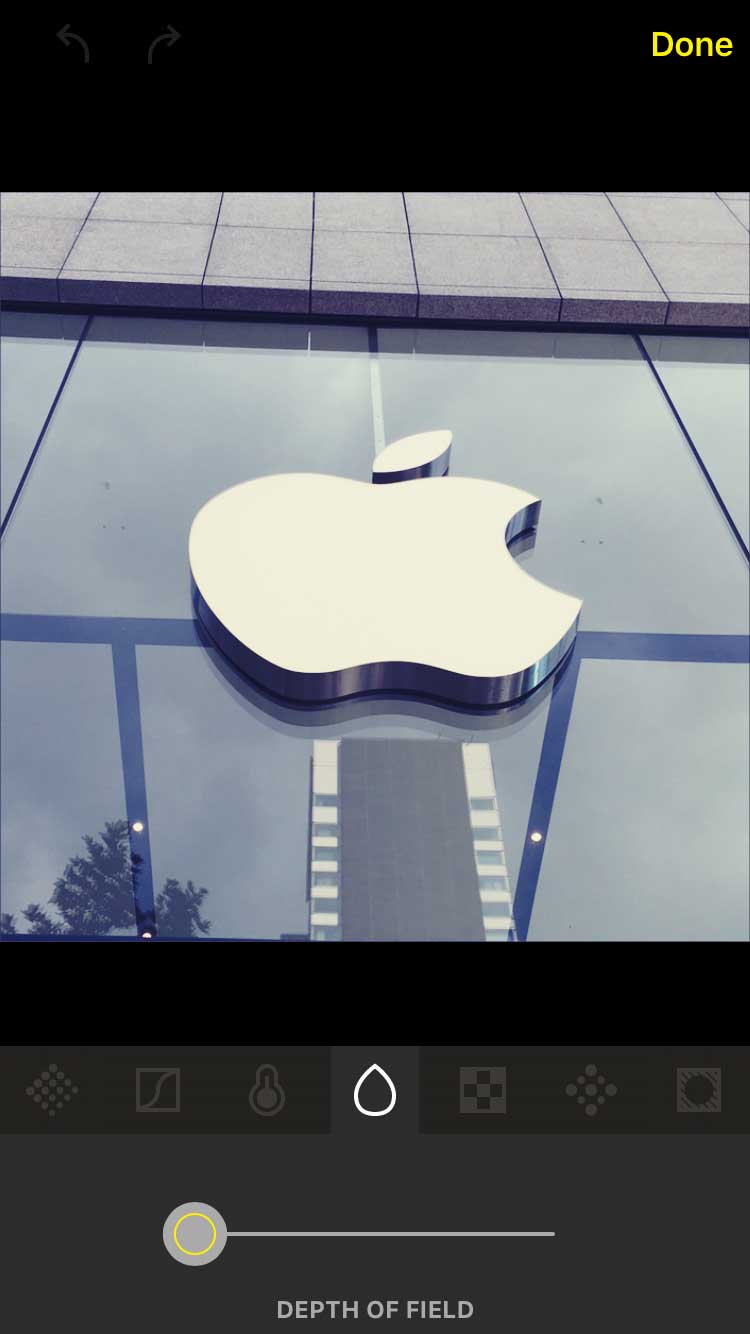
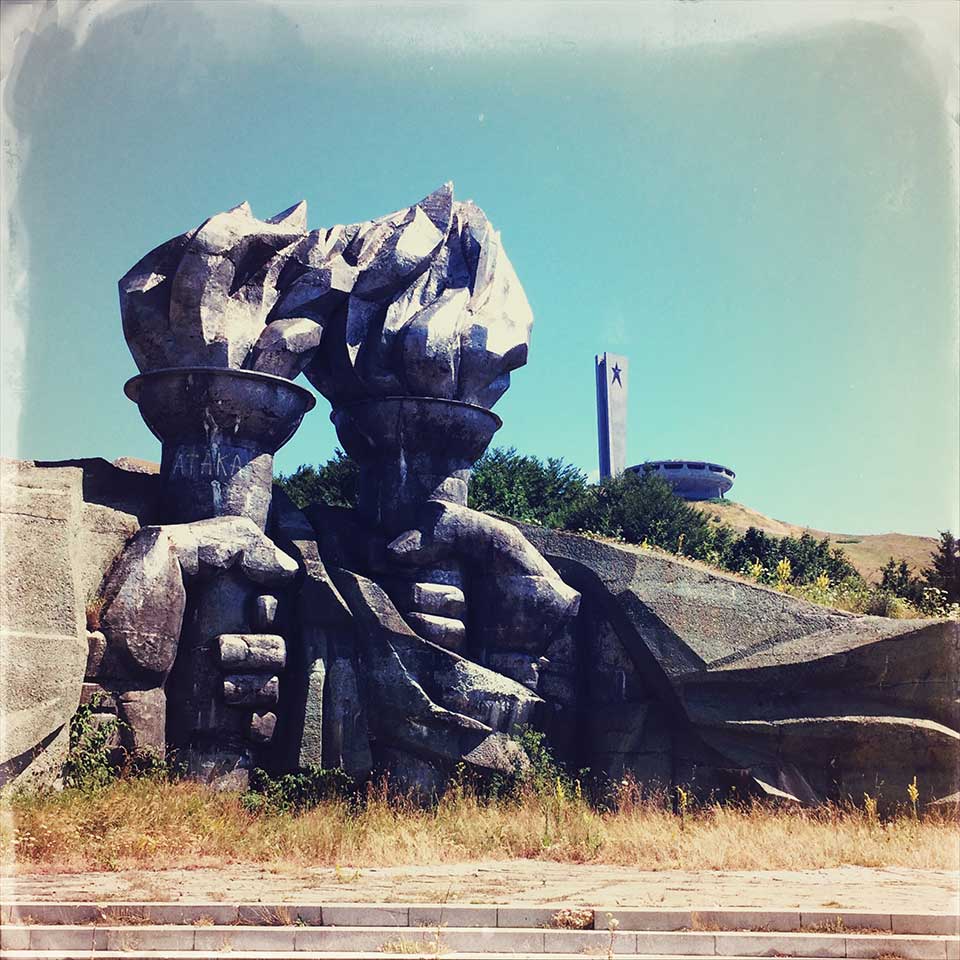
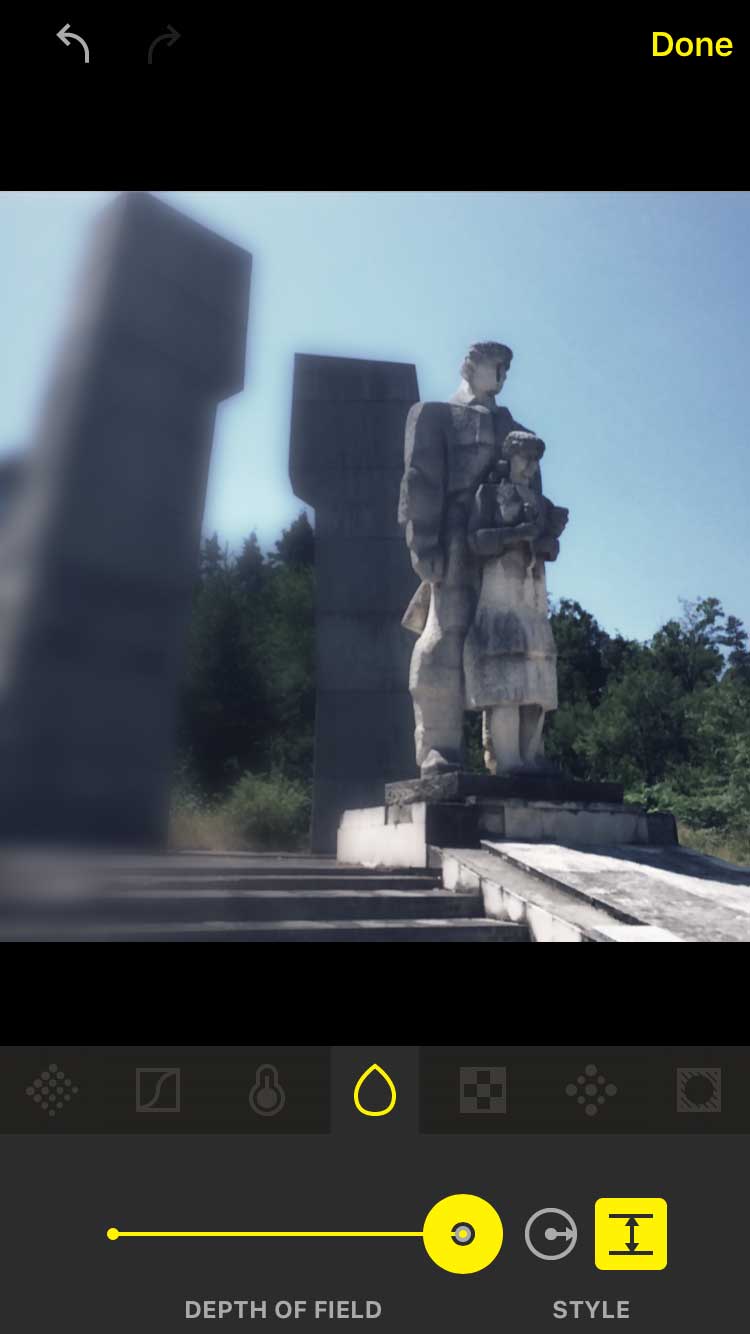
First case scenario: you don’t like the blur. Let’s take Anne-Marie as an example: this lens slightly enhances the exposure, and saturates the rich tones but, unfortunately, also adds a blur, which we’re assuming you don’t like. In the Editing Suite, you select the "Depth of Field"-function; you slide the cursor to the left and hey presto, the effect has almost disappeared. This way you can hold on to all the other characteristics of the lens without the disturbing element. The same applies for Americana, and Loftus; however, this technique seems to have no effect on Tinto 1884 or Sergio.
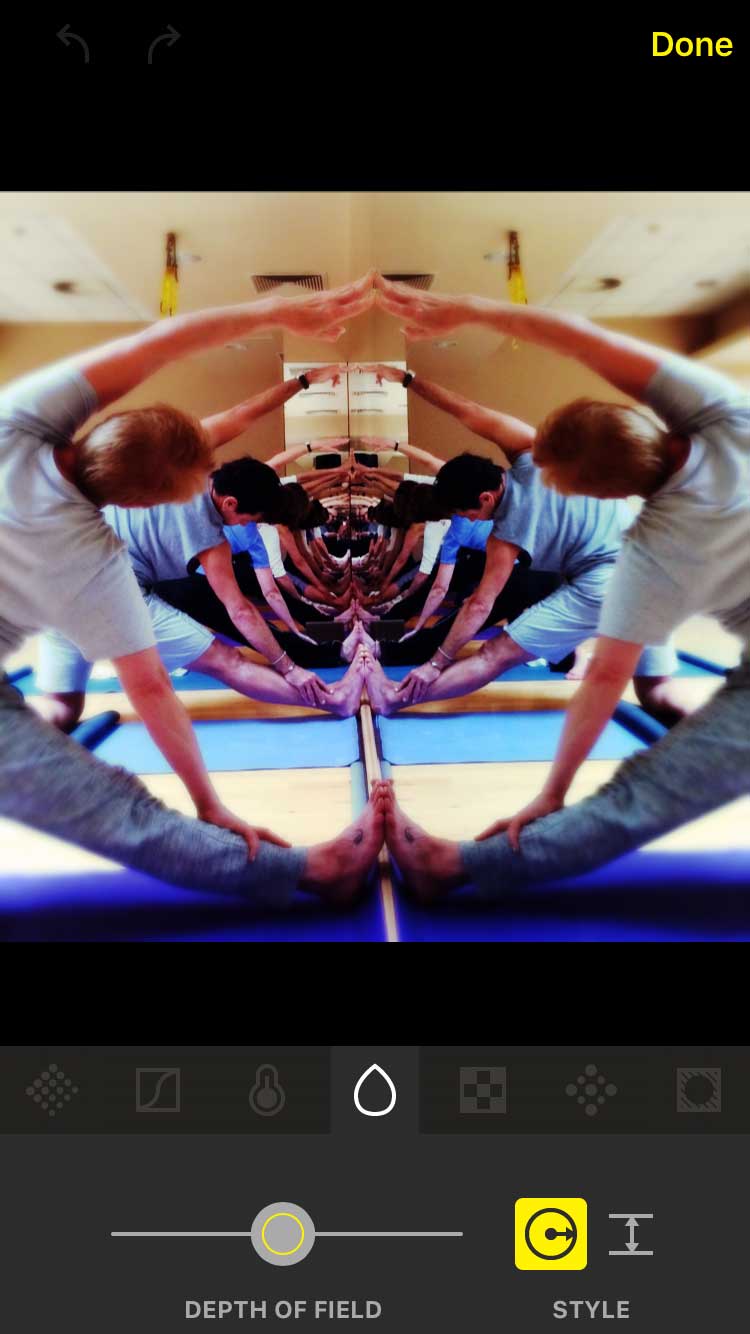
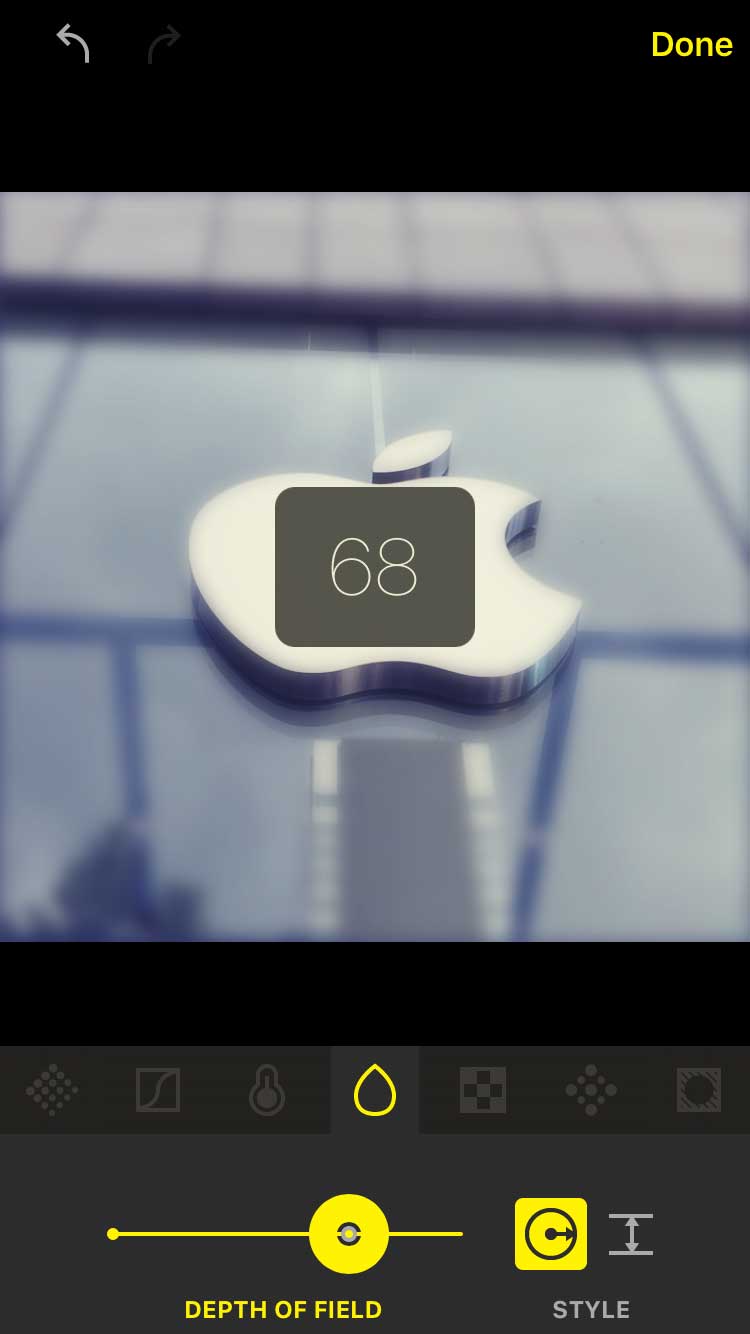
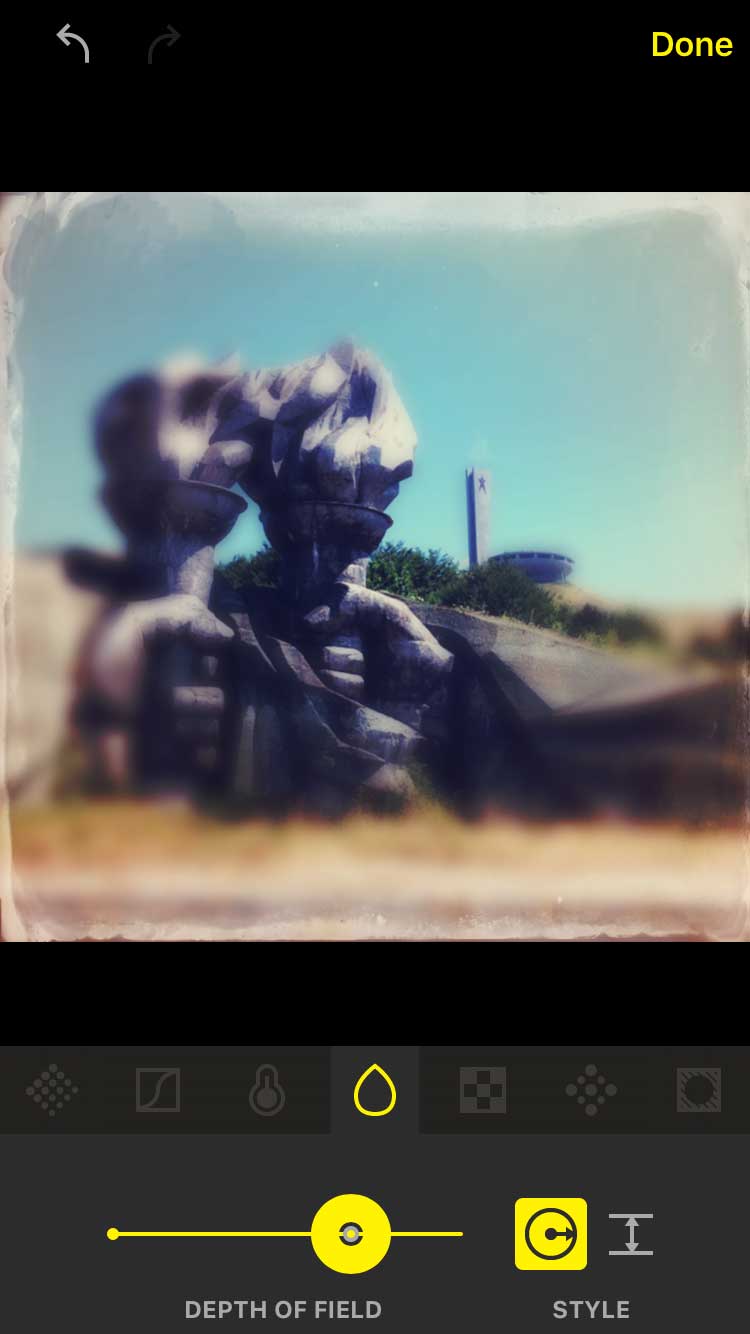
Now, if you do like the blurry effect, you can add it to whichever lens you want. You can change the parameters that determine the intensity of the blur (from 0 to 100), as well as its style: circular or linear.
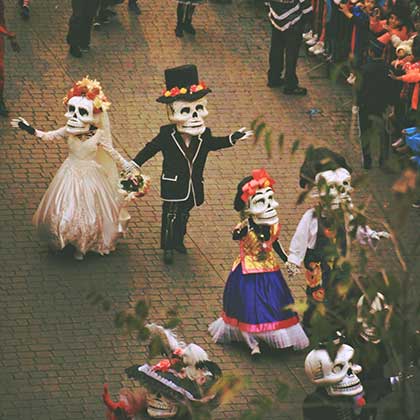
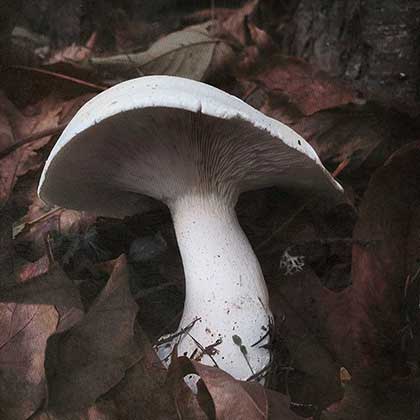
For this example, I’ve chosen Helga Viking. I’d like to highlight the logo and lessen the other details of the picture. By sliding the curser to the right, I can emphasize the blur; here, I’ve chosen the circular effect.


You can also move the effect around, if your subject isn’t perfectly centered or if you want to highlight a particular part of the picture. All you need to do is place your finger on the screen and move it to indicate where you want the effect to be most prominent.
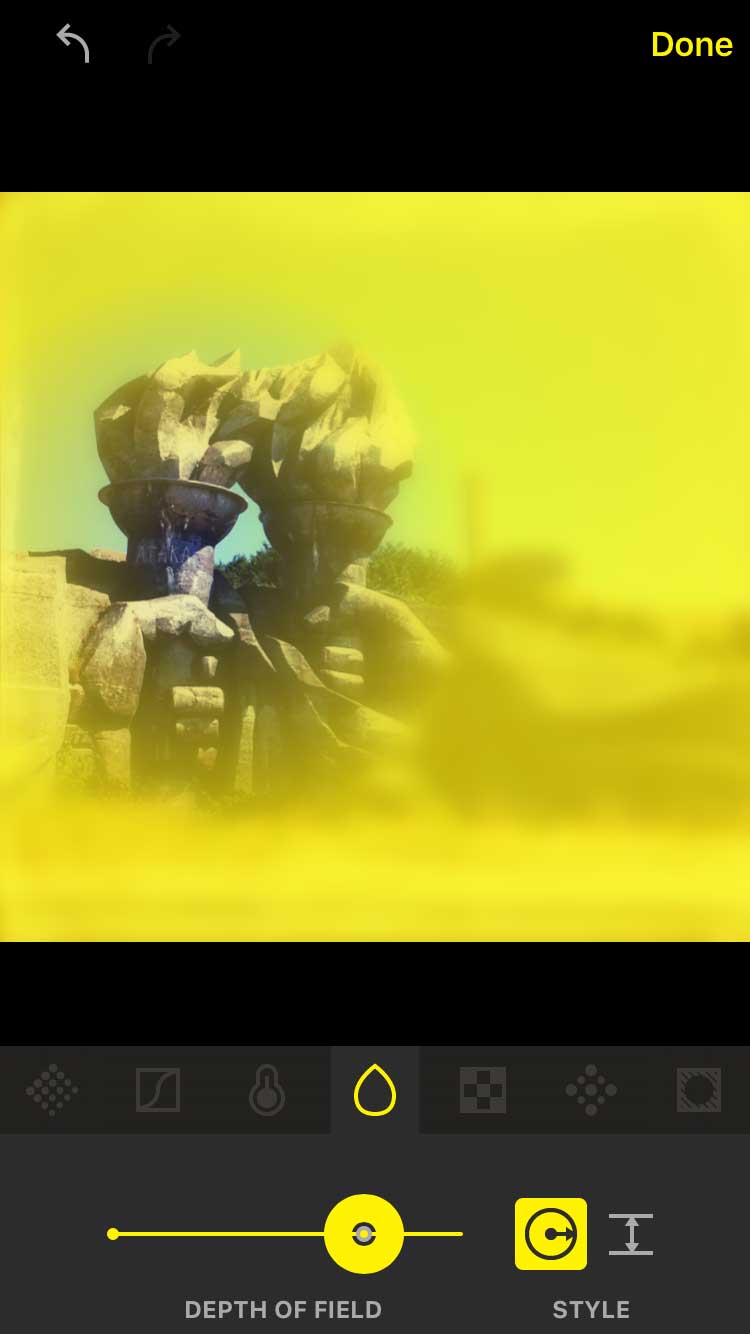

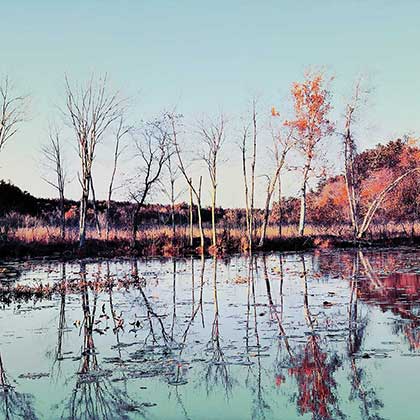
You can do this in a linear fashion too… whatever takes your fancy!


This post is also available in: French


Lens: Doris Film: Saloon 1867 Flash: Apollo Clarity: 68...
Lens: Jane (42%) Film: Telegraph Flash: Laser Lemon Gel...
Lens: Lowy Film: Blackeys Extra Fine "People Game" Adelino...
Lens: Tejas Film: Cano Cafenol Flash: Cherry Shine "In...
Lens: Kutako (60%) Film: Etosha 1907 (100%) Flash: Cadet...

To celebrate the end of year in beauty, Hipstamatic...


This complete overhaul of the application has been the...

Changes were made in the way iOS8 takes and...

3 Comments