
Decoding Multiple Exposure by Polina Sarri
Double Exposure is a creative procedure that involves a certain amount of thought before you shoot, as well as an ability of prediction, along with creativity and imagination. When I first started using the Multiple Exposure feature on Hipstamatic, it produced quite a few "failures" regarding the final image, mainly due to light and contrast misuse. But after a number of experiments I realized how it all works and how to combine two images successfully into one.
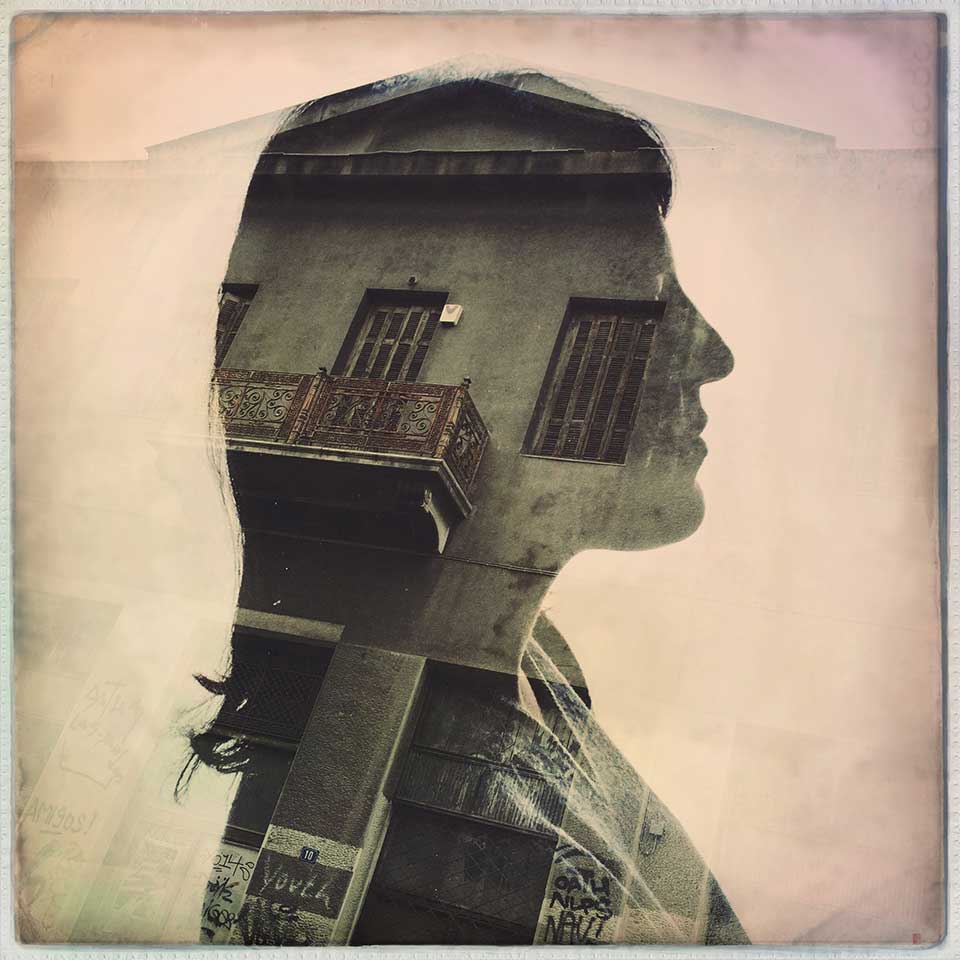
Regarding my "Urban People" series, each photo actually consisted of two layers.
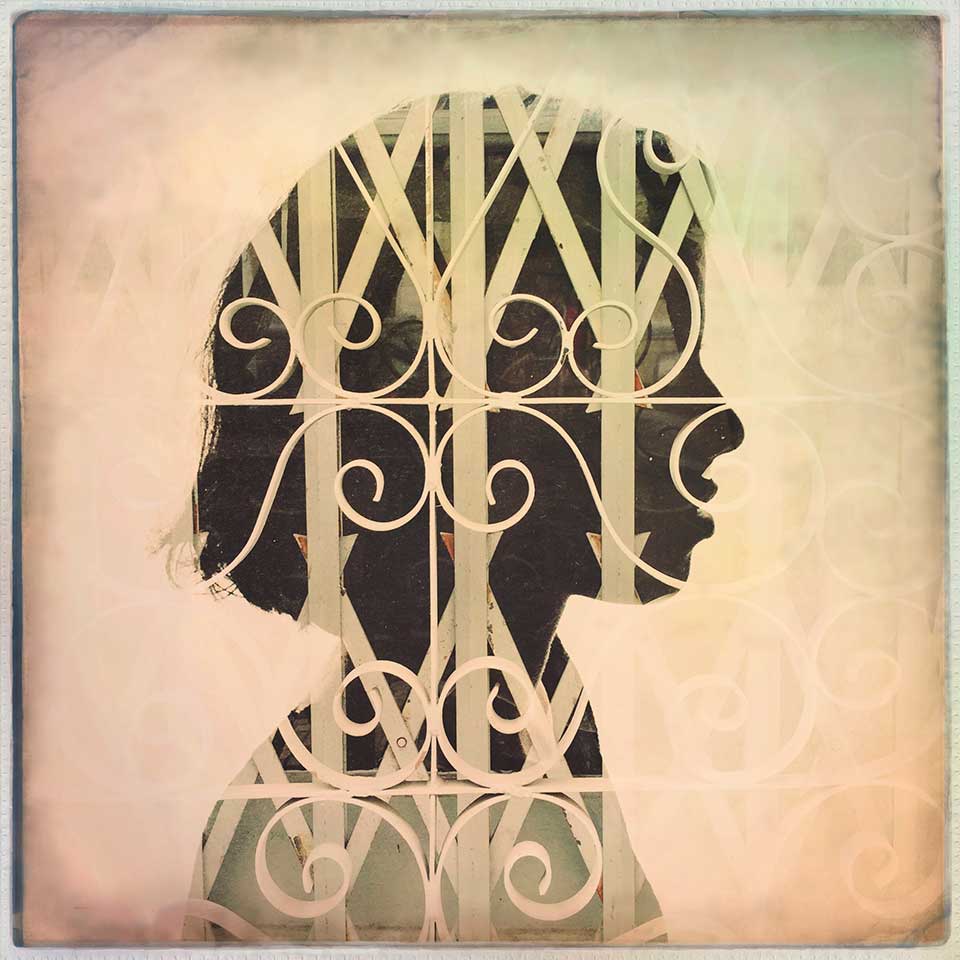

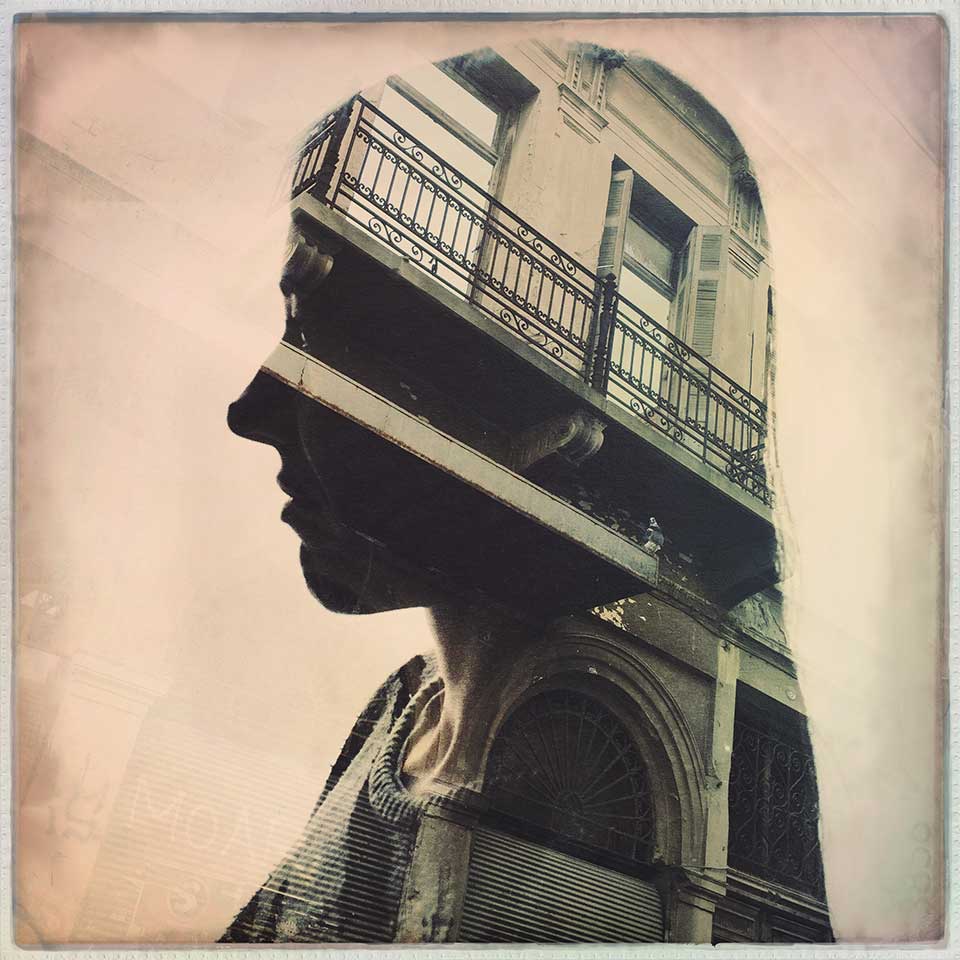
The first layer was the photo of the person: a profile shot against a backlit window with a white curtain, so as not to have any distractions in the background. It is important that your subject is really dark with just a little detail in the facial features.
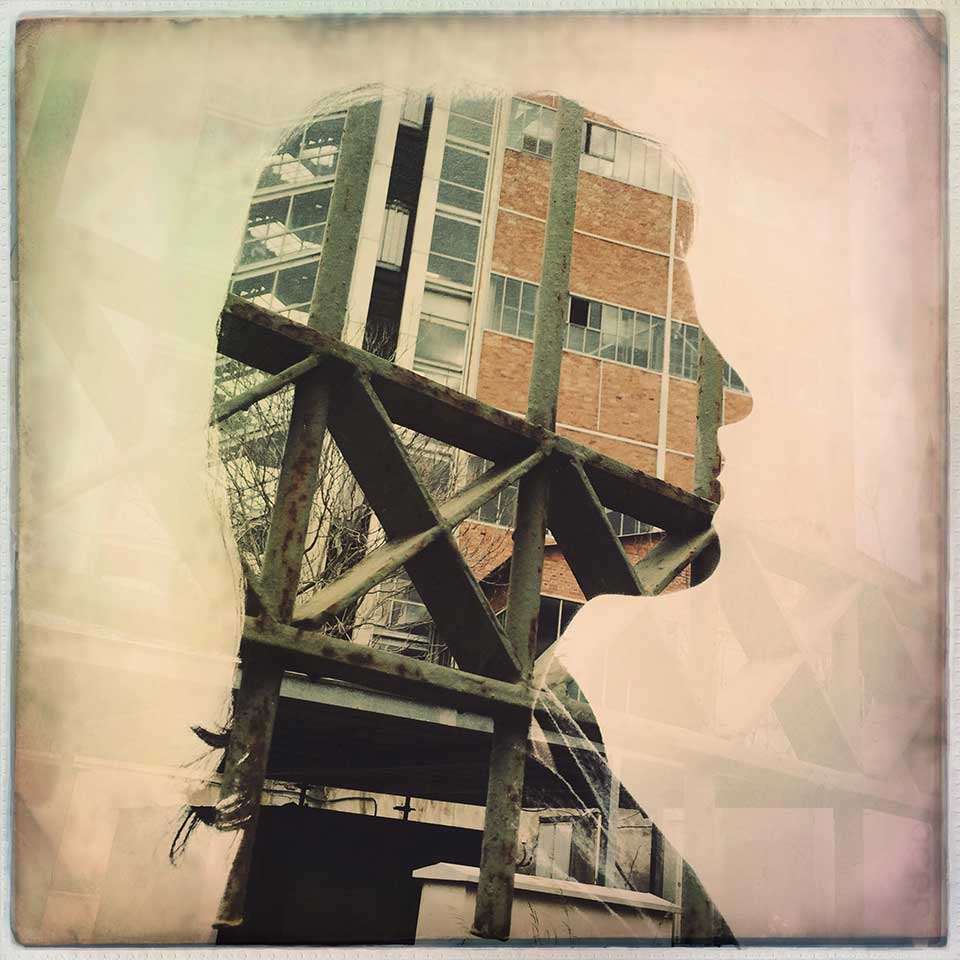
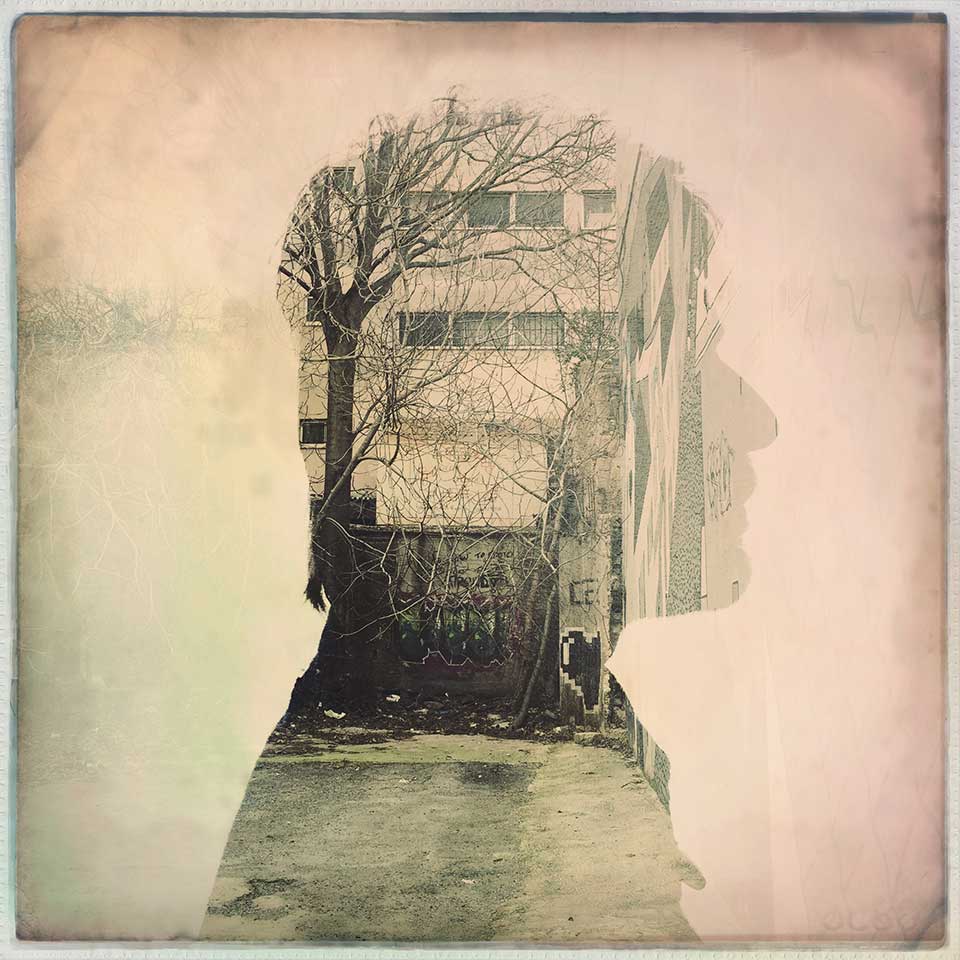
The second layer was shot pointing at an architectural scene; the dark buildings resulting in portraits with more contrast.
The key is to remember that white areas act as masks and don’t let the image of the second layer appear in the final photo, while the black or dark areas reveal what is captured in the second layer. It is also essential to bare in mind that the position of the subject/object within the frame, from layer to layer, is important in order to best control the final result.
Of course, despite all these precautions, there is always room for a degree of randomness, but that, after all, is the beauty of this technique. It is definitely worthwhile, so go and have some fun with it... I sure did.
Polina Sarri
This post is also available in: French


5 Comments