
Hipstamatic 320: Settings (Part 1)
Huge changes as far as the settings are concerned! The Settings have been removed from the "Settings"-app in your iPhone and are now all available in-app, in one unified location.
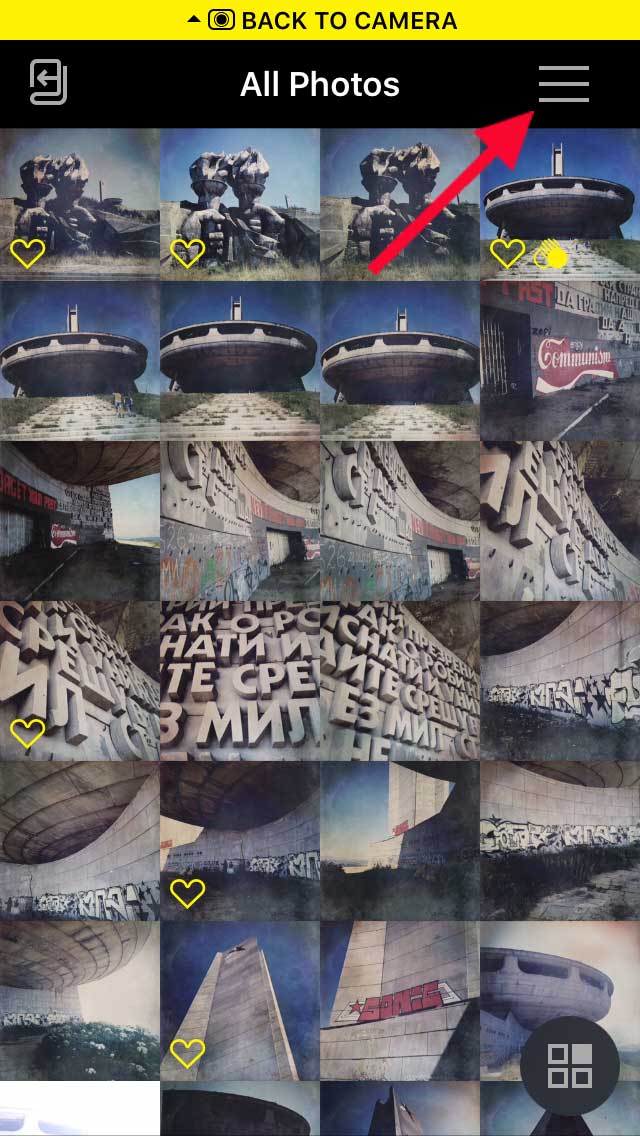
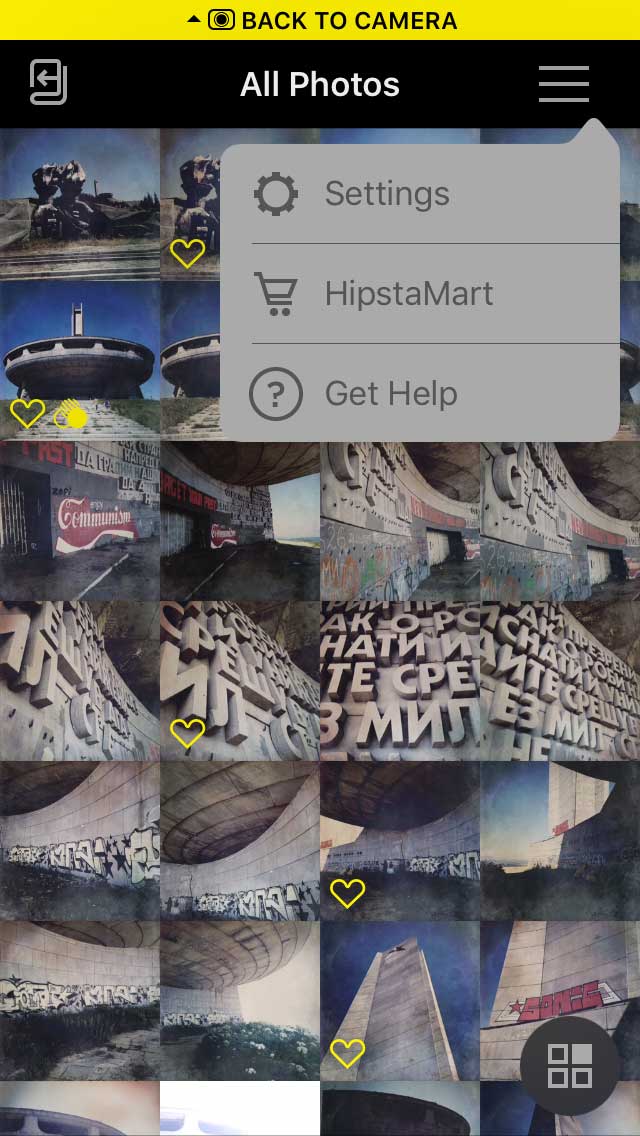
It’s accessible via the Library, whether you’re in Classic Mode or Pro Mode; at the top of your screen, three horizontal bars lead you to an additional menu with 3 options: "Settings", "HipstaMart" and "Get Help". We’re interested in the first option "Settings".
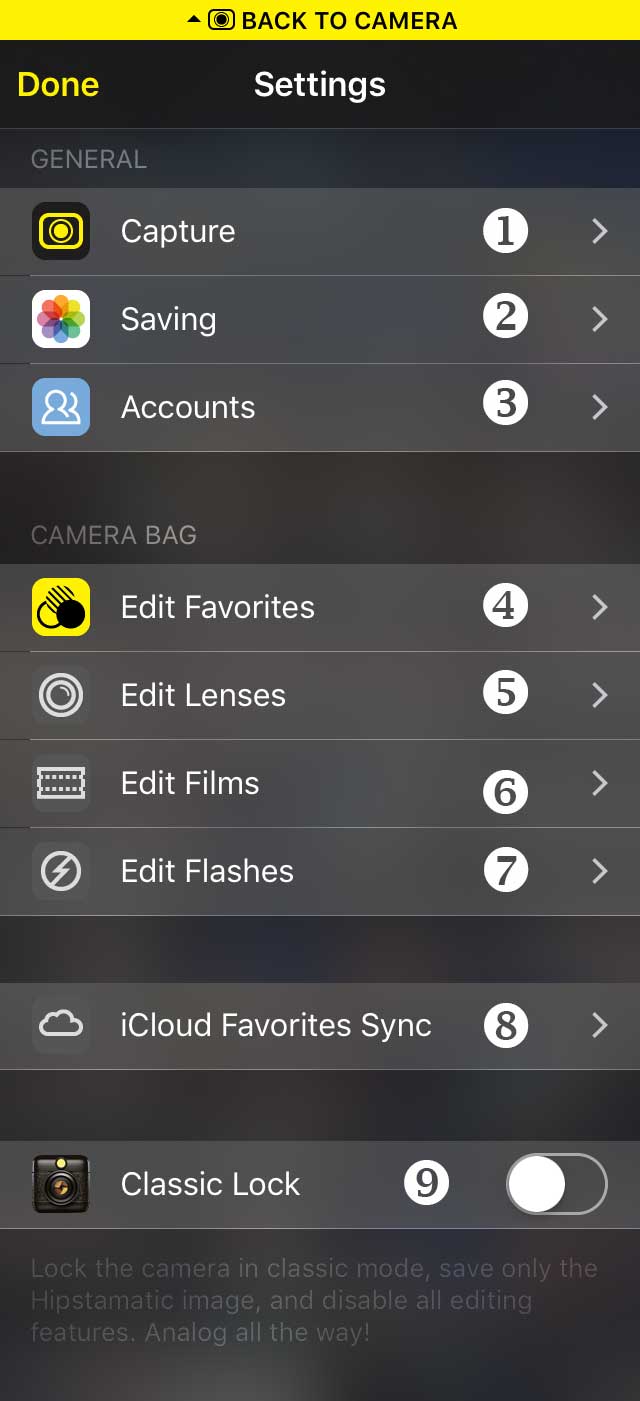
A new menu allows you to define several different options, but beware; there are a few crucial innovations and important modifications, mainly in the two first sections: "Capture" and "Saving".
1. Capture
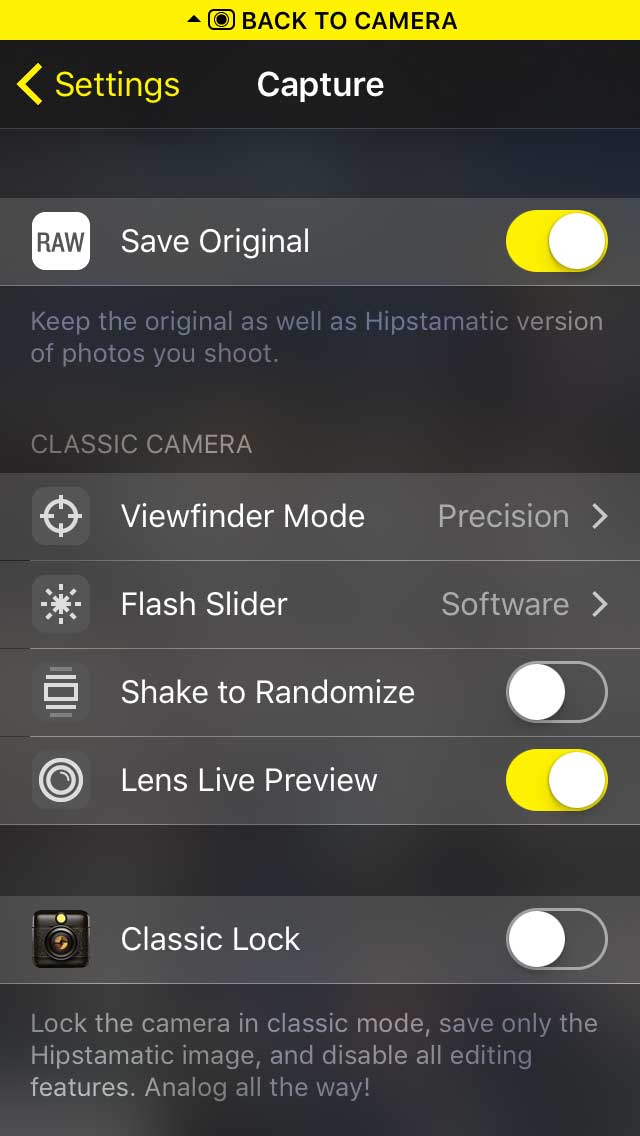
The first parameter ("Save Original") refers to the general use of Hipstamatic; the other options in this submenu are only applicable to Classic Mode.
Save Original: you can now keep the original version (without any of the Hipstamatic filters) AND a Hipstamatic version, of each photo you take. Thank you Hipstamatic! This is an on/off toggle that is by default turned on. It's very simple and affects only photos you take with the Hipstamatic app. If it's "on", then when you shoot a photo the original is saved along with the Hipstamatic version. If it's "off", then only the Hipstamatic version of the photo is saved. You can turn it off if you would like to have your Hipstamatic behave like it did prior to version 300 (where every shot was pure Hipstamatic). It is also automatically turned off if you have "Classic Lock" enabled. In short, we really recommend that you opt to save the original, so that you can change the combo after shooting, if you so choose.
Options only applicable to Classic Mode:
Viewfinder Mode: you can choose between "Classic" and "Precision Framing". When you choose "Classic", the viewfinder will change every time you take a picture and the frame will be random. Hmmm… We’d suggest you go for "Precision Framing".
Flash Slider: two possible options, "Hardware/Software" or "Hardware/Torch". You should go for the first option, except if you’re into experimenting.
Shake to Randomize: every time you shake your iPhone, Hipstamatic will load a different combo (lens/film/flash). The results could be very interesting, sometime maybe not; nonetheless, this remains one of the best ways to discover the many elements in the Hipstamatic catalogue.
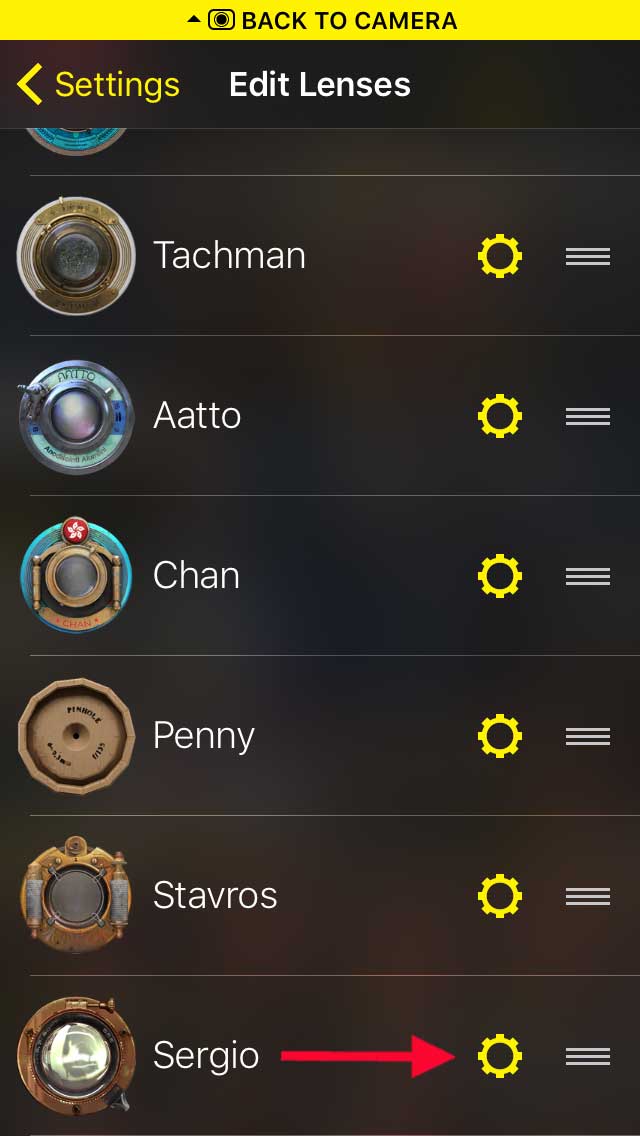
One detail that must be mentioned: don’t forget that you can remove the elements you don’t like, when using "Shake to Randomize". You can do so by going to "Settings", followed by "Edit Lenses" (or "Films" or "Flashes"), then click on the cogwheel next to the particular element you have chosen to eliminate from the random choices. A menu with the option "Allowed to Shuffle" will appear; this is where you can delete the element from your personal choices. I have, once again, chosen poor old Sergio as an example…


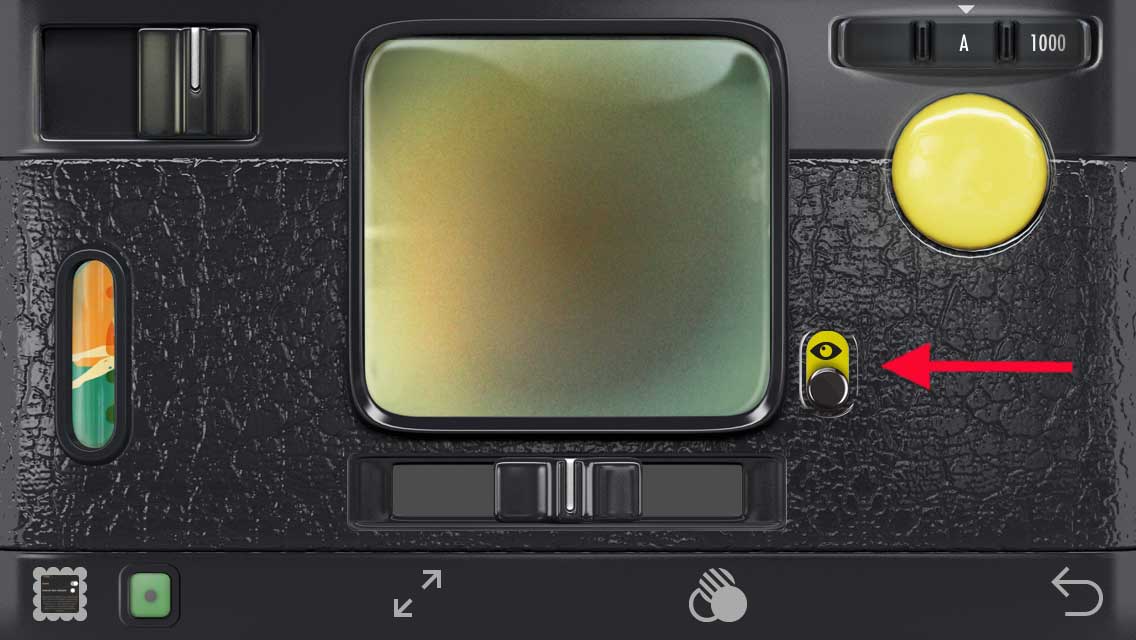
Lens Live Preview: this is new in Classic Mode: a new switch can be found to the right of your viewfinder which allows you to preview the effect that your chosen lens will produce, before actually shooting. Note: this new function only works for lenses, not for films or flashes. Nice little bonus for Classic Mode fans.
Classic Lock: this is an option for those who feel nostalgic about the early Hipstamatic years. All the functions made available since the launch of Hipstamatic 300 will then be deactivated. Back to the past, in other words…
2. Saving
This chapter is essential since whatever options you choose will affect all the pictures you edit. It’s a bit difficult to explain because everything depends on your own environment and whether you use the iCloud Photo Library or not.
First and foremost, check that you have chosen the option "Save Original" in the "Capture" section (see above). If you haven’t chosen to save the original, you will not be able to edit afterwards. Modifications will be applied to the Hipstamatic version by flattening it. You really do have to save the original, even if you so much as think you might ever want to edit it… except, of course, if you are absolutely sure that editing will never happen and you prefer to continue using Hipstamatic as it was, before the 300 version was released.
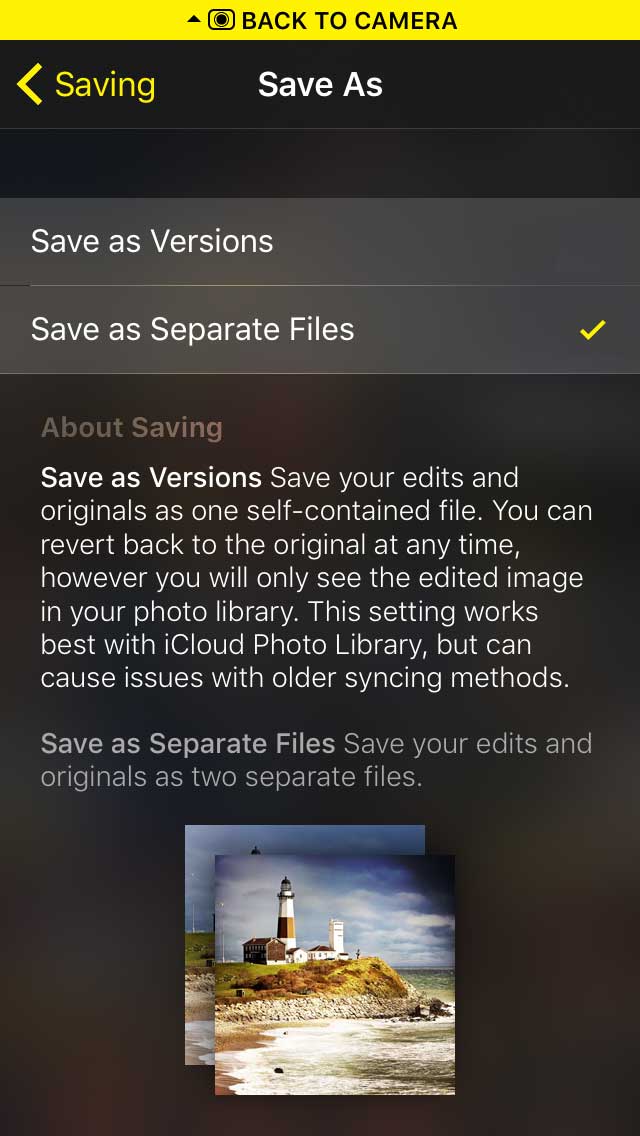
Save As: you have a choice between the following two options: "Save as Versions" and "Save as Separate Files".
1. Save as Versions

In this save mode, images shot and edited with Hipstamatic are saved as one self-contained file. The original is "hidden" underneath of the Hipstamatic version. This enables lossless image editing, as well as the ability to "revert" to the original photo at any time. It also keeps your photo library cleaner, as you will only see one photo for each image you take with Hipstamatic.
That’s how the old version of Hipstamatic worked, which means that by using this option, only the original will be synchronized (on your other devices or computers) and not the version with the Hipstamatic filters. Bad news, but at least the solutions Hipstamatic offers to save your pictures, including filters, are relatively straightforward. To handle this, Hipstamatic have included a "Transfer" tool in-app. Here is how to access it:
1. From your Photos in Hipstamatic, first tap on the "Multi-Select" icon in the lower right corner of the screen
2. Select the images you would like to transfer
3. Tap on the "Action" icon in the lower right corner of the screen
4. Select the "Transfer" option
5. Choose the destination (the preferred and most effective method is "Zip and Email")
I am a Mac-user and, as far as I’m concerned, the easiest way remains to choose "Zip and Email", after which I send the entire file over to my Mac via AirDrop. Or you can also use email, if the file isn’t too bulky.
Lastly, two notes on the "Save as Versions" option:
- This is the preferred save mode if you use iCloud Photo Library, as it will synchronize your edit across your devices and let you re-edit them non-destructively (for example, taking the photo with your iPhone and then later changing the effect on your iPad).
- If you are using the Classic Lock feature, the save mode setting is ignored. Since all photos are saved flattened and editing is disabled, this option does not apply to the app when it is locked in Classic.
2. Save as Separate Files
This is THE major novelty in this 320 version, as it solves the synchronizing problem, although it’s not as easy as you might think, and, above all, it changes the way Hipstamatic saves your photographs. Let me explain:
In this save mode, every time you shoot or edit a photo, the new image is saved as a separate photo in your library. So when you're shooting, each image you capture will result in two photos being added to your library (the original and the Hipstamatic version). When you edit, each time you press the "Save" button, a new image will be generated and added to your library.
These are flattened images with no "version" data, meaning you can sync them off your device any way you would like and it should "just work." Use this mode if you do not use iCloud Photo Library or want the ability to have multiple different versions of the same photo with different effects.
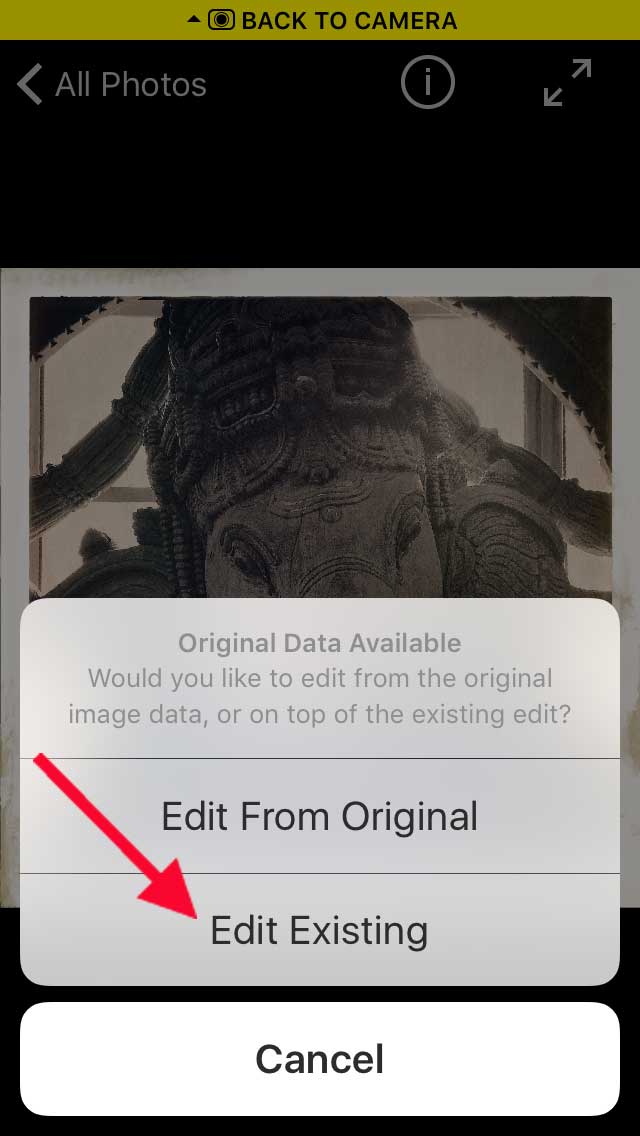
Please note that, in this mode, you still have the choice of editing your pictures two different ways; either "Edit from Original" or "Edit Existing". Here are a few concrete examples to illustrate these two options:
A. "Edit From Original"
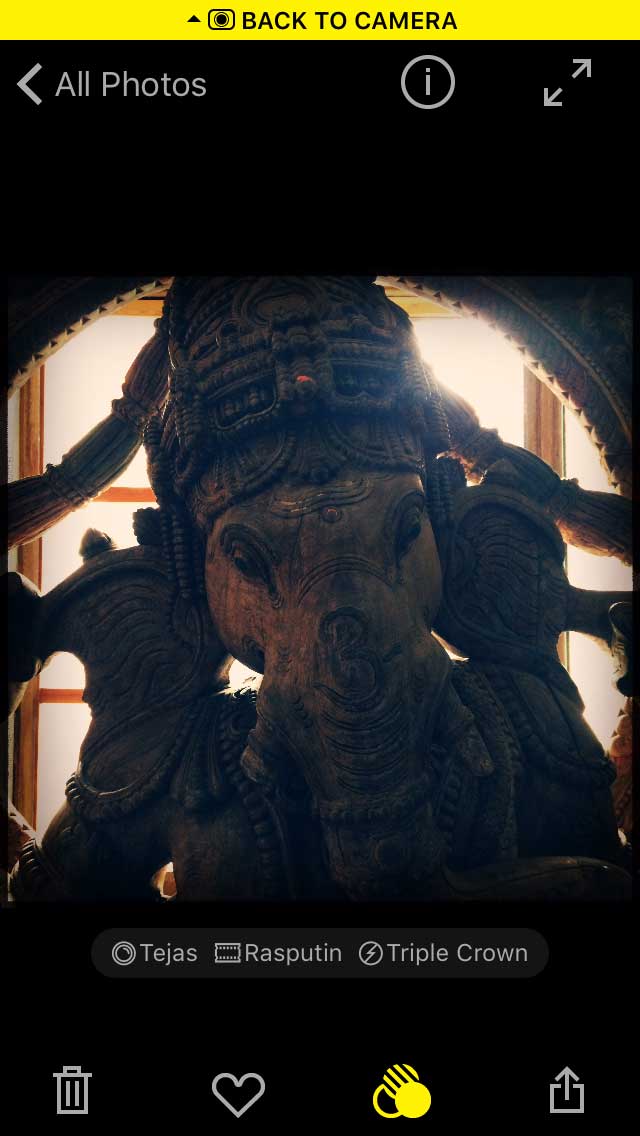
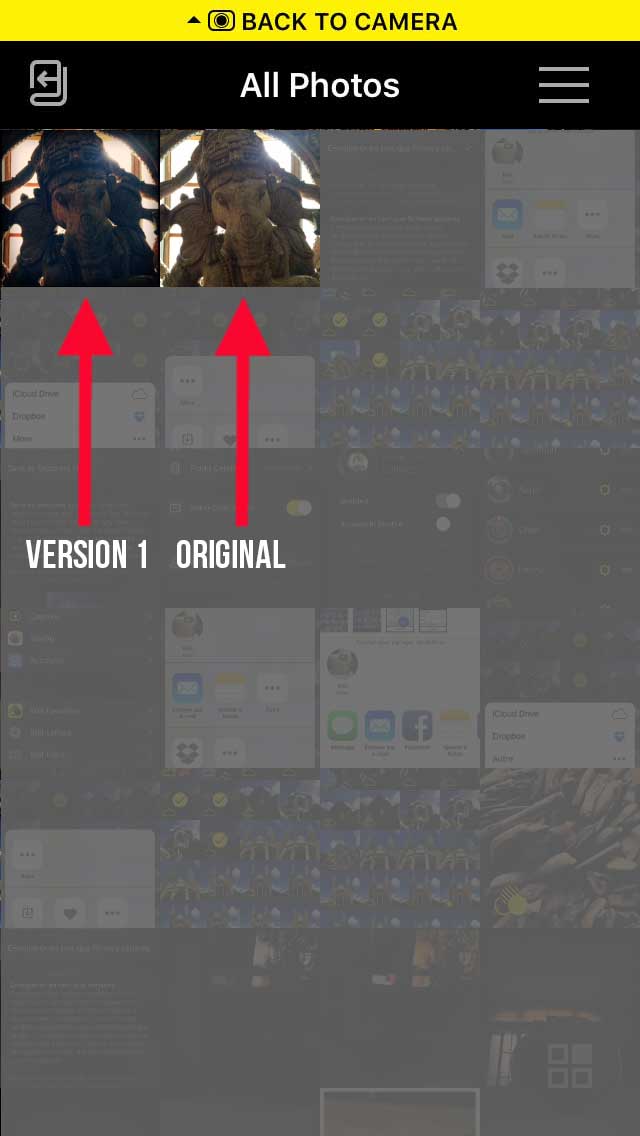
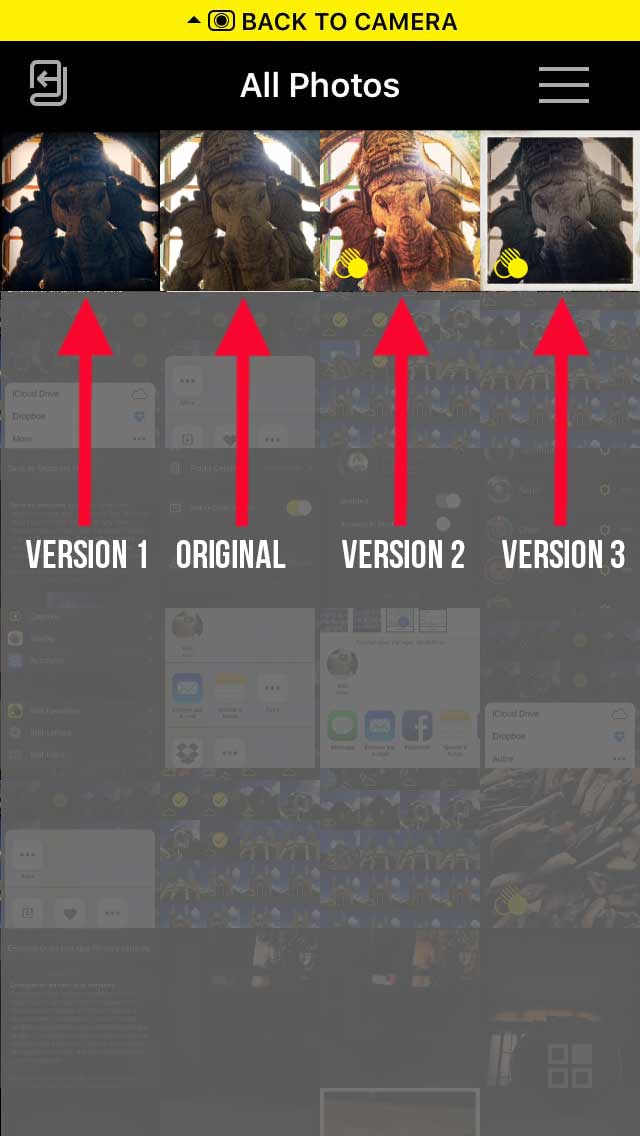
First step: I take a picture; Hipstamatic will save two files: the Original and a "Version 1". These two pictures will be synchronized on my iCloud account and I can transfer them manually to my Mac or iPad.
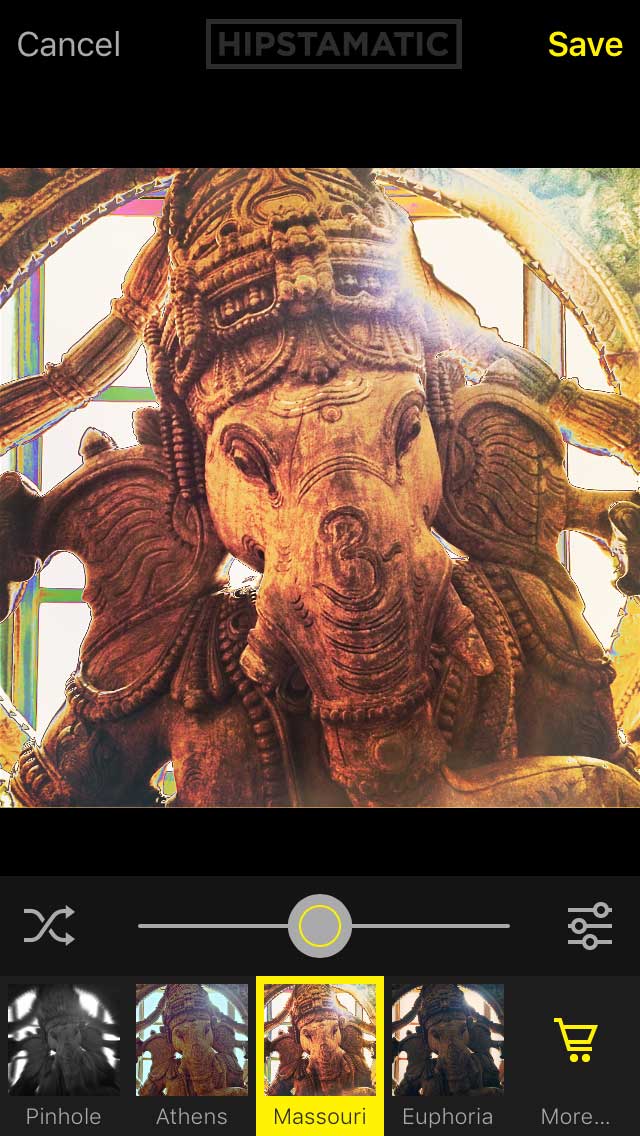
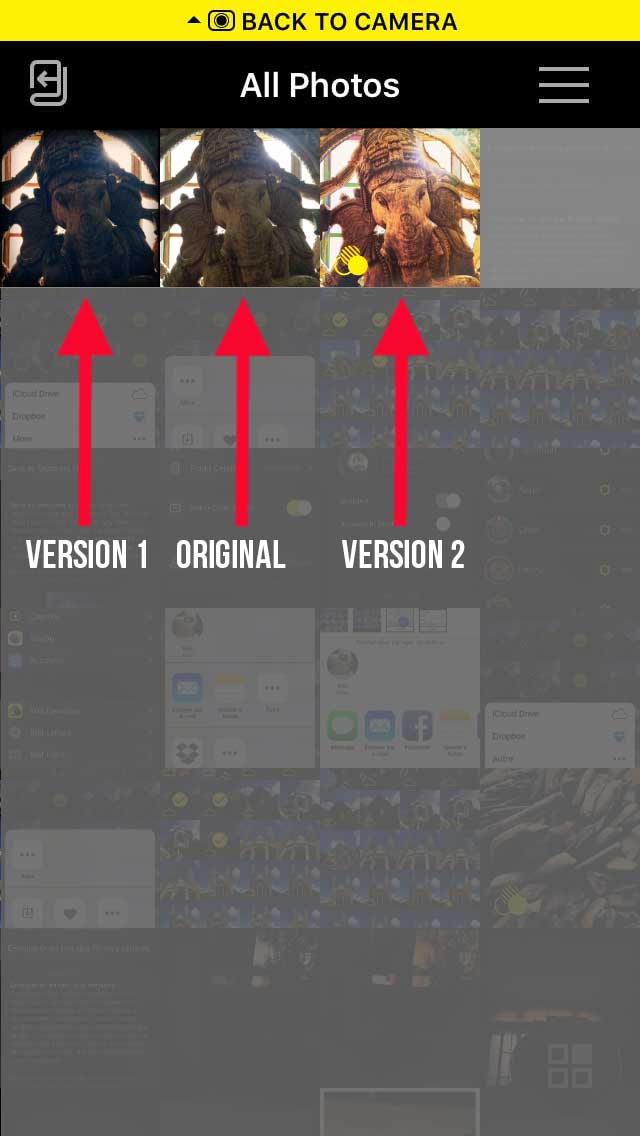
Second step: Let’s assume I want to change the combo; I select "Version 1" and I choose "Edit from Original"; I then apply the "Massouri" combo, created by Kally Klonaris. The result is: a third image, "Version 2", is saved. I still have access to "Version 1" and the Original.

Third step: I want to try another combo, the "Vintage", which consists of John S and Uchitel 20, a monochrome film. Same thing, I now have "Version 3".
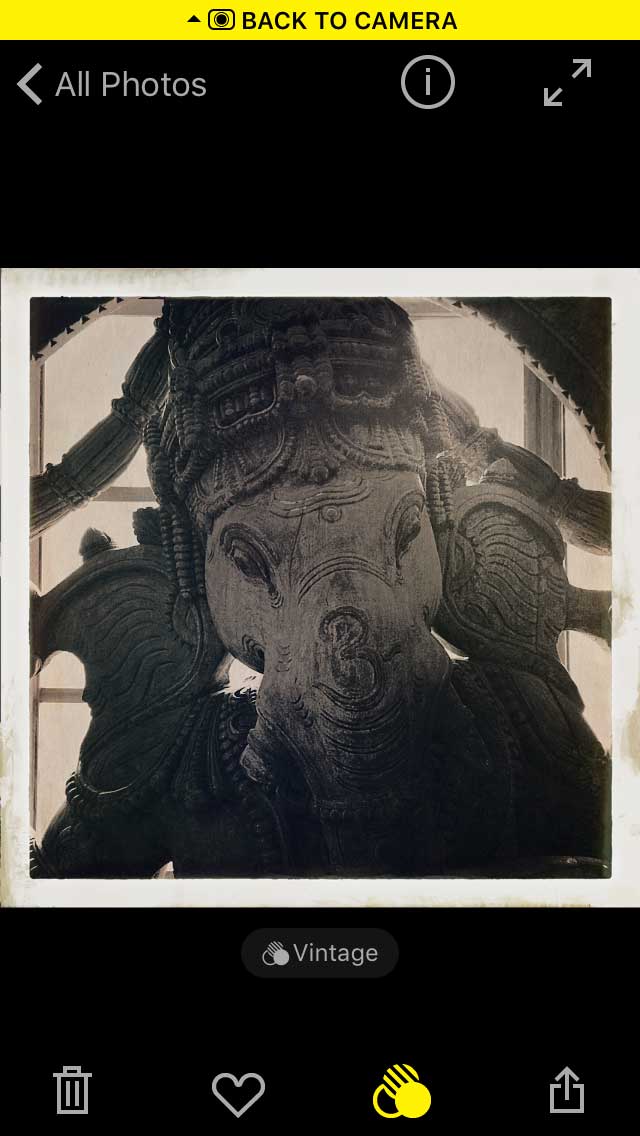
B. "Edit Existing"
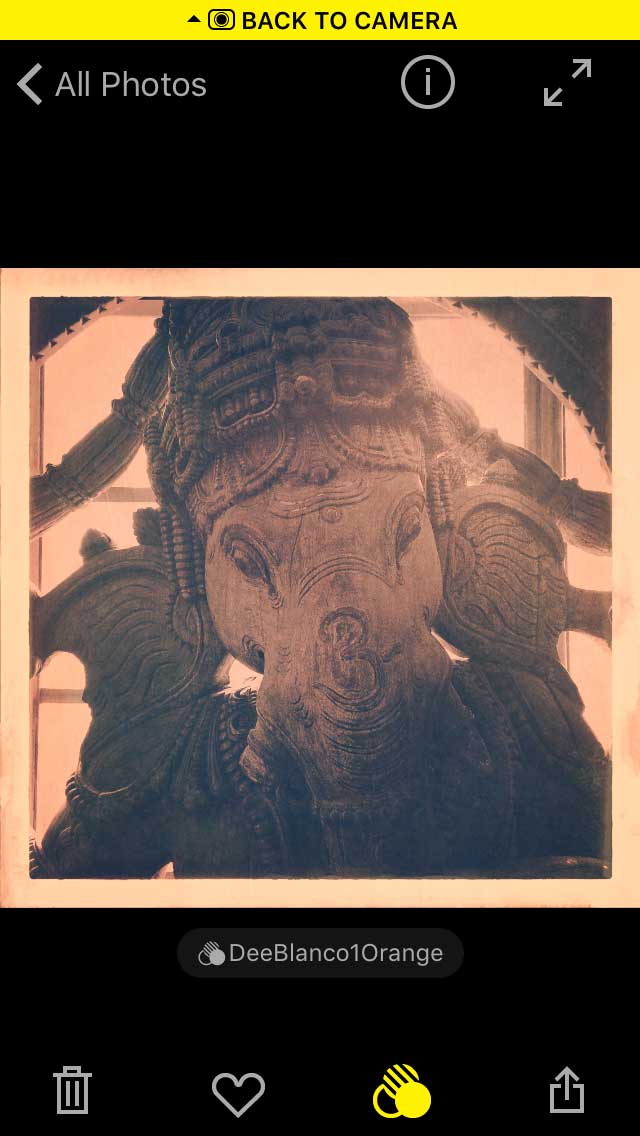
This option is completely different, as you end up flattening each picture by applying one effect onto the other. I’ve chosen the last version, the one using Uchitel 20 and I opt for "Edit Existing". I apply a new combo with Dee and Blanko 1; yet another new image is saved BUT, this time, the combo has not been applied to the original, but rather to an already edited version. You can clearly see the Uchitel 20 frame, despite the fact that Blanko 1 film doesn’t have a frame! Hmmm….

Conclusion
Everyone will have to find the solution that best suits his/her needs; there are positives and negatives to both.
When opting to "Save as Versions", your library will stay organized, with only one image per photo. Problem: the images will have to be transferred manually to your Mac/PC/iPad, except if you use iCloud Photo Library. As I don’t use it myself, I can’t really comment. This is how the earlier version of Hipstamatic (314) worked.
When opting for "Save as Separate Files" and "Edit from Original", the synchronization problem is resolved, but you will find yourself with multiple versions of the same picture… This might be difficult to manage, but it is a great way of comparing the various combos before make a definite choice.
When opting for "Save as Separate Files" and choosing "Edit Existing", you will be changing the effects without being able to retrace your steps. Done is done! Rather dangerous and possibly a bit fulsome in the end. I think I’ll steer clear…
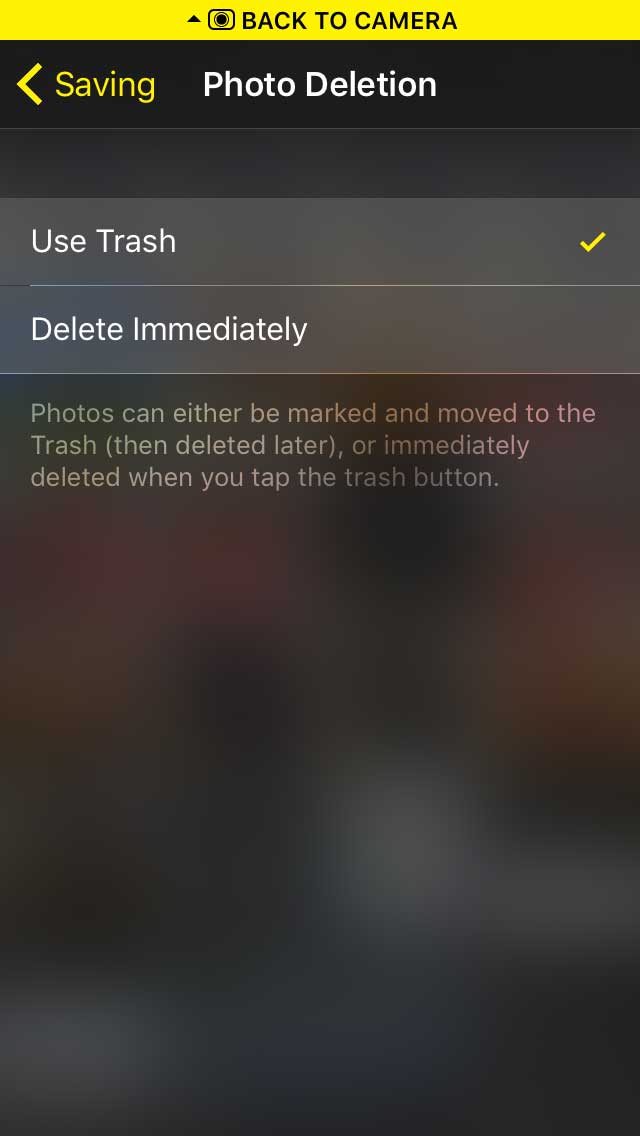
3. Suppression des photos
You now have the choice of, either marking-and-moving to the Trash, or immediately deleting when you tap the trash button. In the first case, your pictures are moved to the Trash and you’ll need to permanently remove them, at a later date. In the second case, your pictures are immediately deleted. Caution is advised!
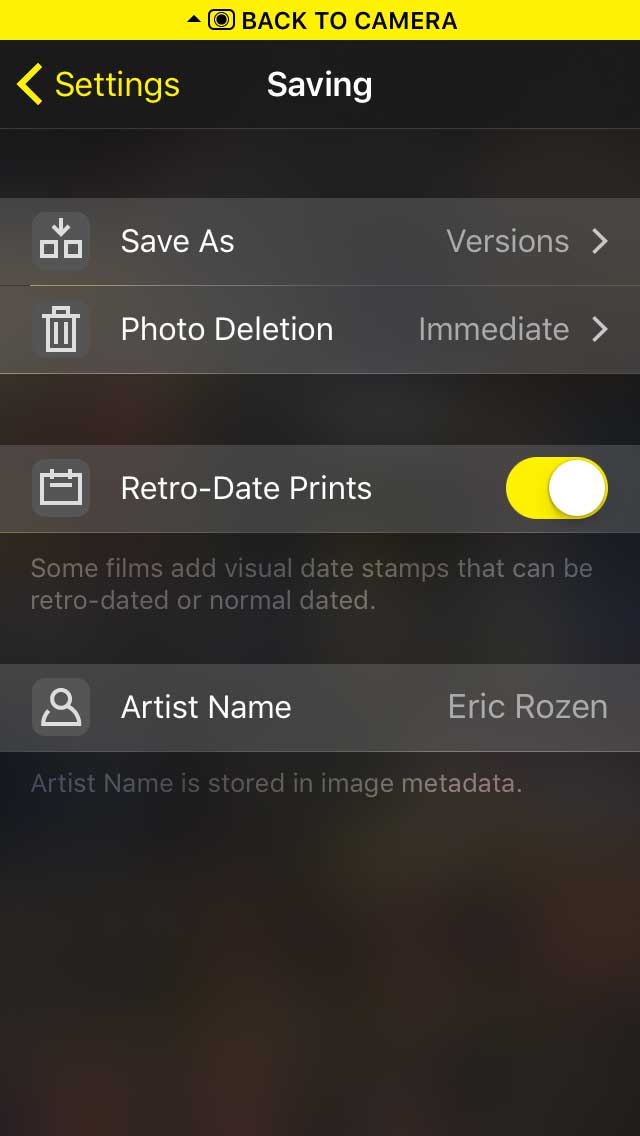
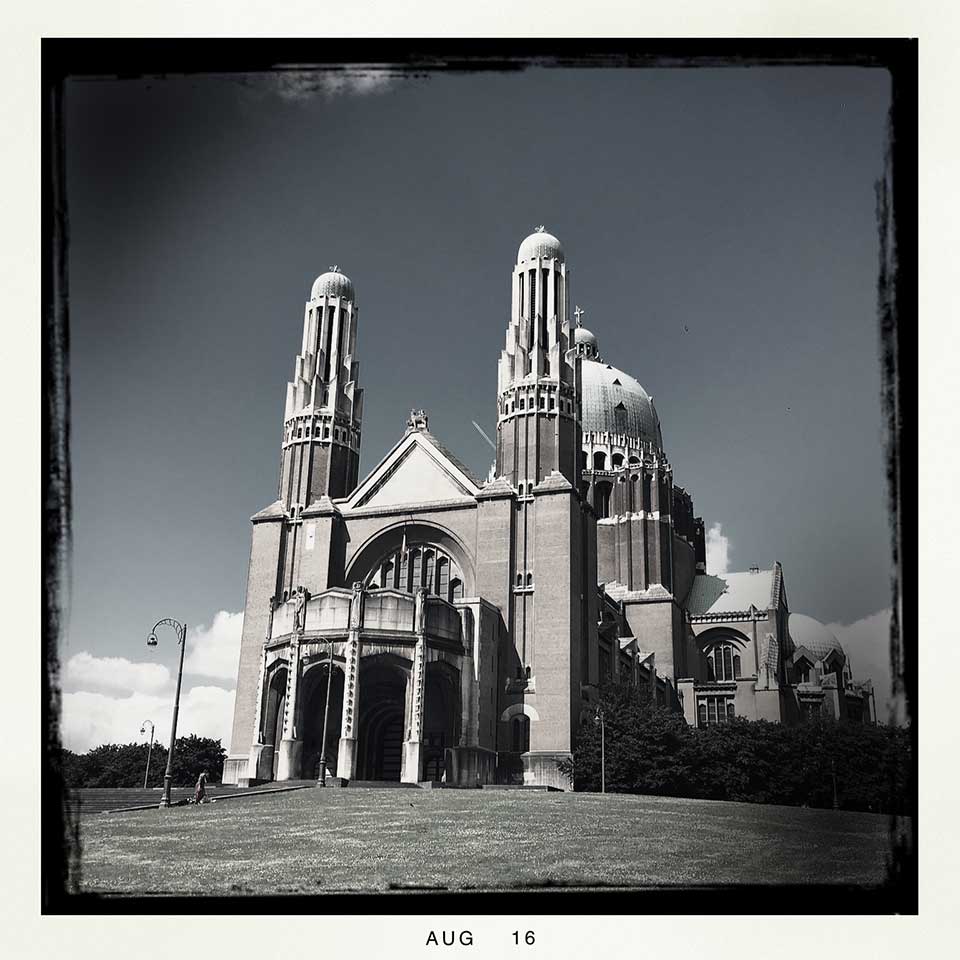
4. Retro-Date Prints
There is currently one film, the BlacKeys B+W film, which is designed to add a date stamp of month and year to your images. If you turn this setting to ON, you will jump in the past 30 years ago! Instead of Aug 13 (2013), the picture is dated Aug 83 (1983). If you decide to turn it OFF, the current month/year will be automatically added to the print.

This post is also available in: French

One Comment