
Focusing on Depth of Field
The Hipsta365 Facebook page suggested an interesting challenge last week: namely, creating Depth of Field in Hipstamatic. We published a few articles in the past about DOF but with the latest updates certain functions have been modified and so we decided to update our info on the subject. So, here’s a tutorial and a few pictures that were published on Hipsta365 this week.
In "traditional" photography, 'depth of field' determines how much of the photograph is in focus and how gradual the transition is between "in-focus" and "out-of-focus.” The distance between the camera and the subject, the aperture and the focal length, work together to change the depth of field. A wide depth of field gives a gradual softening of focus and will appear more natural with the subject becoming more incorporated into the environment. A shallow depth of field gives a more dramatic focus, isolating the subject from the surroundings. A shallow depth of field is often used in portraiture to emphasize the subject from the background. A practical example would be a friend posing in front of the Golden Gate Bridge. A wide depth of field will result in the subject and the background being in focus; a shallow depth of field will render your friend in focus but the bridge will be blurry.
All of the above is, of course, theory related to traditional photography and, obviously, Hipstamatic works a little differently. Hipstamatic allows you to adjust the DOF in three different ways: by manually adjusting at the time of shooting, by choosing a lens that produces a tilt-shift effect, or by editing the picture after shooting. Here’s an analysis of the three different approaches.
1. Depth of Field while shooting
It’s entirely possible to create Depth of Field before you take your picture, whether in Classic or Pro Mode. The principle is the same in both cases.
Classic Mode
To illustrate, we’ll go back to the tutorial written in collaboration with Berlewen Jolixor in 2015 for the Click-Boom-Amazing exhibition in Brussels.
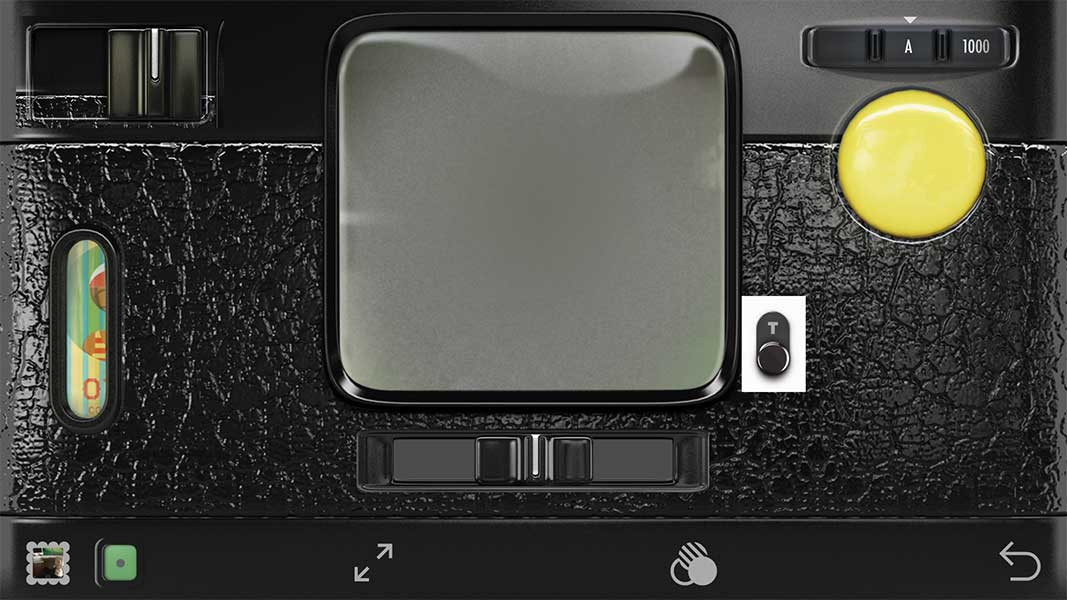
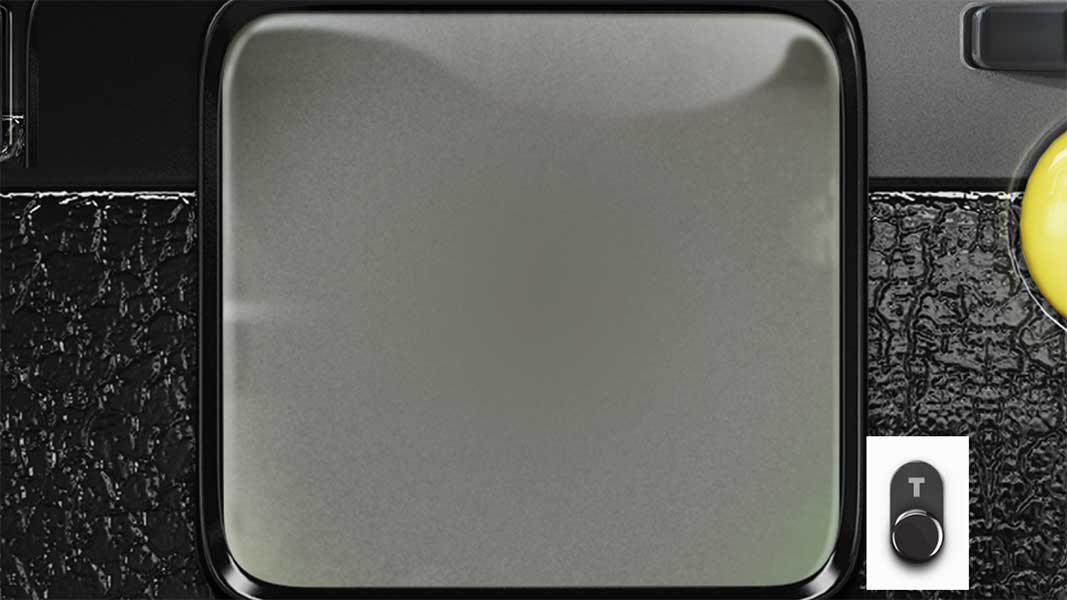
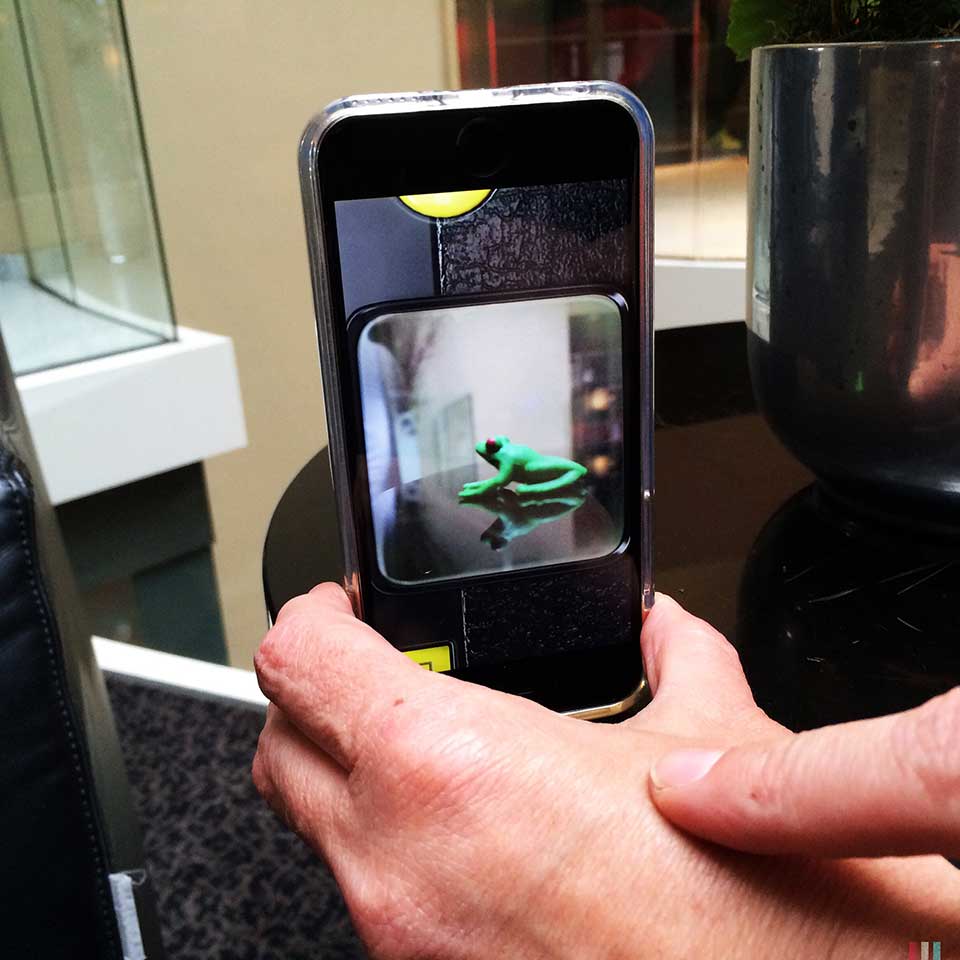
First, expand the viewfinder in Hipstamatic Classic by double-tapping the screen. You can reduce the screen by pinching your two fingers across the screen.
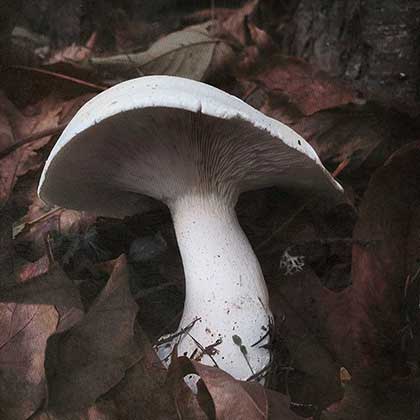
In order to explain this process, Berlewen has chosen a frog as her subject.
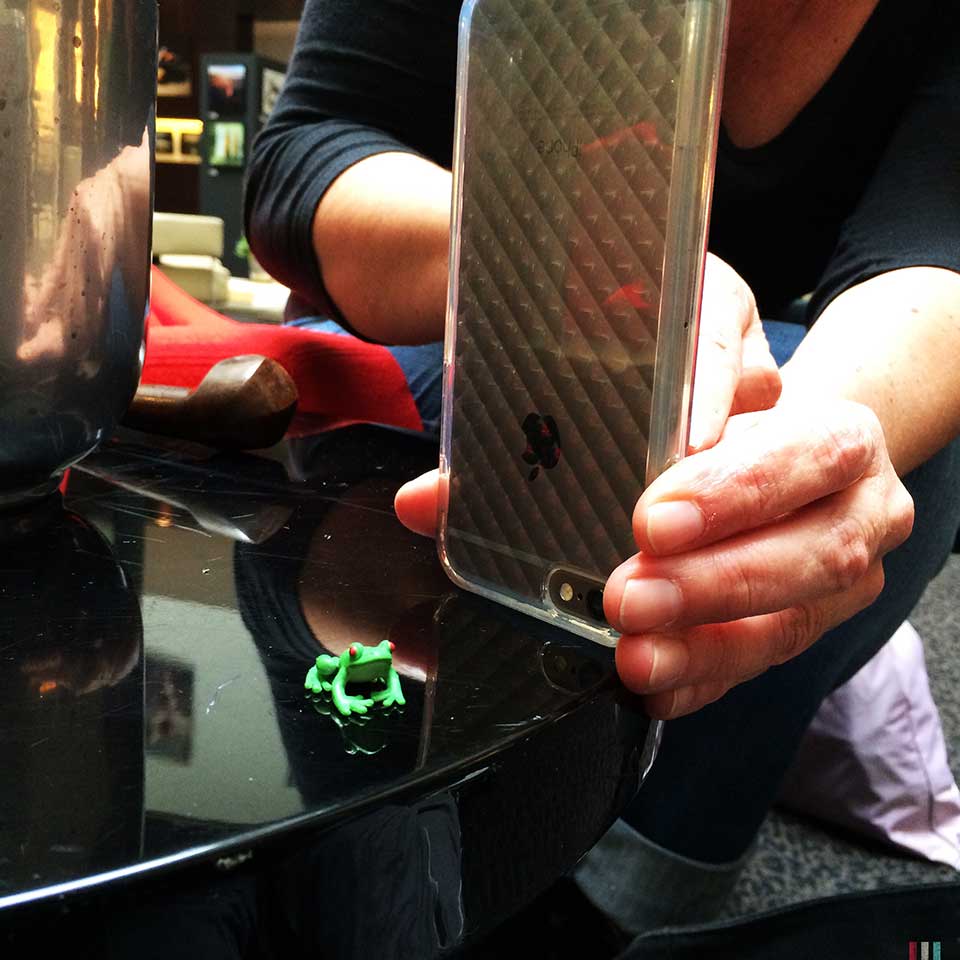
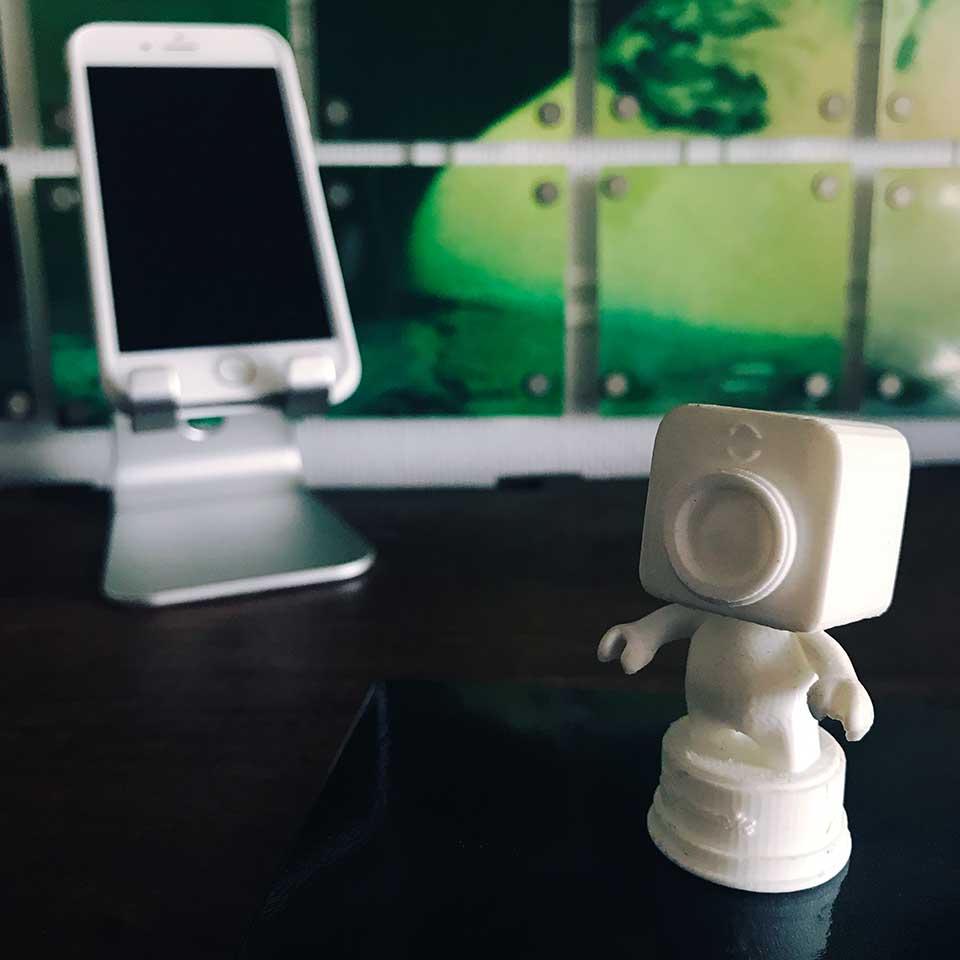
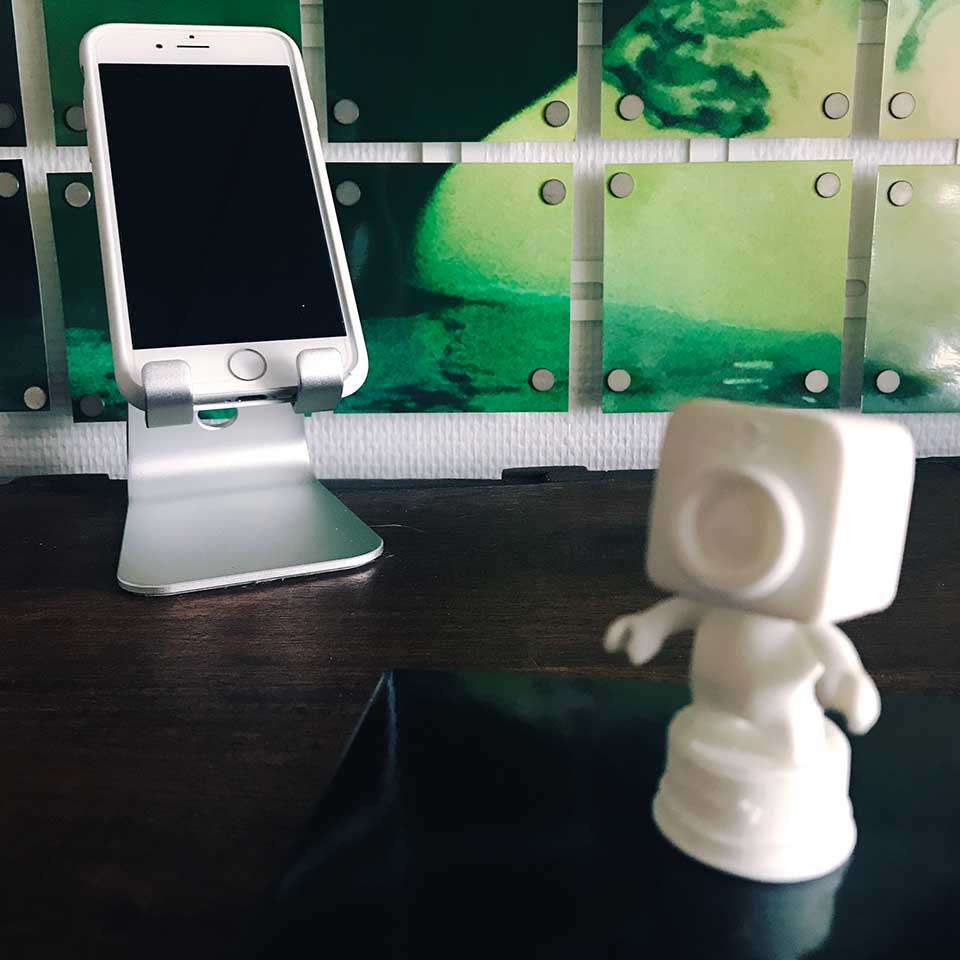
If you’re trying to get a crisp image of the frog and a blurrier background, you need only put your finger on the frog, and presto, your frog will be crisp and clear while the background will be out of focus.
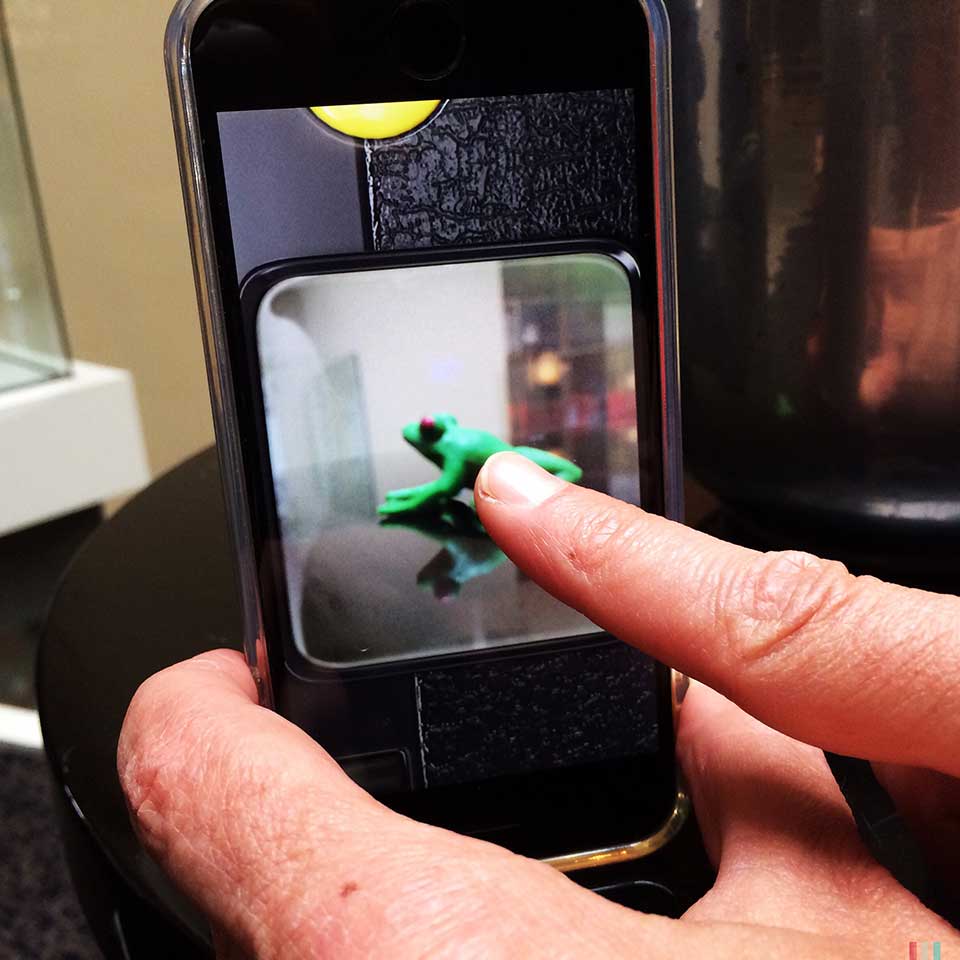

You can also flip it around and put your finger on the background, which will give you a blurry frog on a clean background.
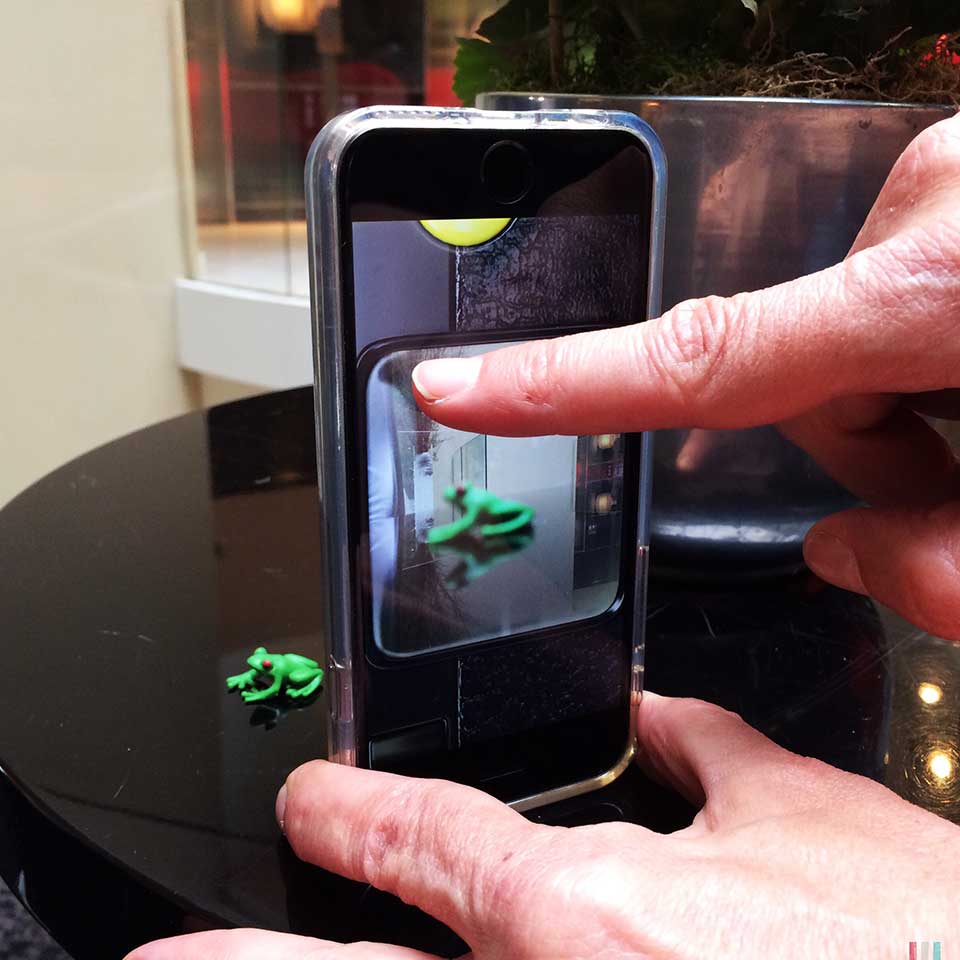
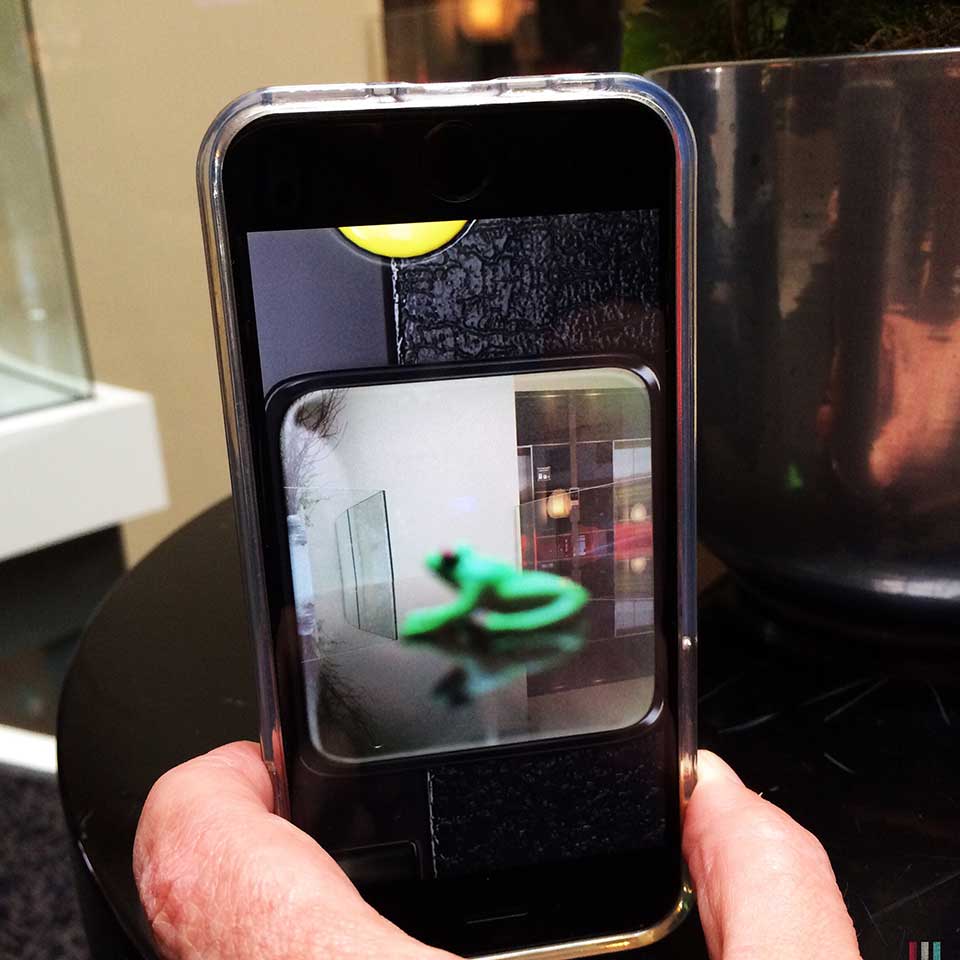

To take the picture, just tap the screen or press the "+" volume button on the iPhone. Berlewen pointed out that the result is even more striking if the subject is close to the viewfinder; the minimum distance is about 8 cm.
Pro Mode
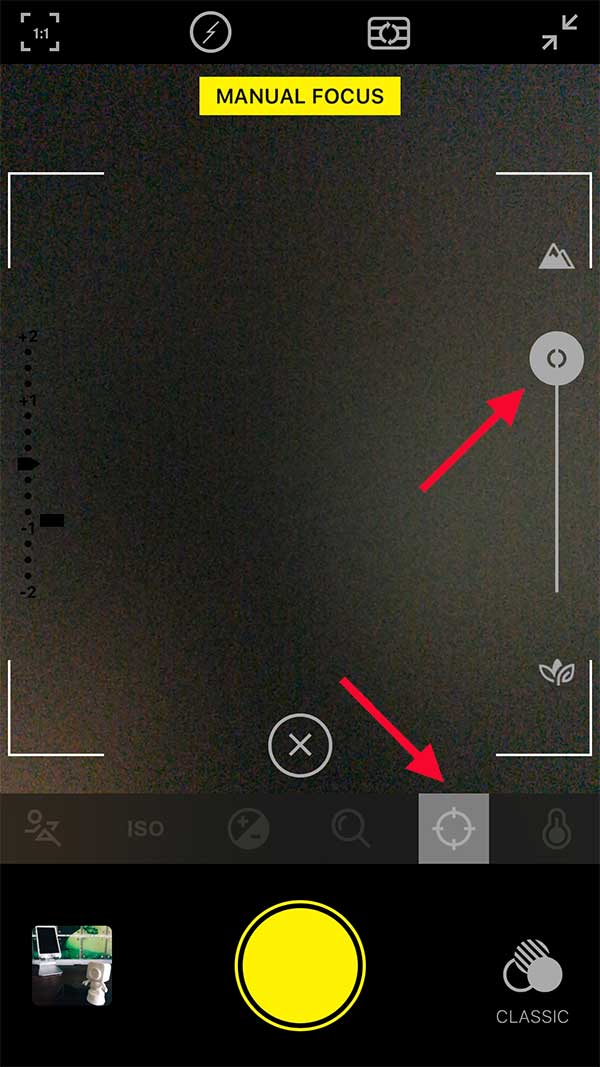
It’s basically the same thing. Instead of holding your finger down on the area of the screen you wish to focus on, I recommend you double-tap the screen. Also - handy to know – Hipstamatic automatically sets the exposure for you.
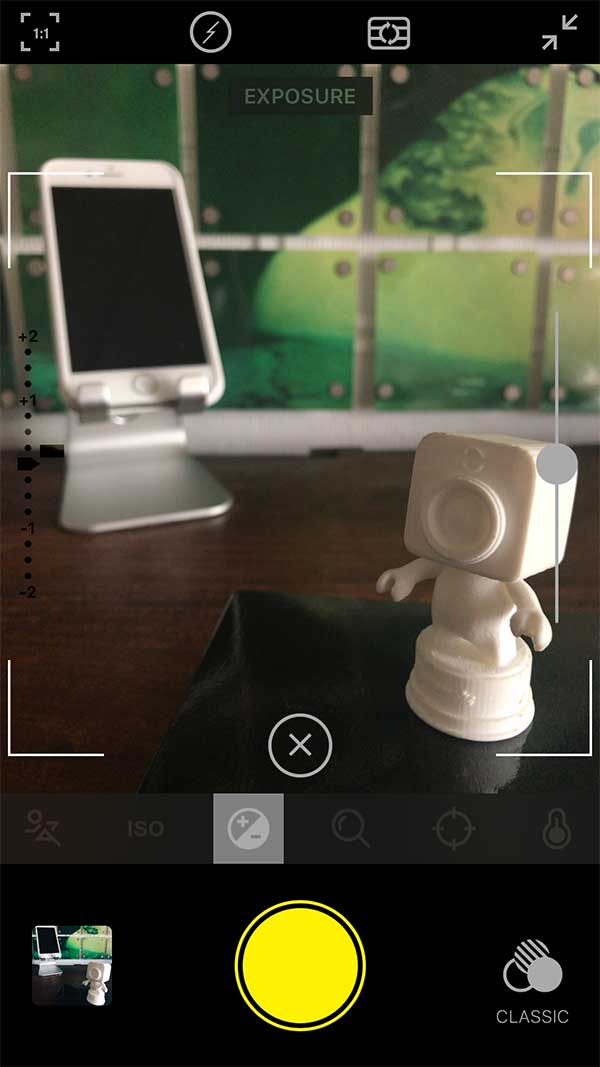
There is also a Manual Focus function, represented by the round target icon. The difference here is that you can adjust the focus with a cursor on the right of the screen.
2. Depth of Field through the Lens
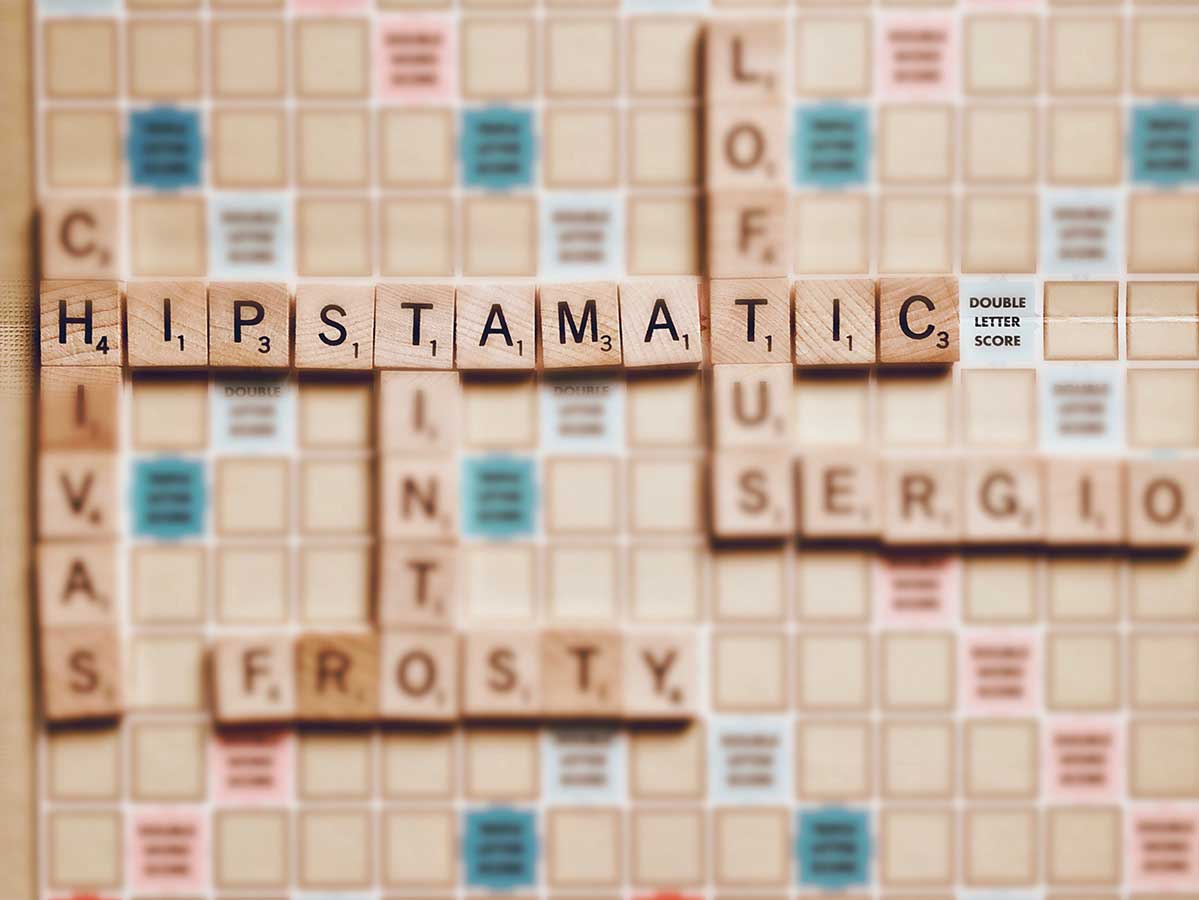
A few of the lenses in the Hipstamatic catalogue "imitate" the DOF-effect: meaning the center of the image is clear, while the outer edges are out of focus. This effect can be obtained with, among others: Loftus, Tinto, Americana, Sergio, Smith, Chivas, Anne-Marie, Frosty,...


As a bonus, a few of them offer the opportunity to play around with the intensity of the effect, too!

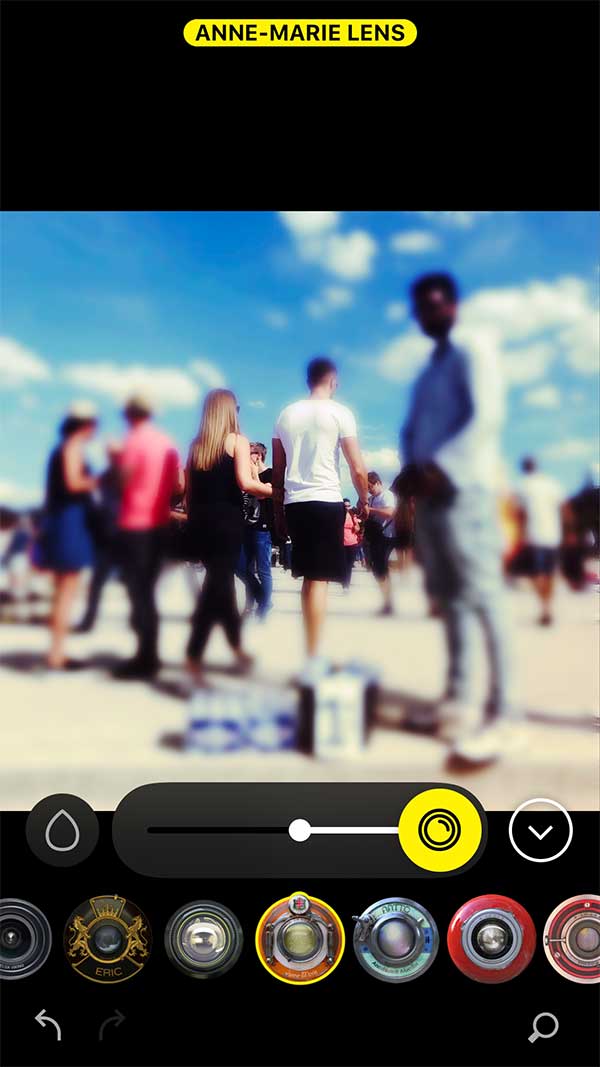
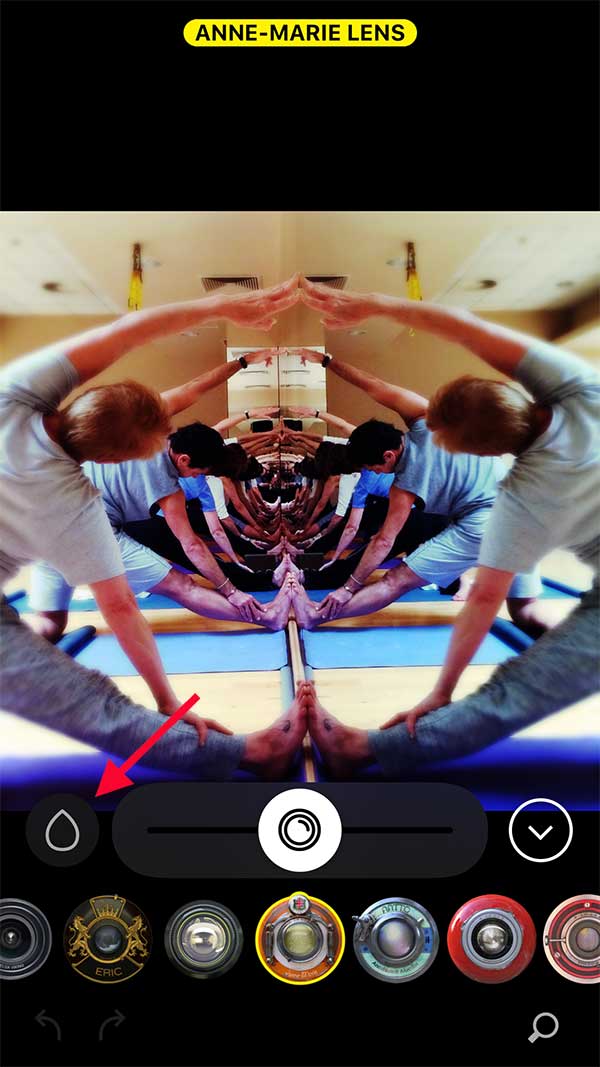
On the other hand… it’s quite possible that you really don’t like the DOF-effect that certain lenses produce. Let’s take Anne-Marie as an example: this lens slightly enhances the exposure, and saturates the rich tones but, unfortunately, also adds a blur, which we’re assuming you don’t like. All you need to do is choose the DOF function, slide the cursor to the left and hey presto, the effect has almost disappeared. This way you can hold on to all the other characteristics of the lens without the disturbing element. It works with several other lenses like Loftus, but unfortunately not all; Tinto 1884 and Sergio, for example.

In short, the Depth of Field effect can easily be obtained but is a bit rudimentary, as far as possibilities go. Those who wish to push it a little further should go into Pro Mode and use the Depth of Field function.
3. The Depth of Field Function
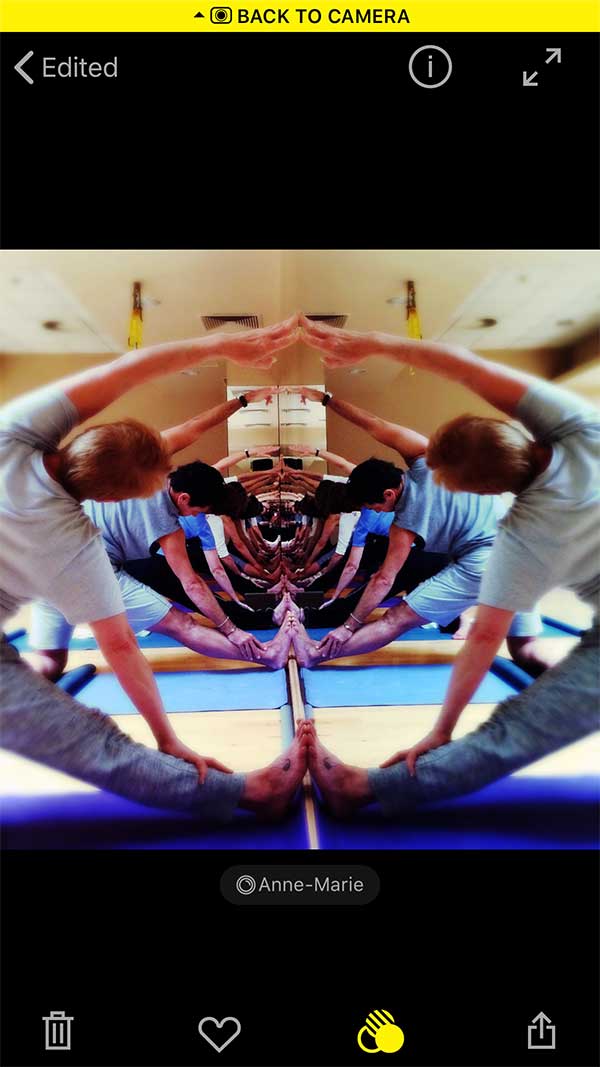
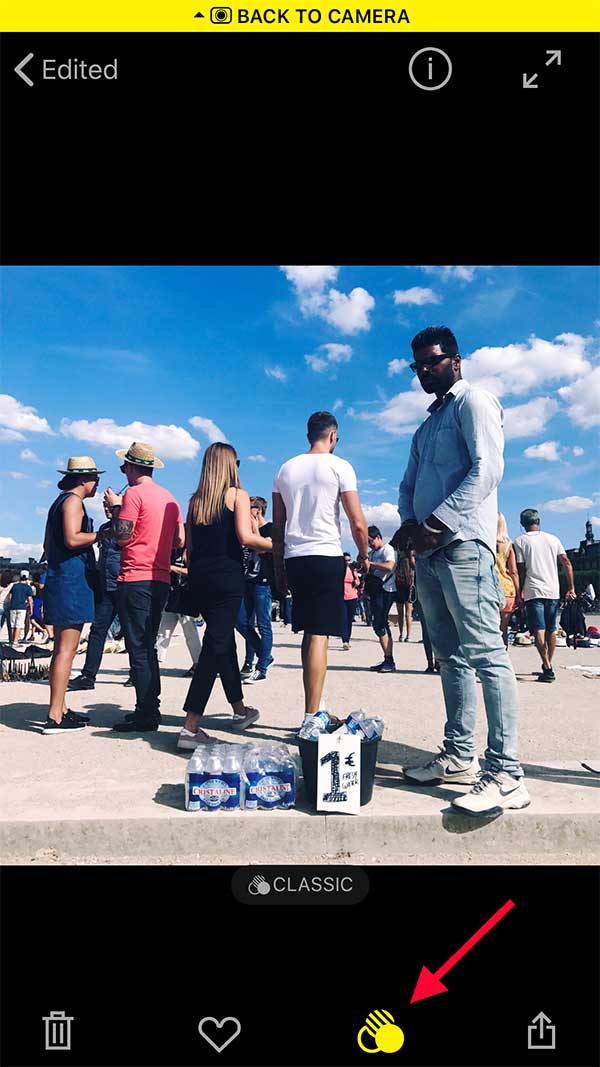
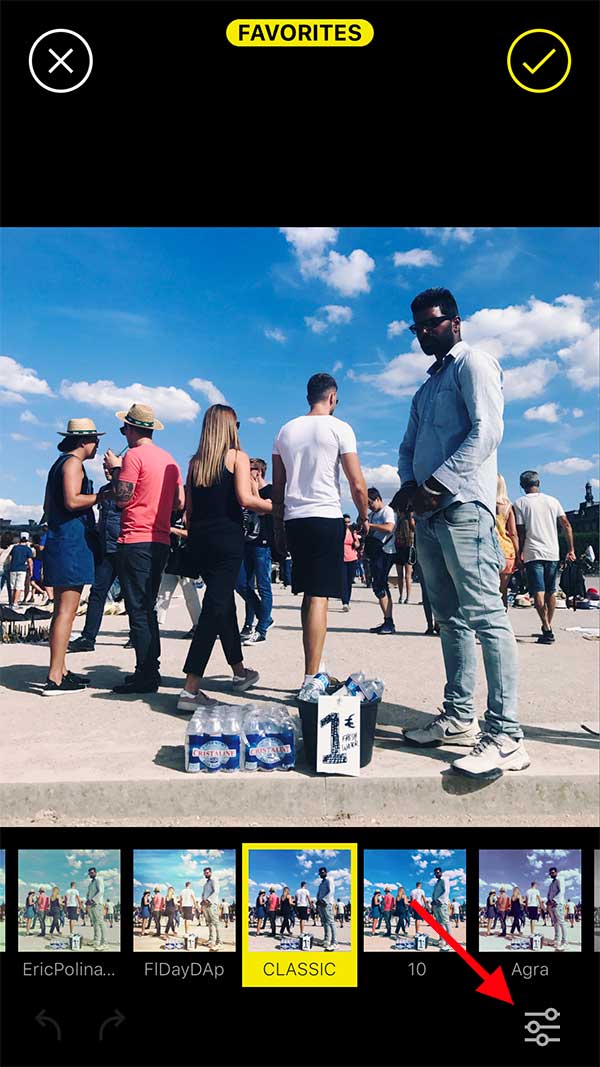
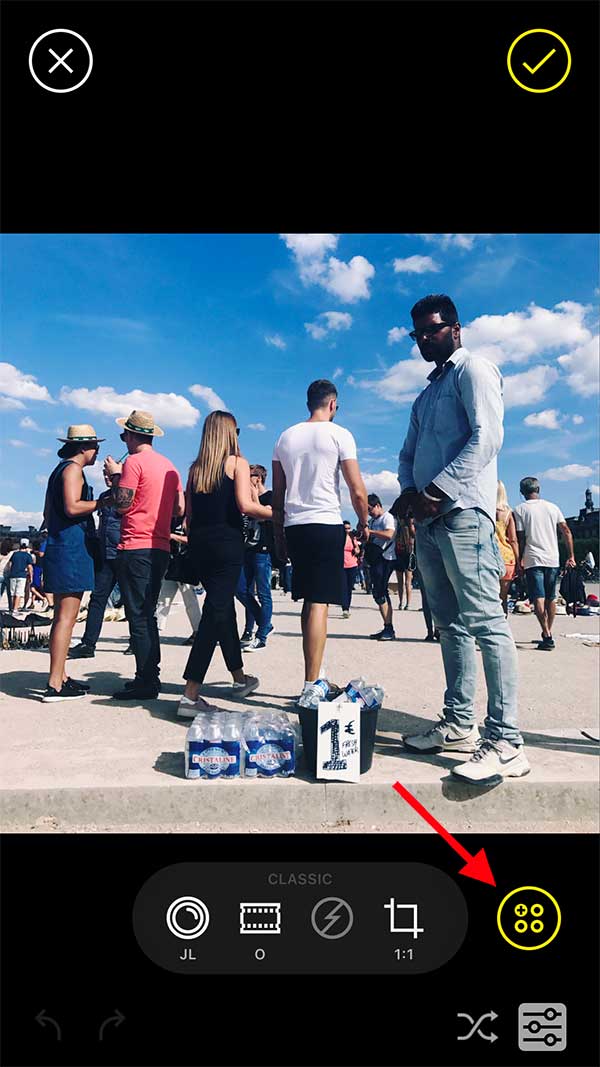
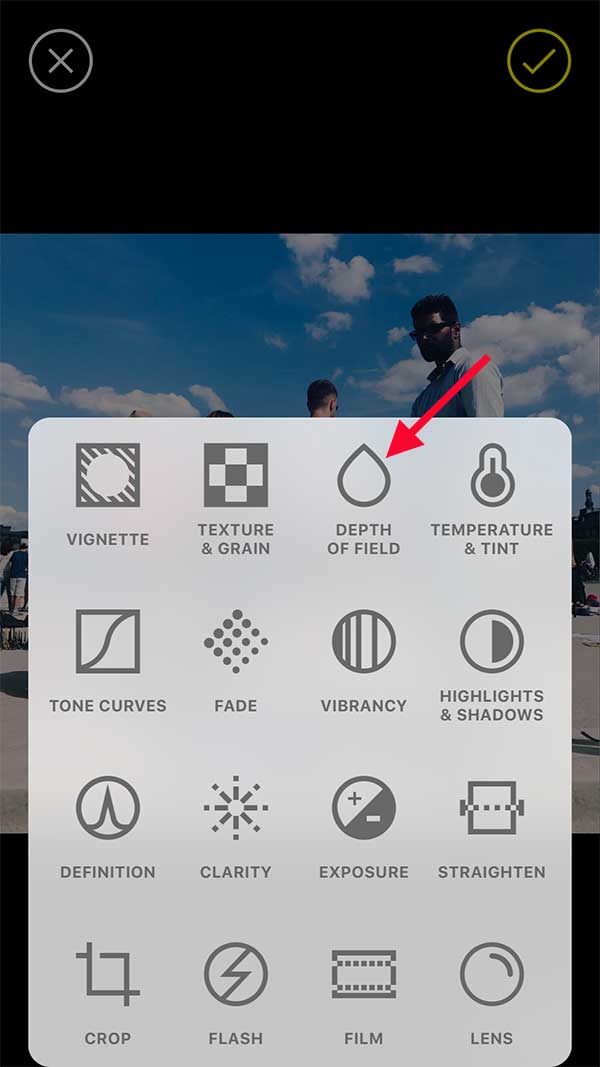
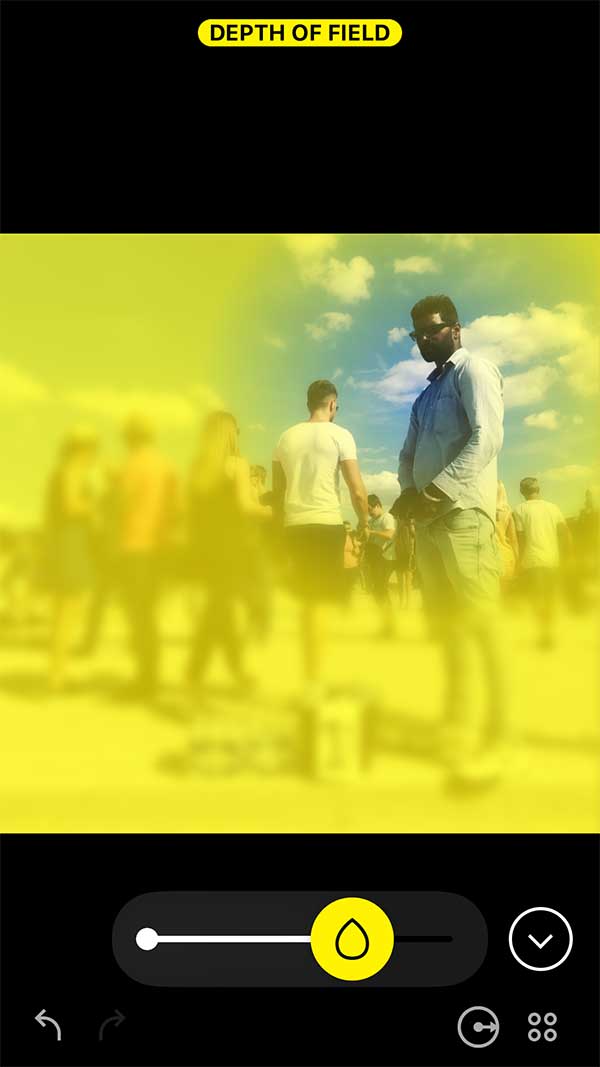
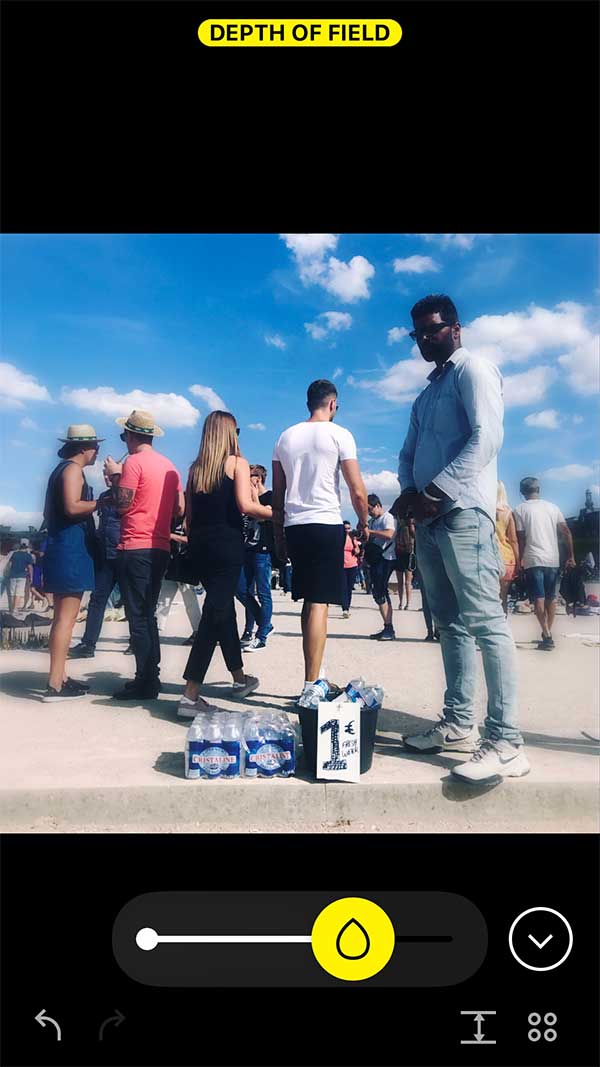
Here’s how you can edit your pictures after your shot has been taken. You will need to go into Pro Mode; click the three small overlapping circles, then click on the icon with the three small cursors (bottom right of your screen), and then the yellow circle.
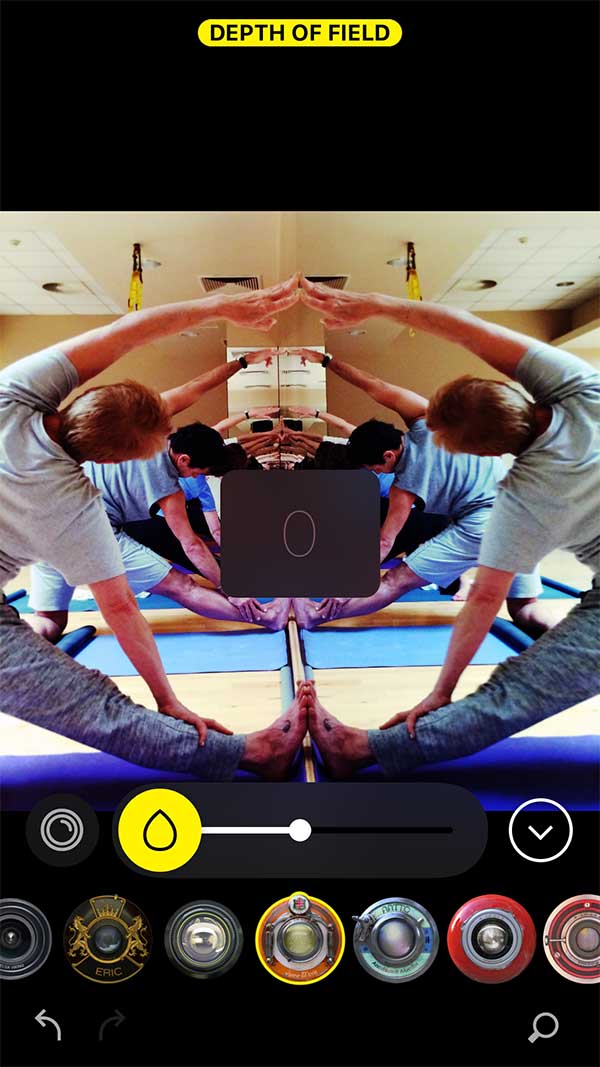
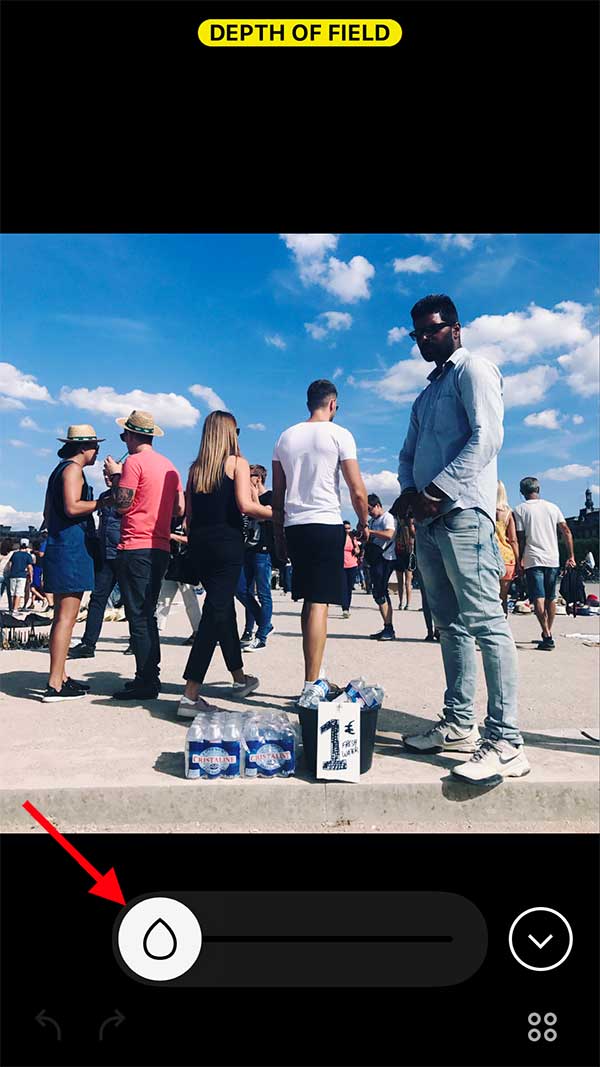
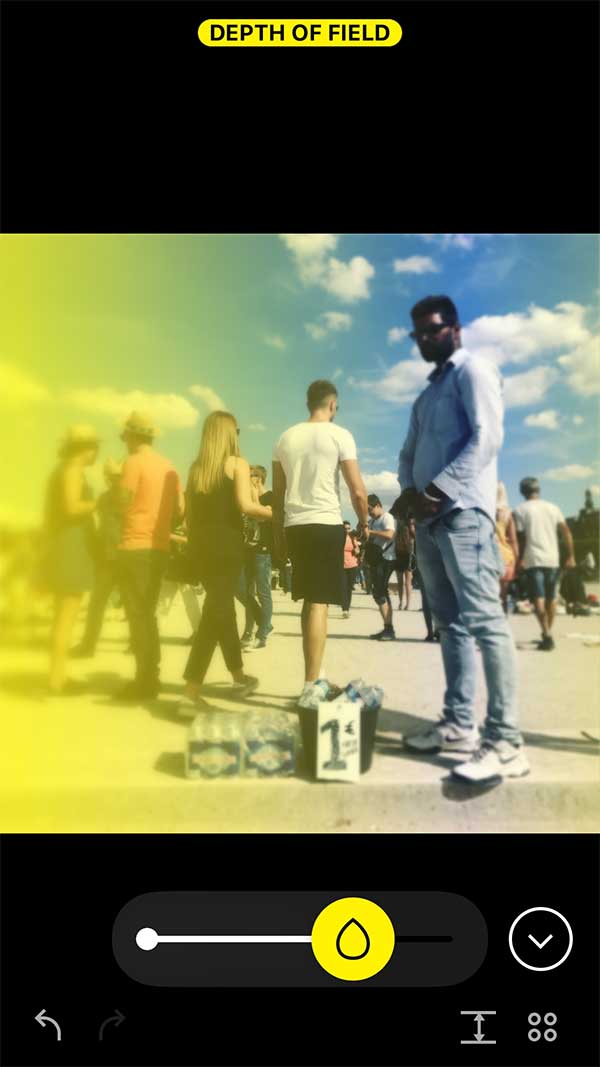
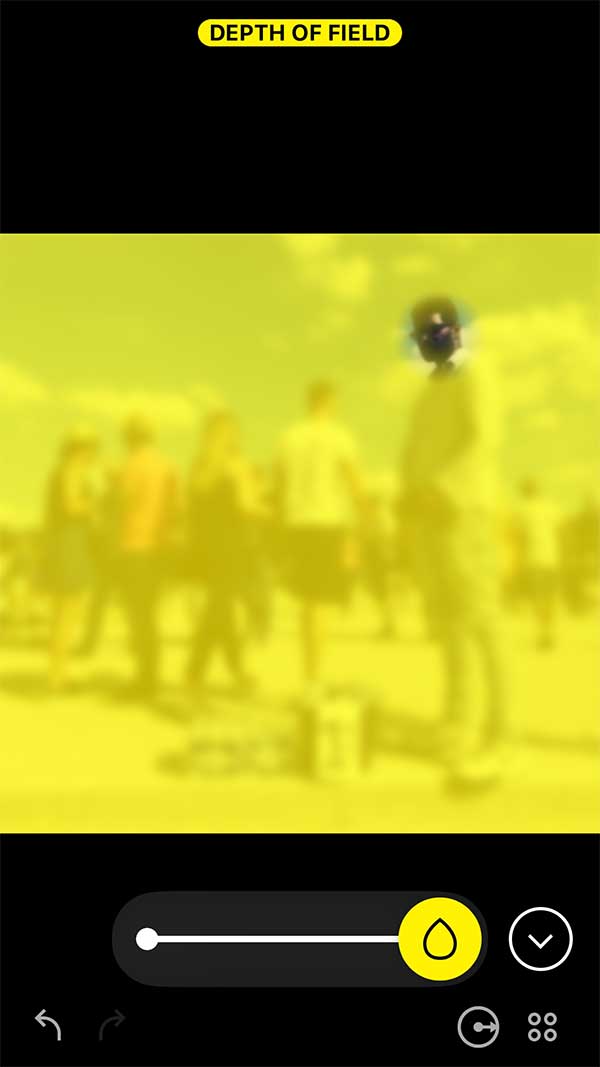
Choose Depth of Field; a cursor will appear allowing you to create a kind of tilt-shift effect: the center of the image is clear and the outer edges are out-of-focus. By sliding the cursor you can intensify or reduce the effect.
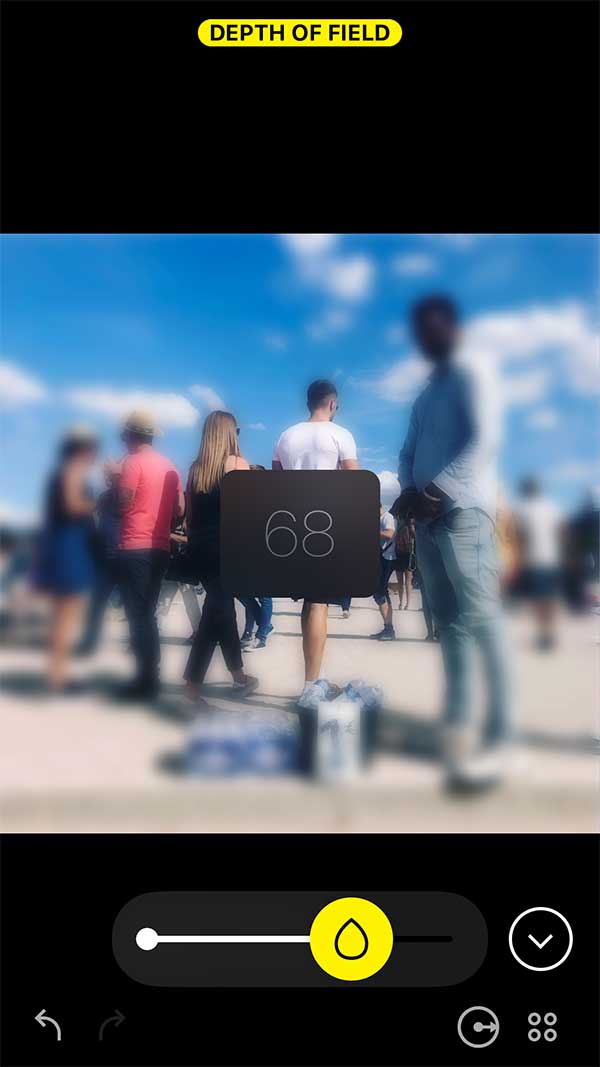
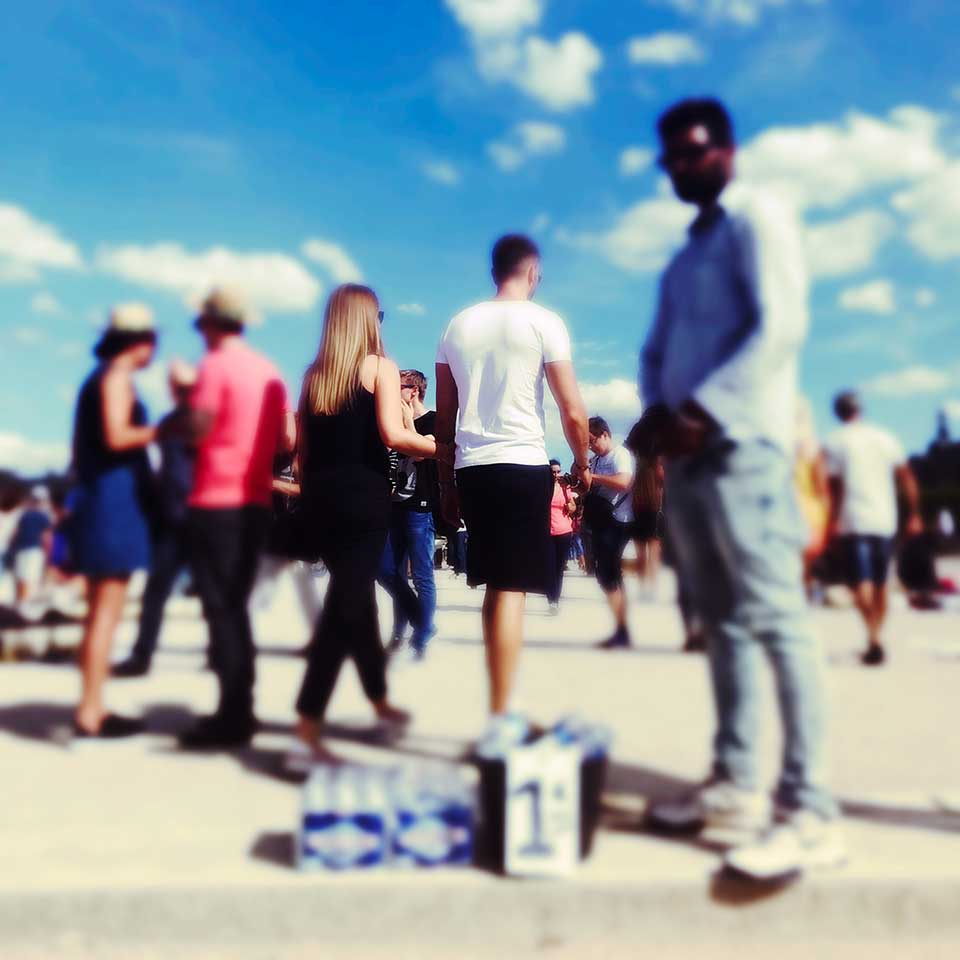
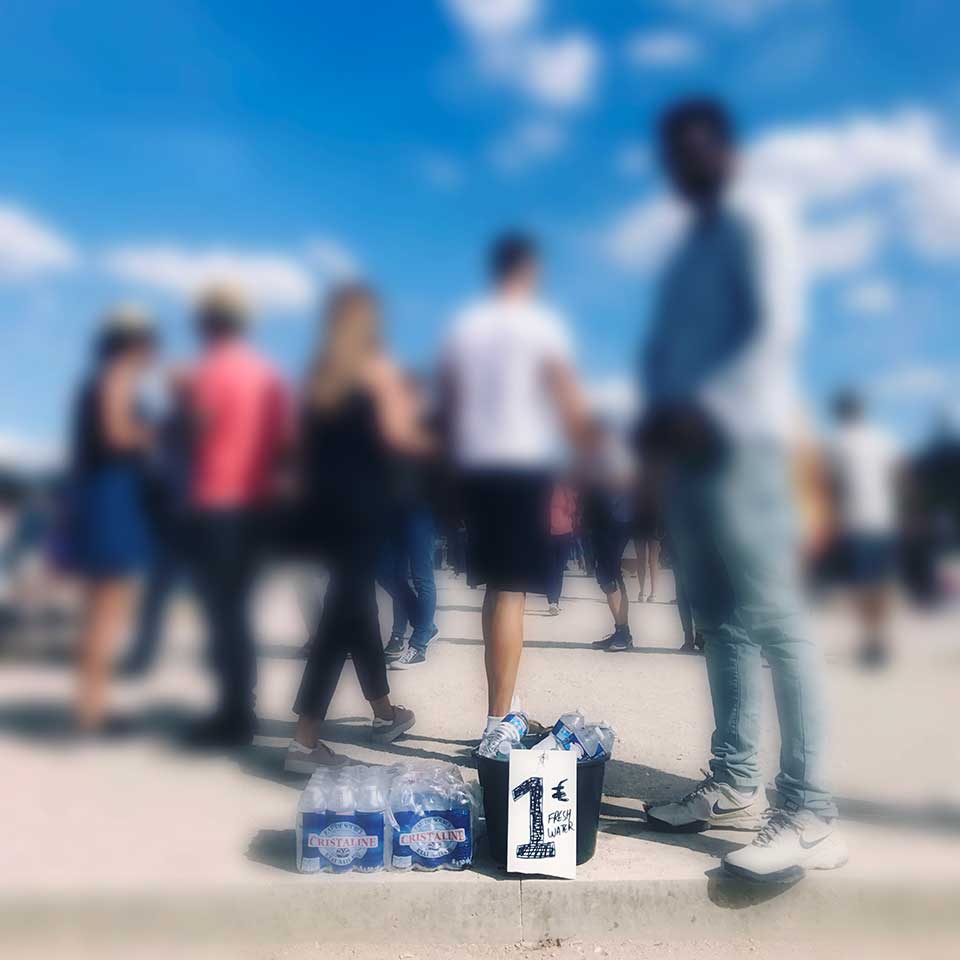
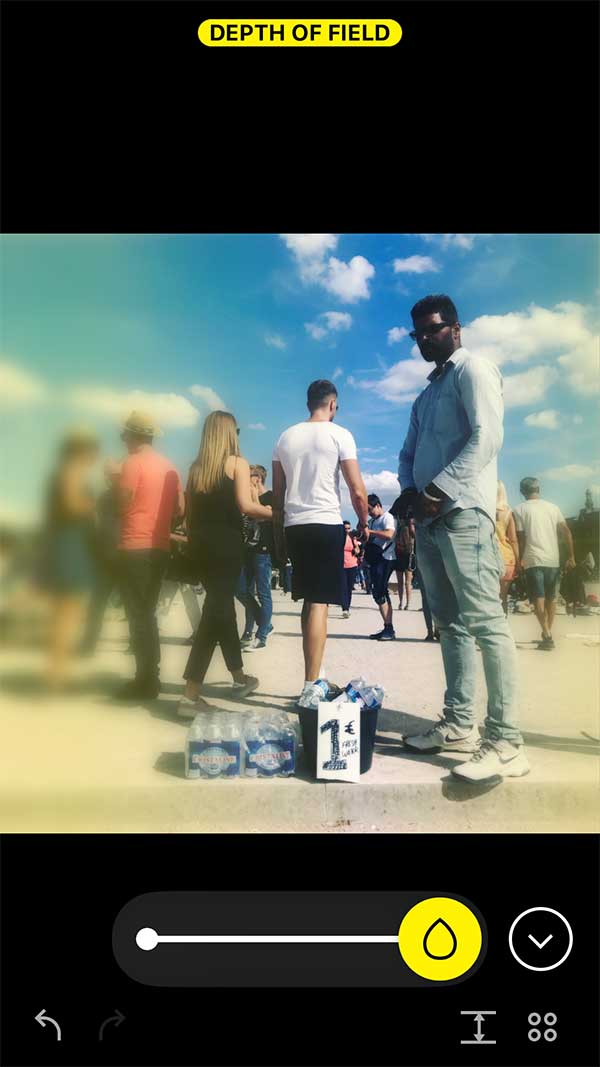
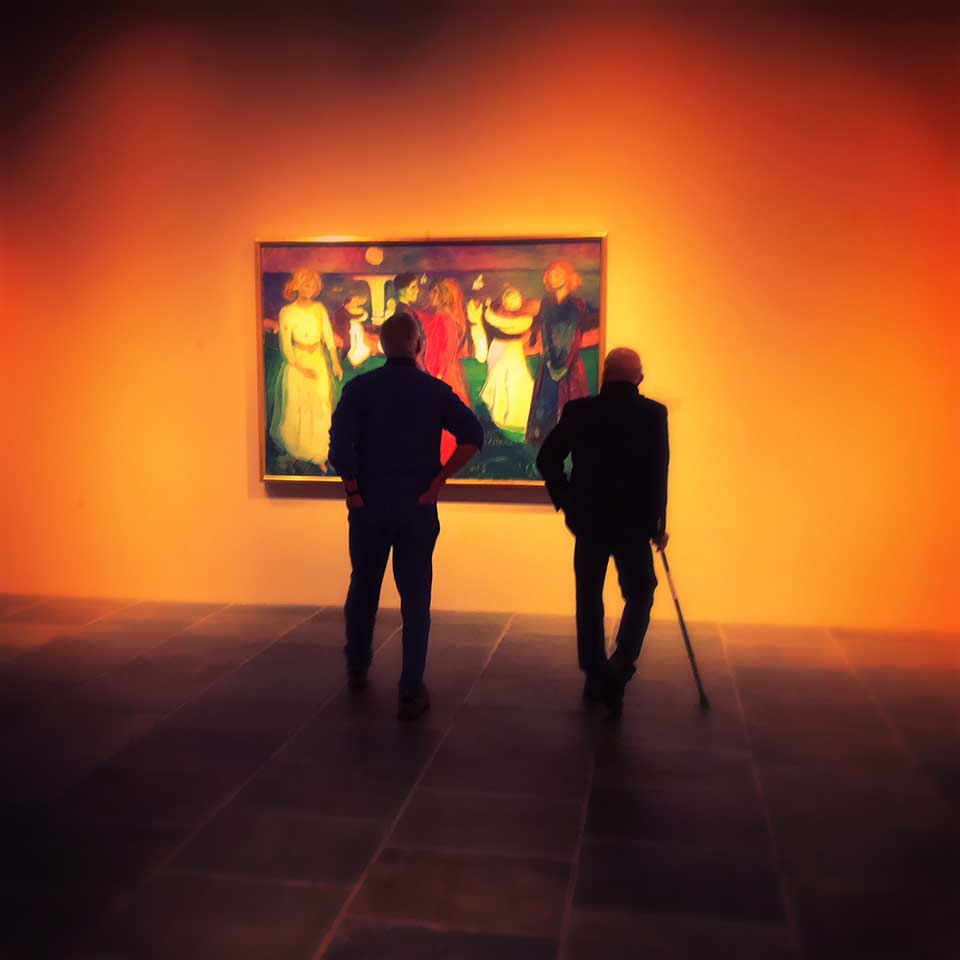
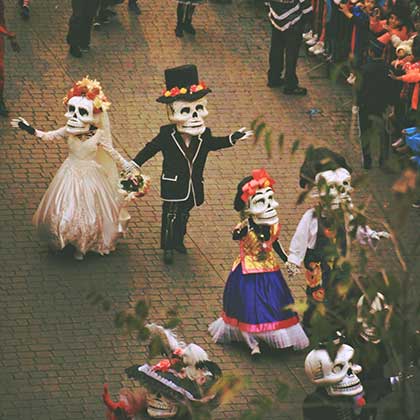
You can also move the in-focus area of the picture around, if you so desire. Start with the in-focus part at the center of the picture – in our example, that’s the couple at the center of this picture. By touching that part of the picture, you can move it to make a different area in-focus: in the example, I moved the focus to the person on the right. I could also highlight the product the person is selling, by focusing on that particular area.
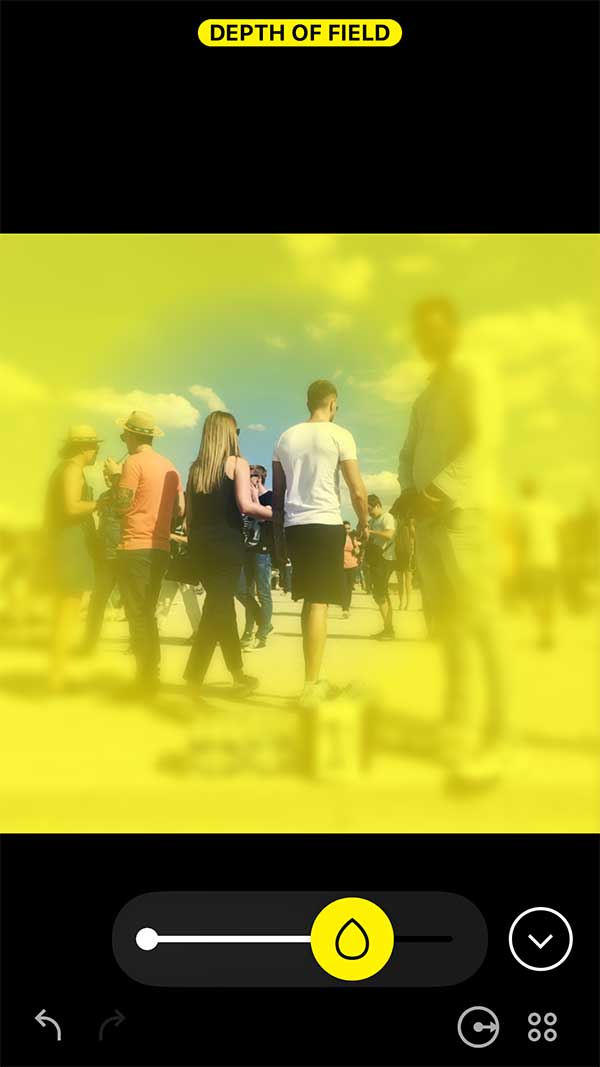
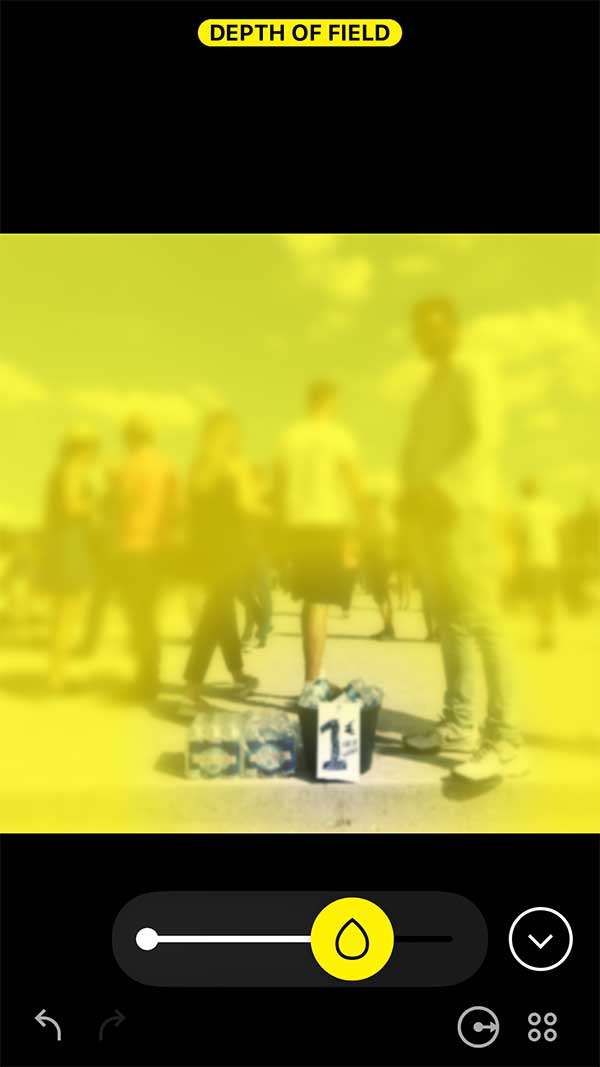


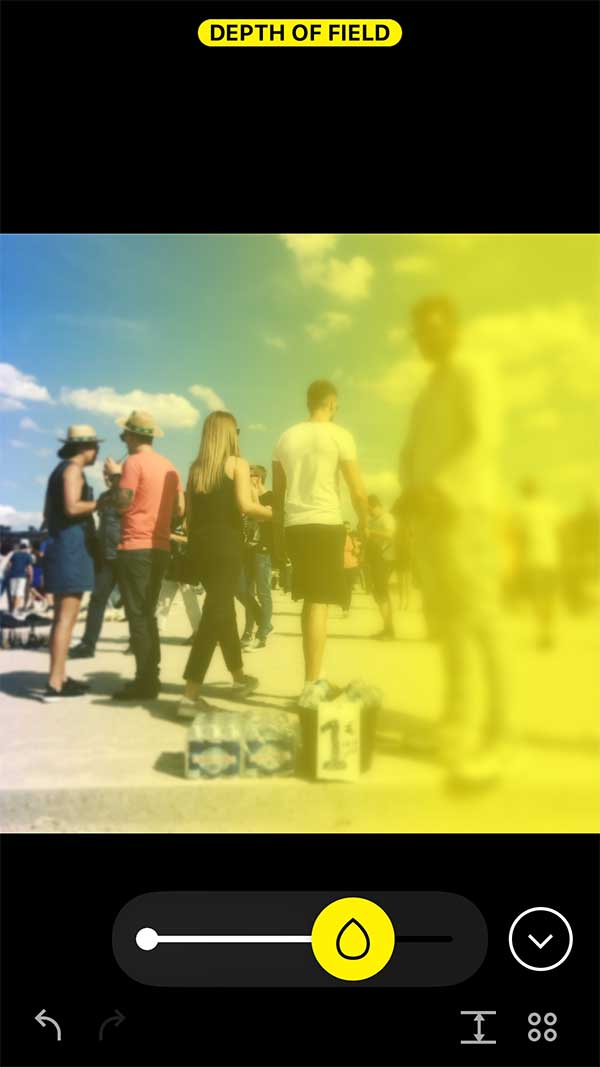
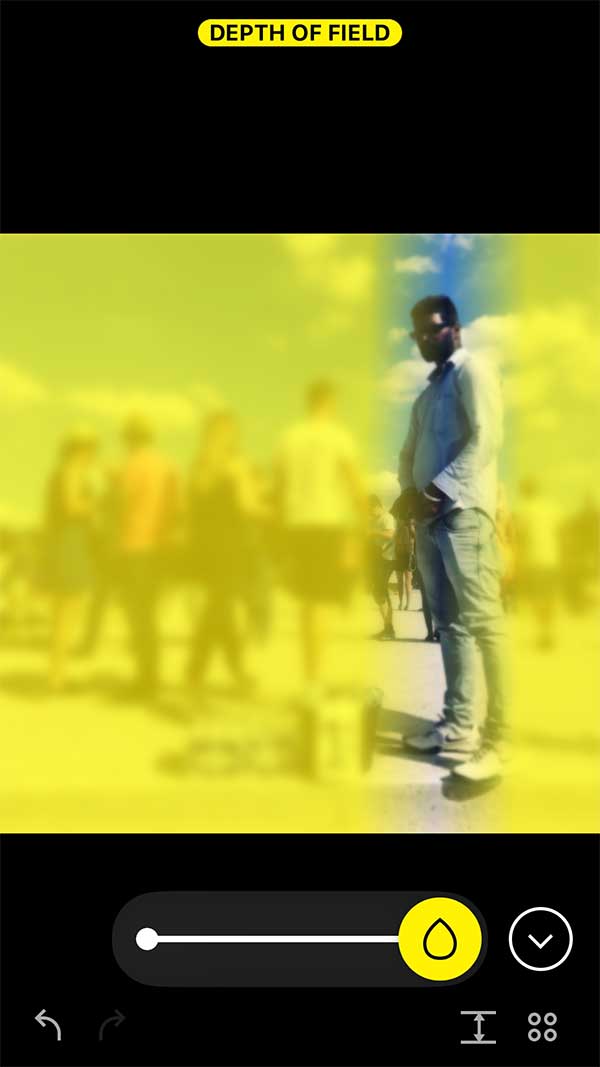
That’s not all though. By moving the "intensity" cursor (between 0 and 100), a new icon appears at the bottom of the screen. This allows you two possible effects: a circular effect (as explained above), or a rectangular effect.
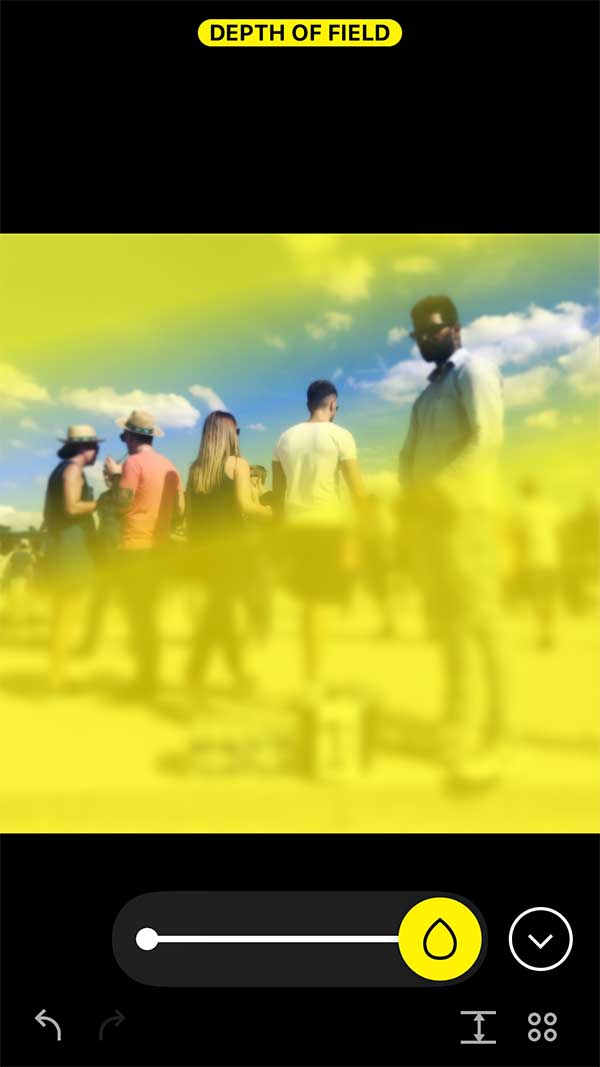
As with the circular effect, you can adjust the in-focus area to your liking: either the person to the right or, for example, the couple to the left.
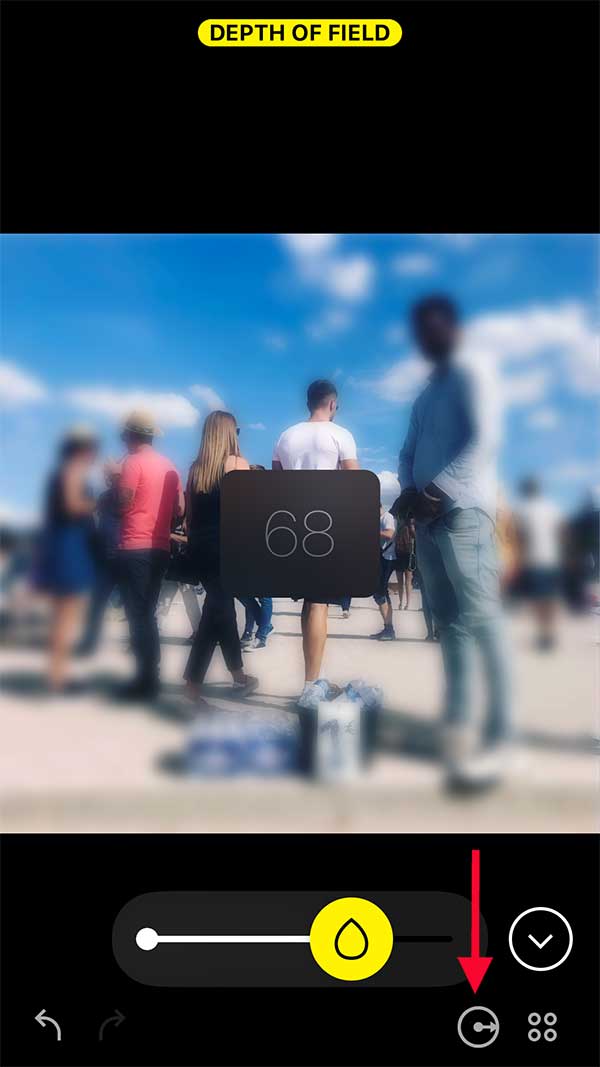
Last bonus: on top of all that, you can also define the size of the clear area. I’ve taken the example of the circular effect and placed it over the head of the person to the right. By using two fingers to "pinch" the effect, you can focus solely on the face. The opposite works too!
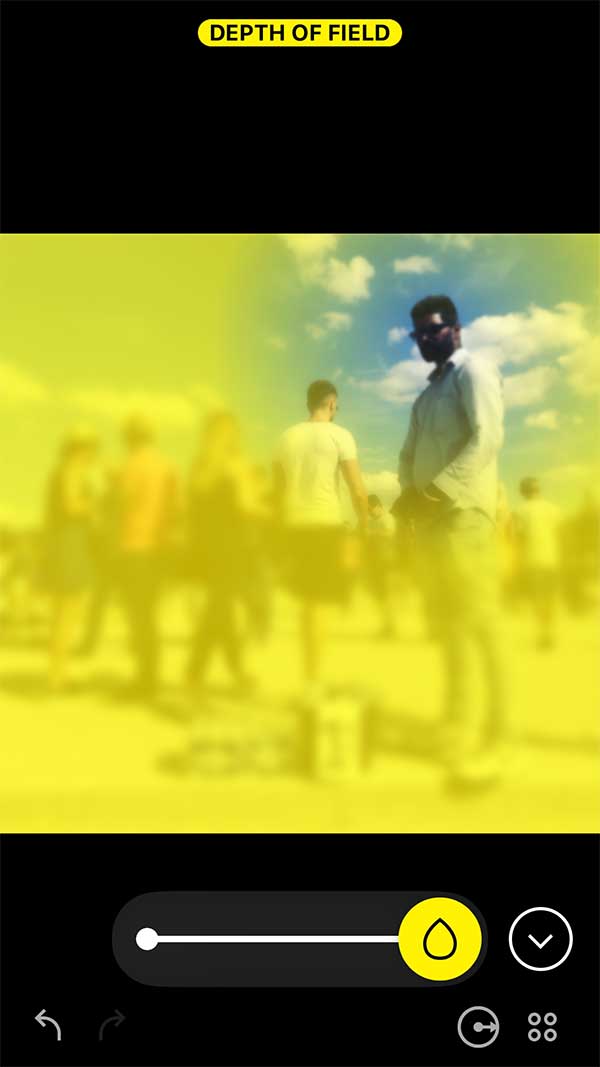
This can also be applied to the rectangular format: you can make the area slimmer or wider or even swivel it any which way you want. Handy, huh?
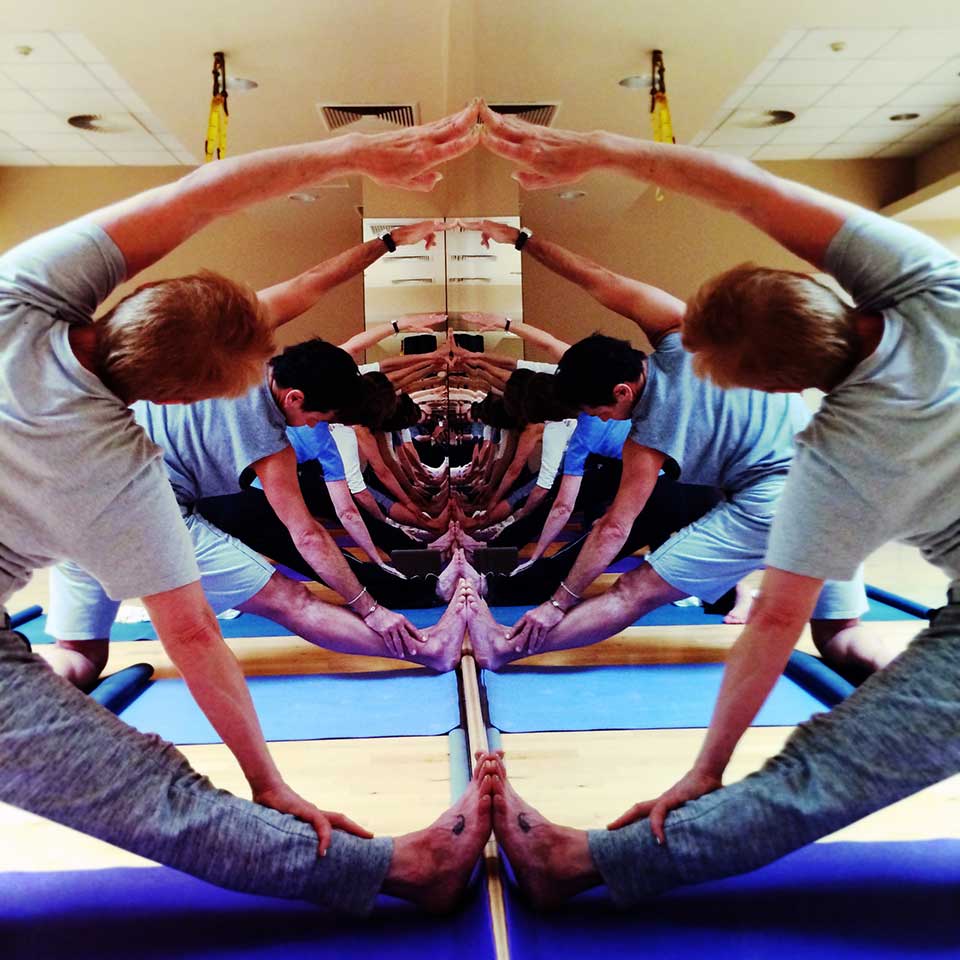
Here are some of the pictures published on Hipsta365, selected by Lori Hillsberg and Stephen Littrell.
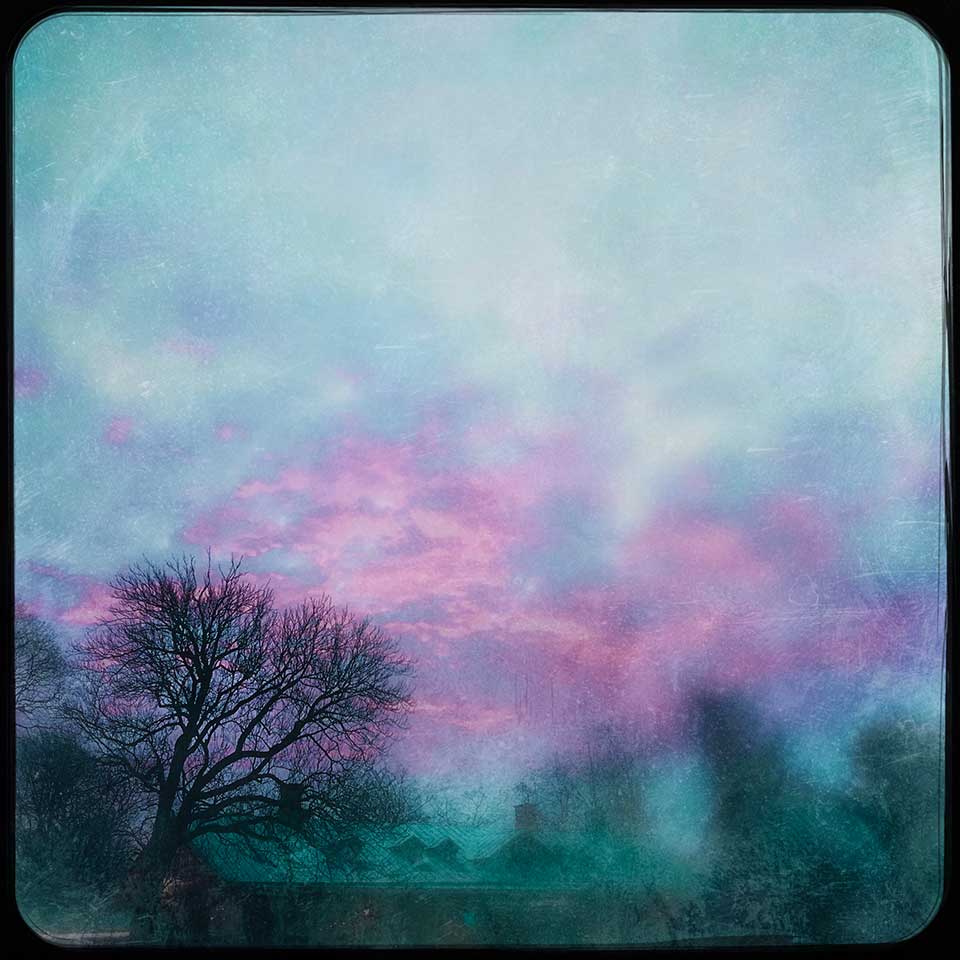
1. Leslie Burnside
Lens: Loftus
Film: Abbot K20
Flash: Juicy Orange Gel
Clarity: 43 • Depth of Field: 56
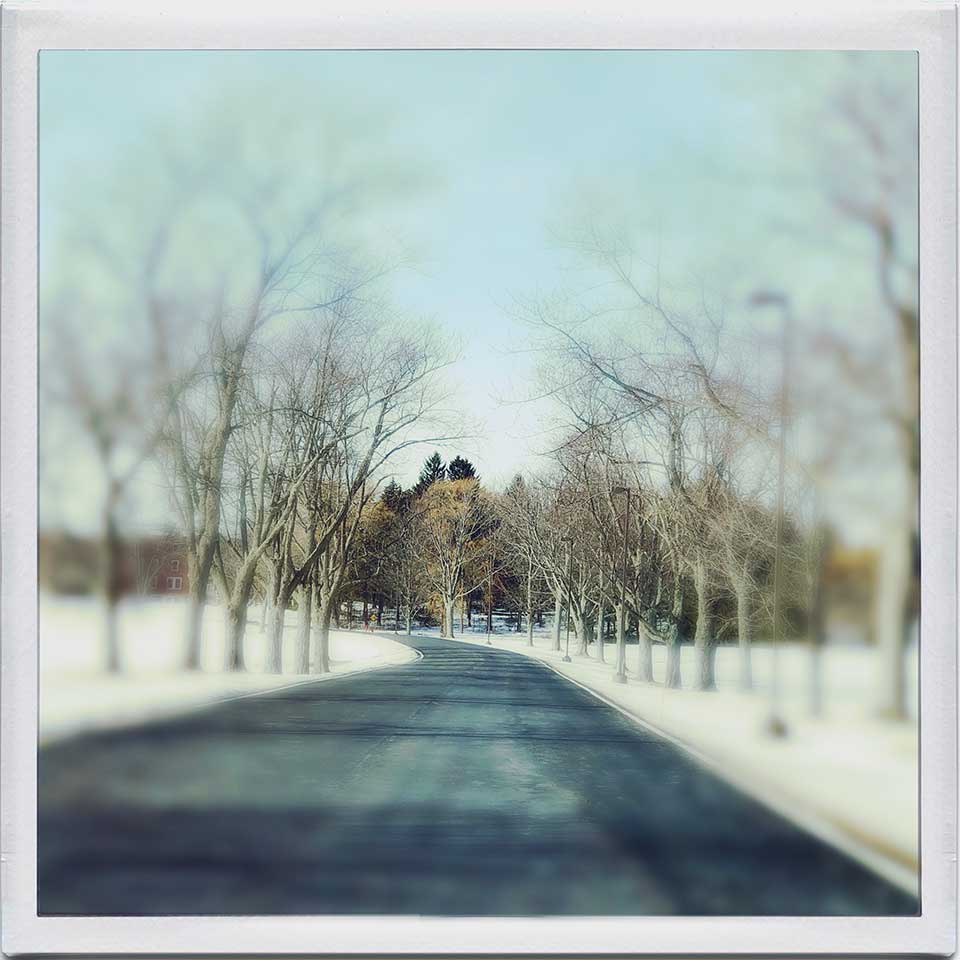
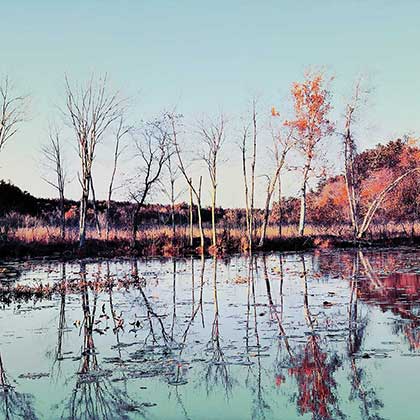
2. Ger van den Elzen
Lens: Beard
Film: Bream
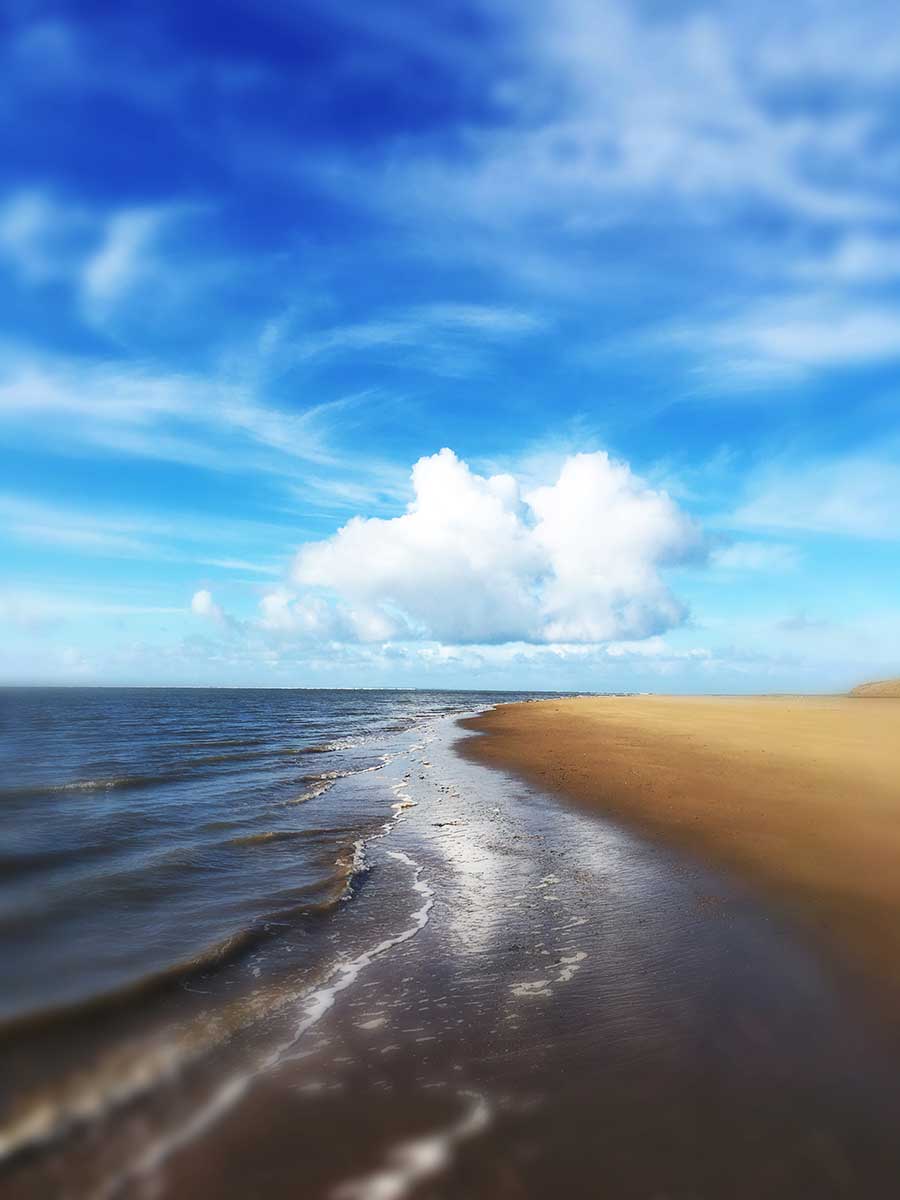
3. Angela Anger
Lens: Loftus
Film: Daydream
Flash: Apollo
Depth of Field: 81
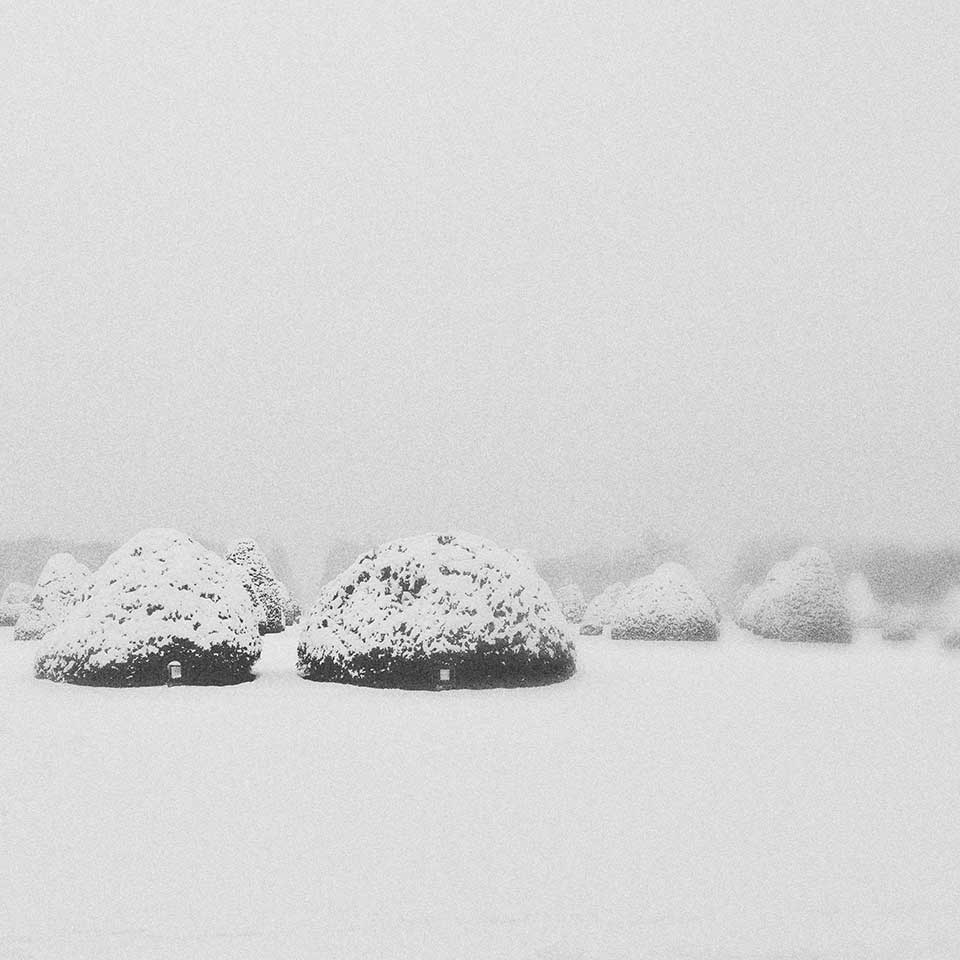
4. Karen Prue
Lens: Jane
Film: Blanko 1
Flash: Berry Pop
Clarity: 30 • Depth of Field: 38

5. Laura Fried
Lens: Anne-Marie
Film: Gotland
Flash: Yuletide
Clarity: 16 • Definition: 11 Highlights: -2 • Shadows: 0 • Depth of Field: 23

6. Lydia Cassatt
Lens: Tinto 1884 (39%)
Film: DC
7. Cecilia Möller
Lens: Takashi
Film: Love 81
Depth of Field: 75
8. Patricia Januszkiewicz
Lens: Anne-Marie
Film: Abbot K20
Depth of Field: 80
9. Jessica Warren
Lens: Loftus
Film: Otto
Depth of Field: 80
10. Lívia Nagy-Balogh
Lens: Erie Gl
Film: Kitsune 67
Clarity: 20 • Depth of Field: 40
This post is also available in: French

0 comments