
Hipstamatic 340
Most of the previous updates have meant minor, albeit very useful, changes but here is the 340 version of Hipstamatic and it is rather revolutionary. The changes are mainly to be found in the Pro Mode settings thus in the way you edit your photographs. Faced with an exponentially increasing number of elements in the Hipstamatic catalogue (more than 80 lenses and as many films…), it was necessary to come up with some kind of solution and this is what the new interface is based on.
Before starting, please note that this update is also linked to the "Happy Holidays: Give and Receive 2017" campaign that Hipstamatic is, once again, organizing for the holidays. More info here.
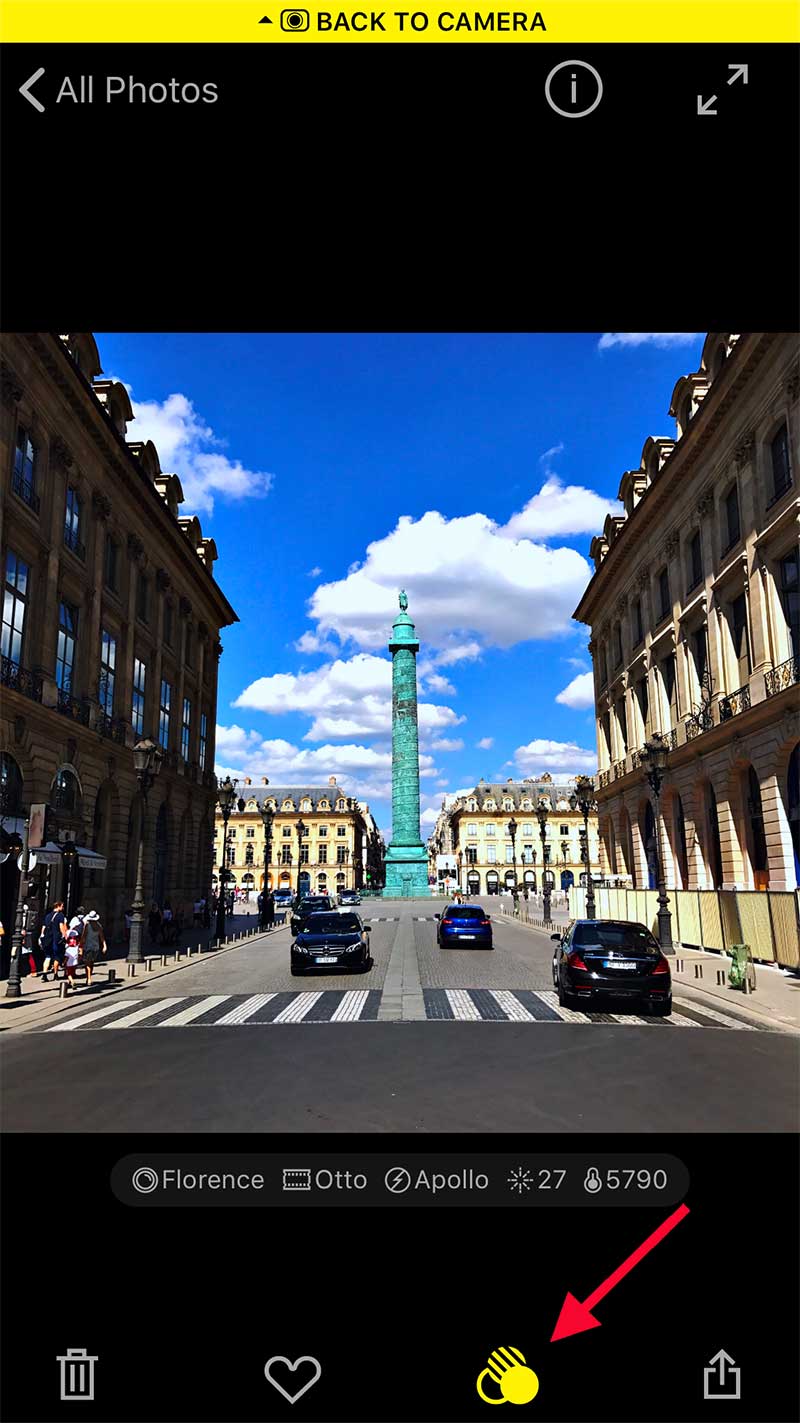
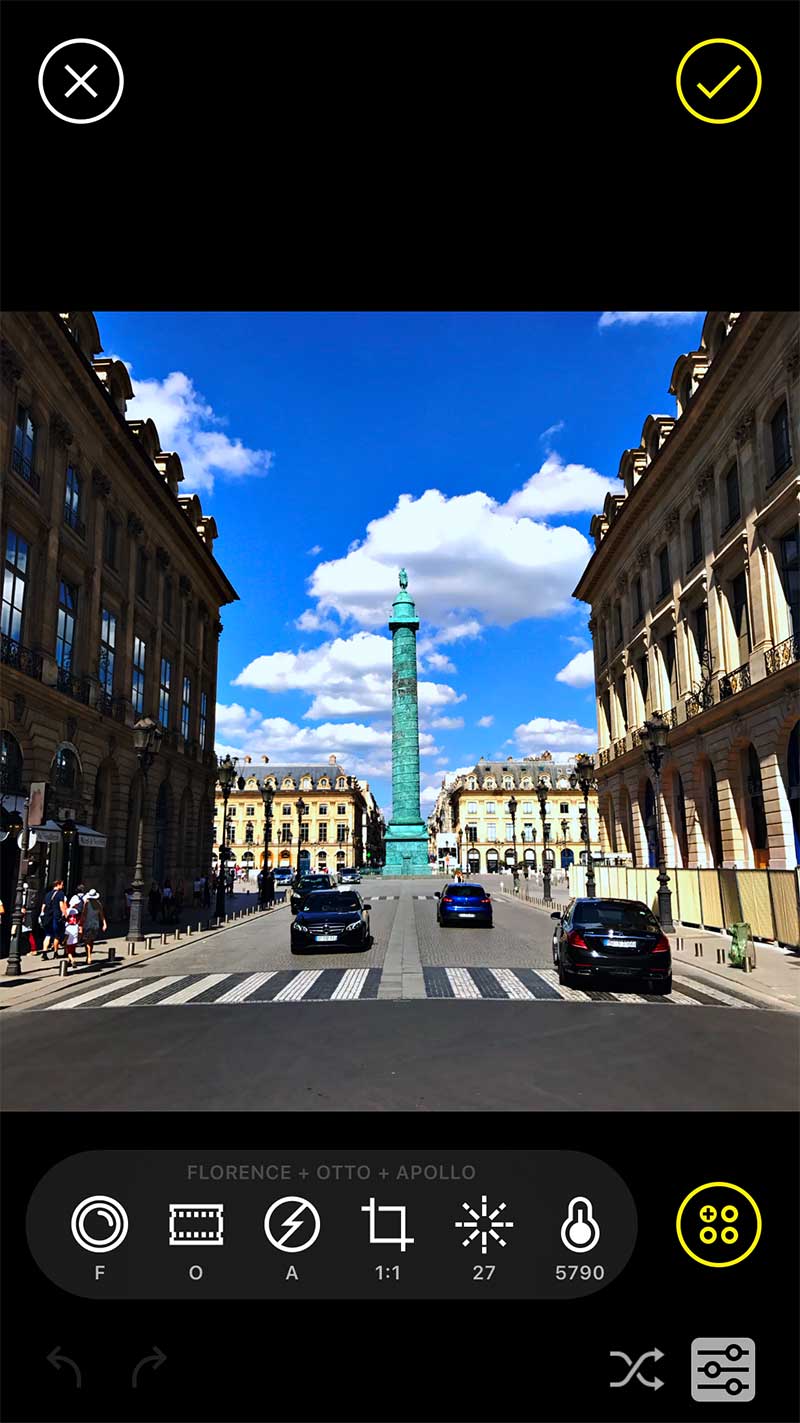
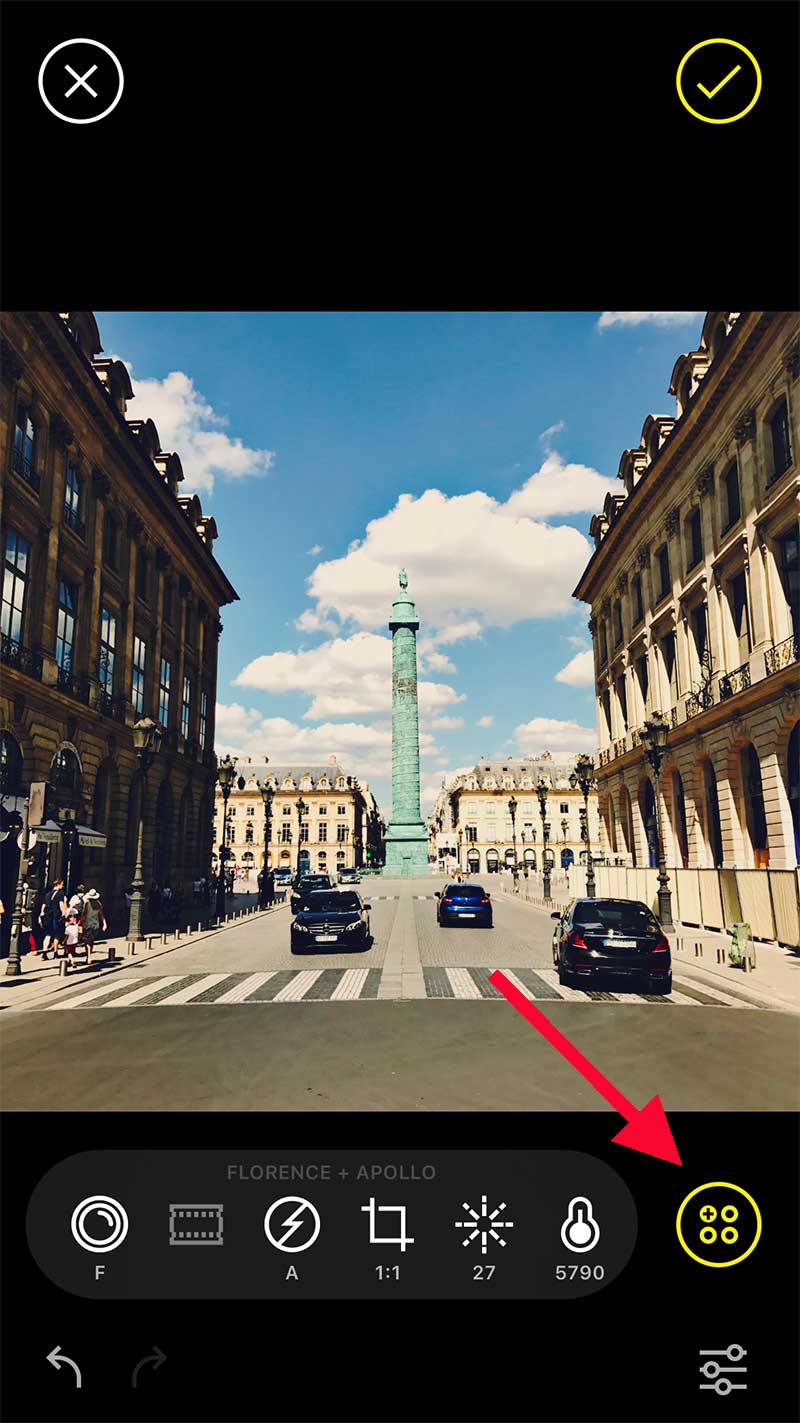
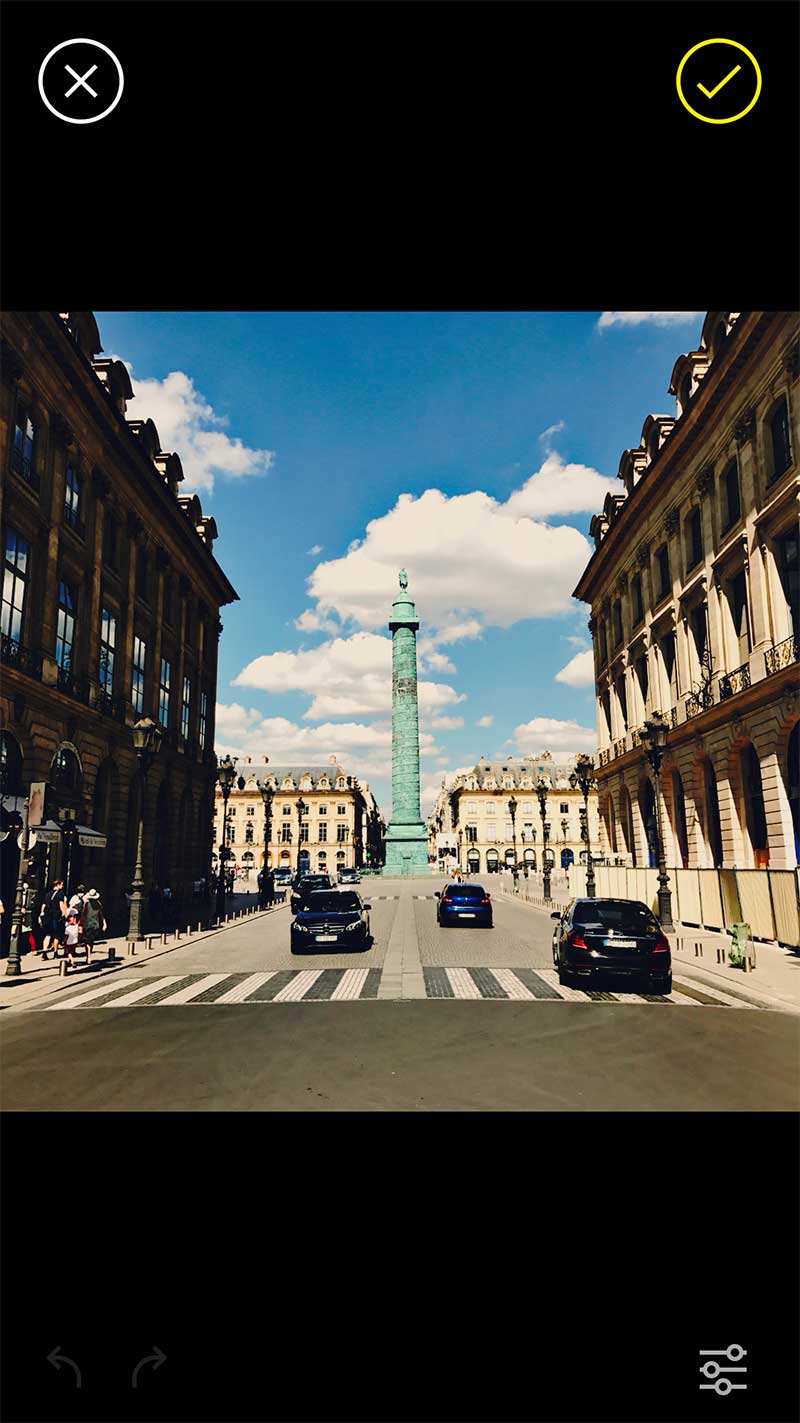
That said, we have a new interface for editing photos. You can access it by touching the three interlocking circles on your screen. You will be led to the interface where you have stored your combos and you’ll need to click on the three sliders at the bottom of your screen. The new interface appears, including all the elements of your chosen combo: the lens, film and flash and possibly more functions that you applied while editing the photo you’ve just selected.

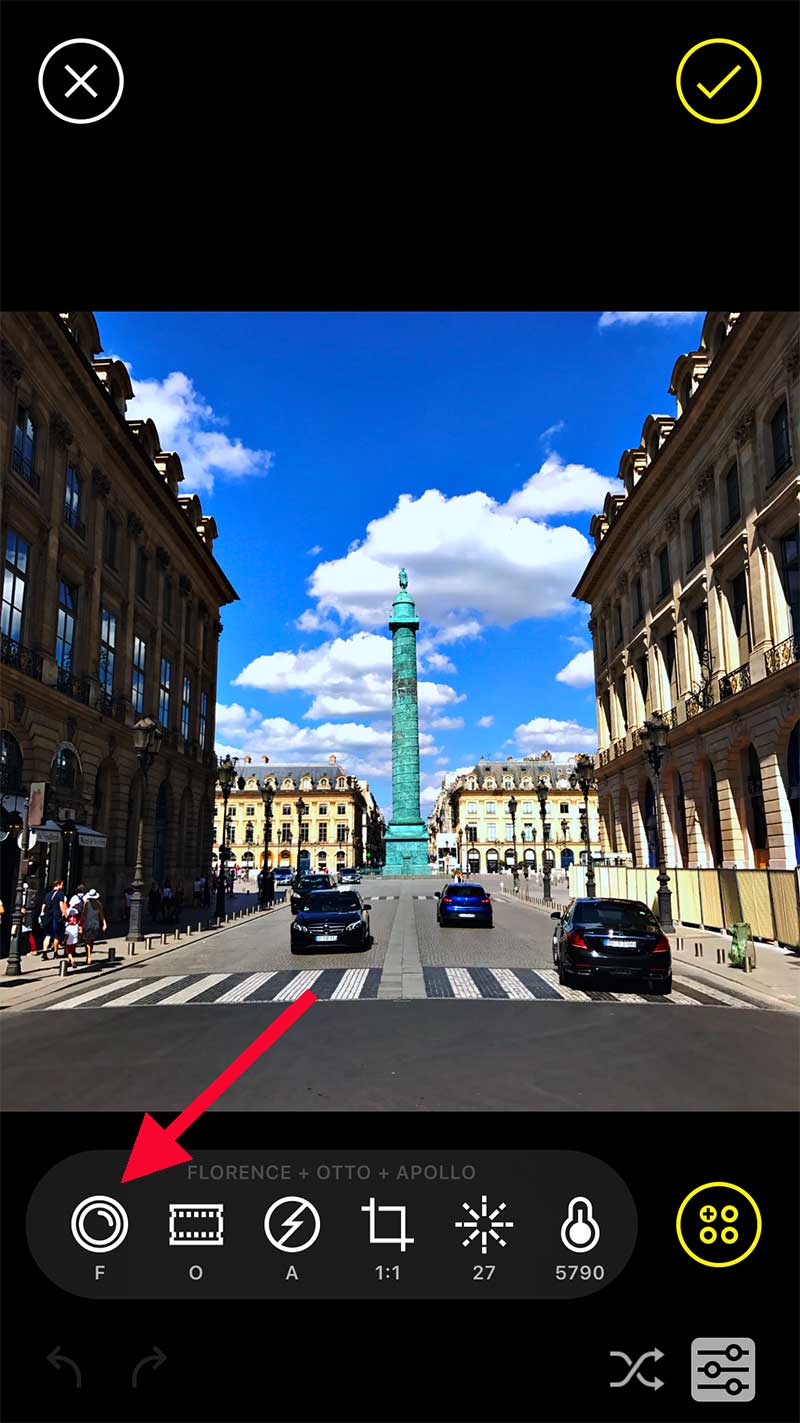
By clicking one of the elements, let’s say the lens, you can modify the intensity of one or the other effect with the aid of a cursor: slide it to the right to heighten the effect, and to the left to decrease the effect.
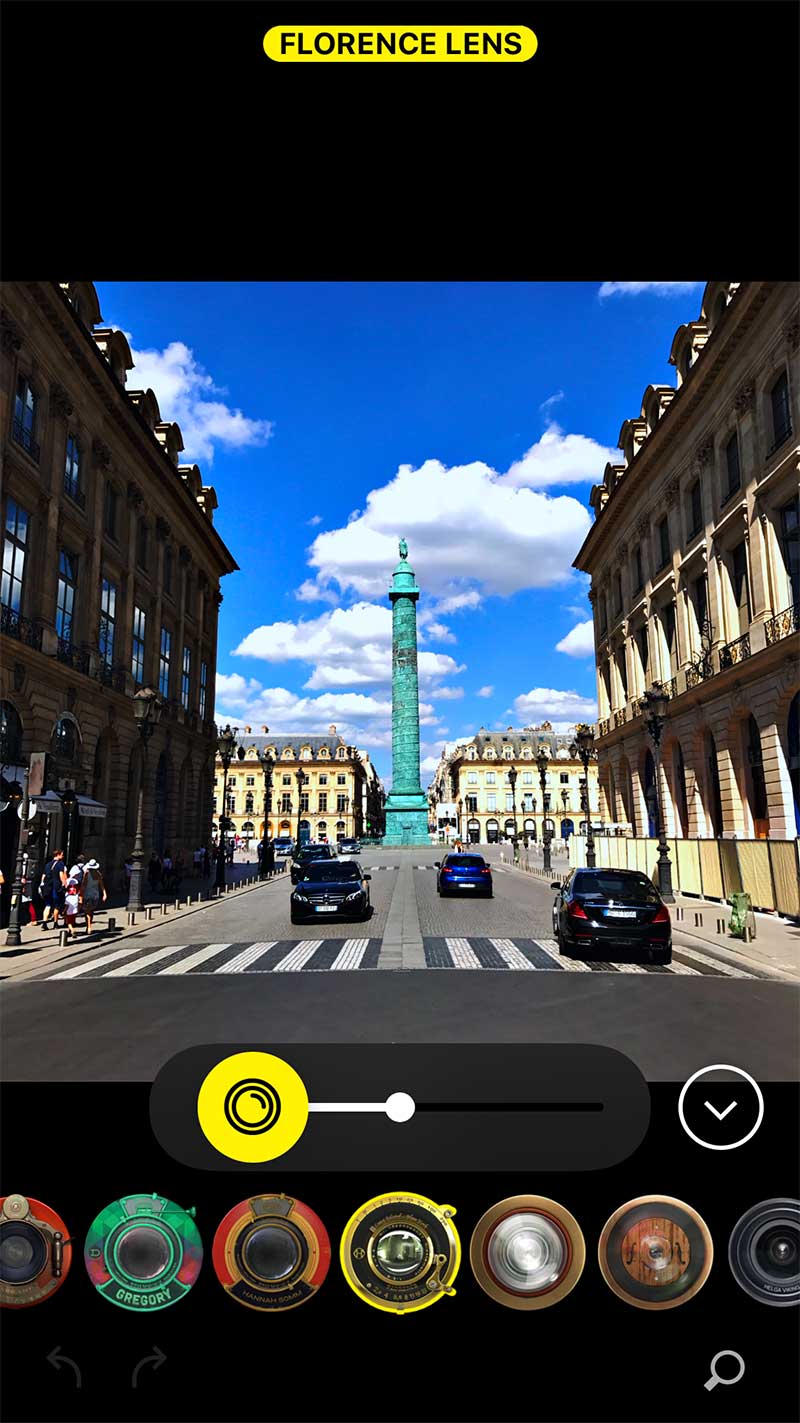
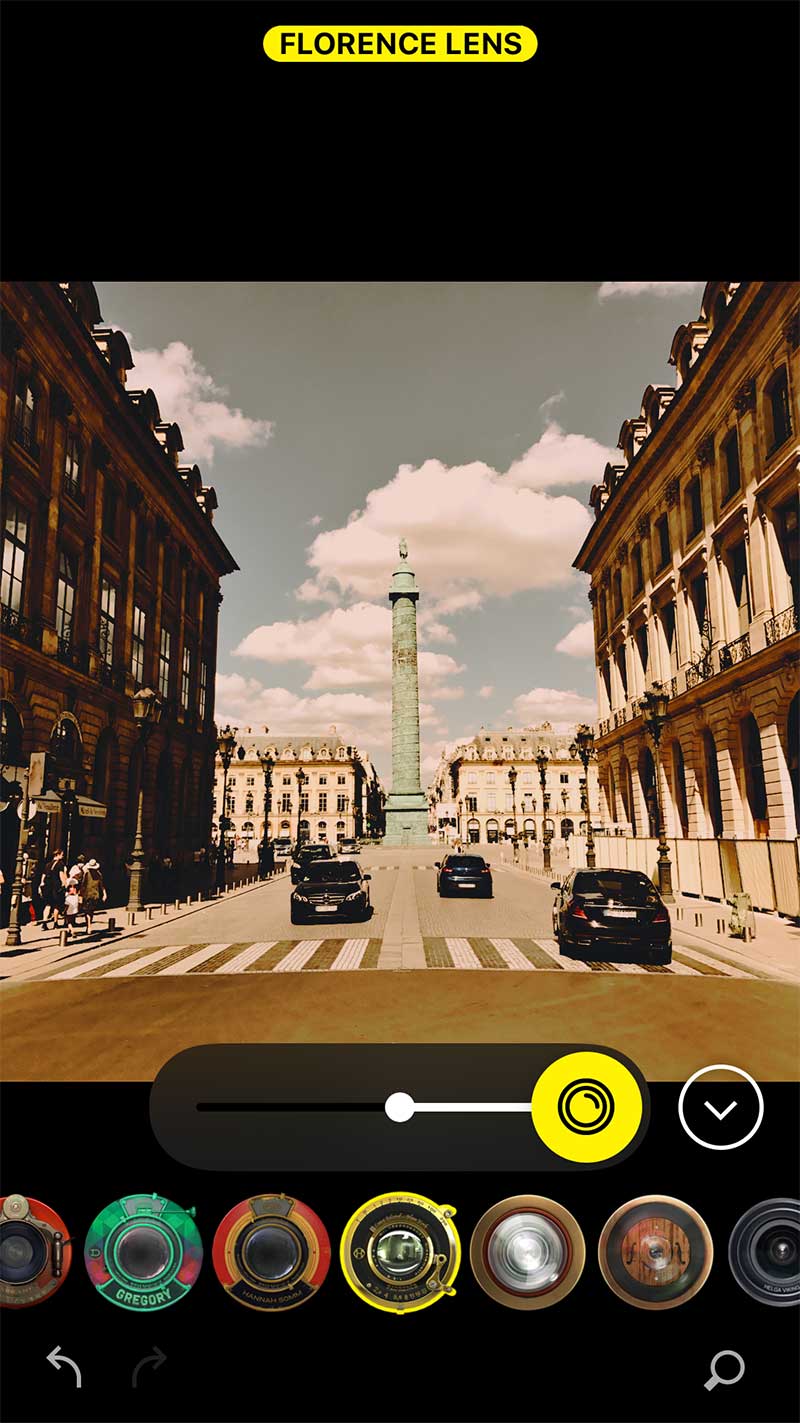
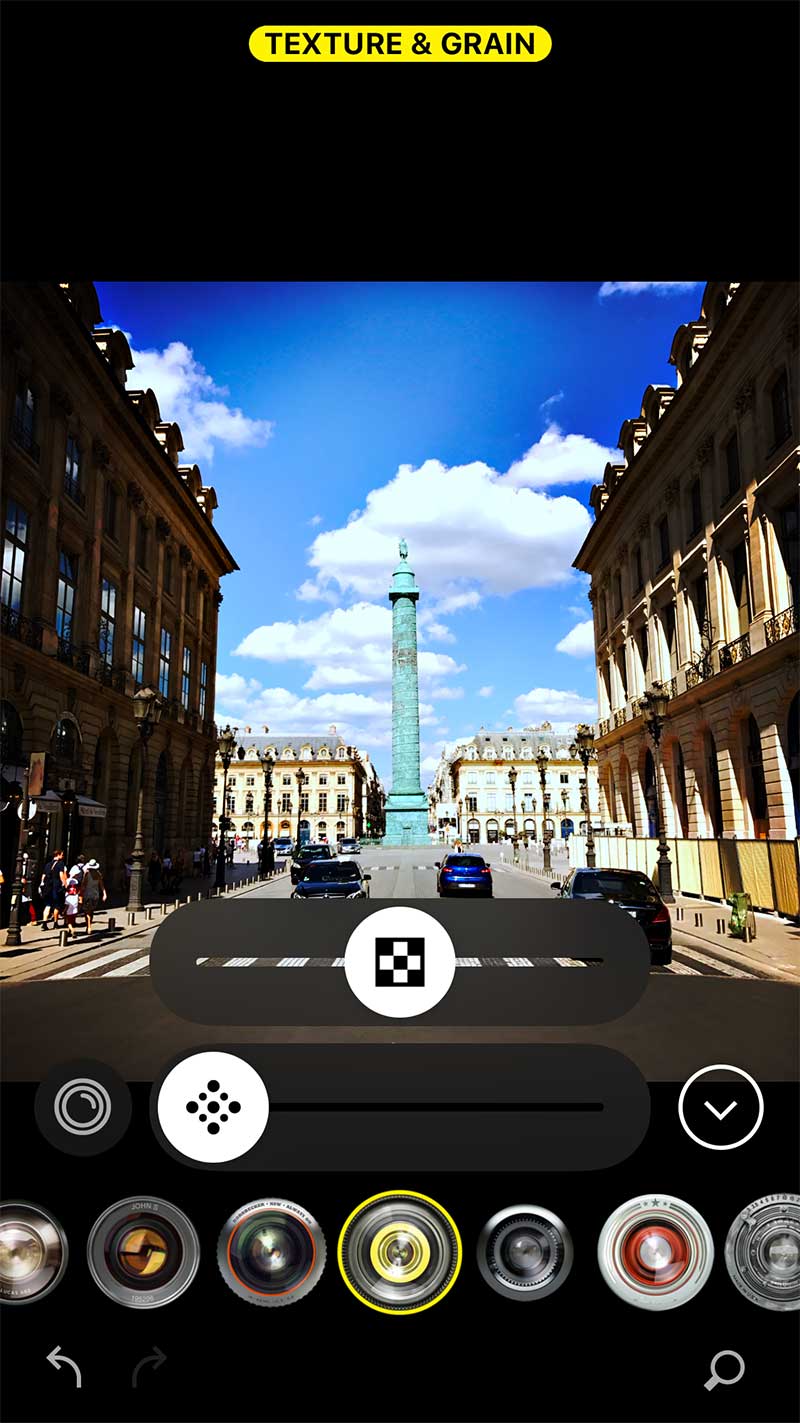
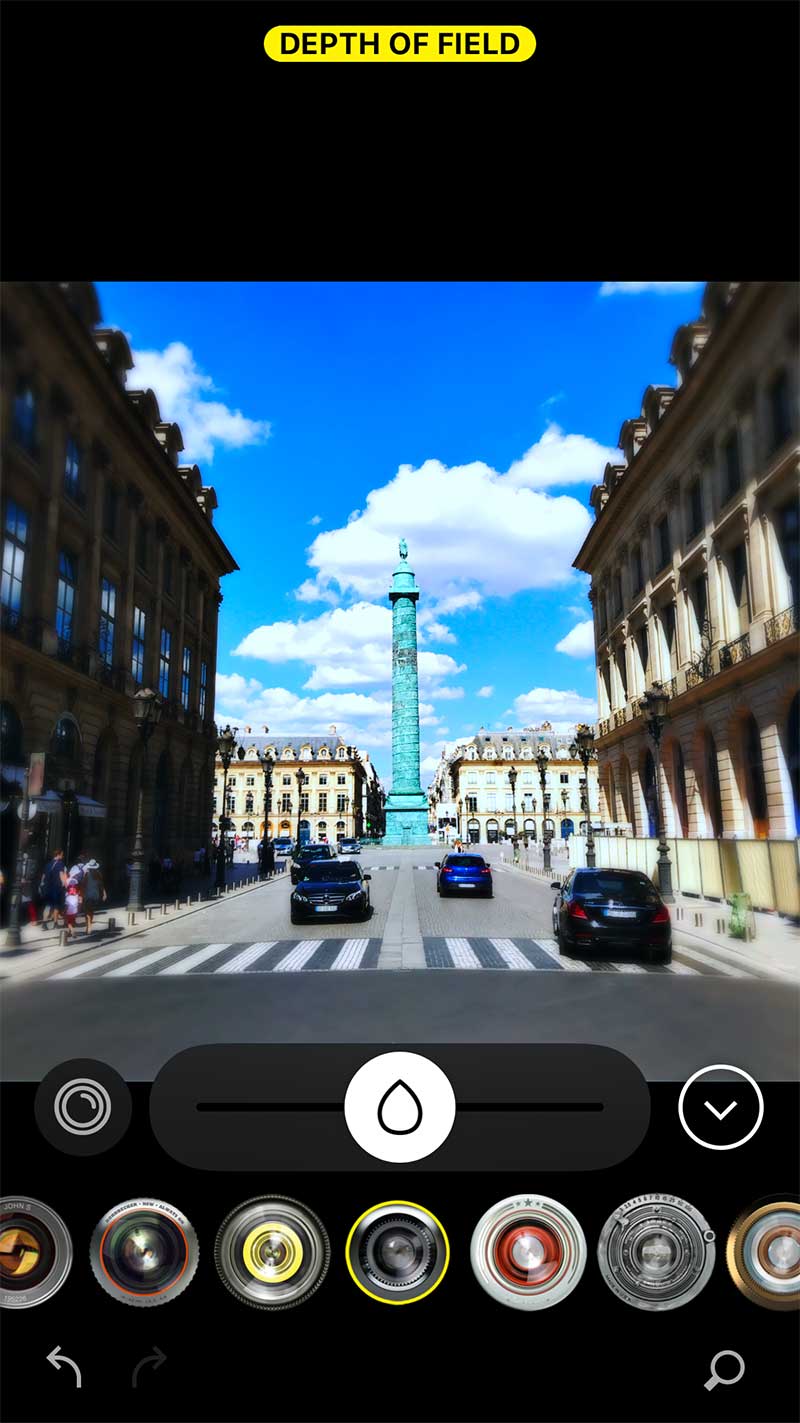
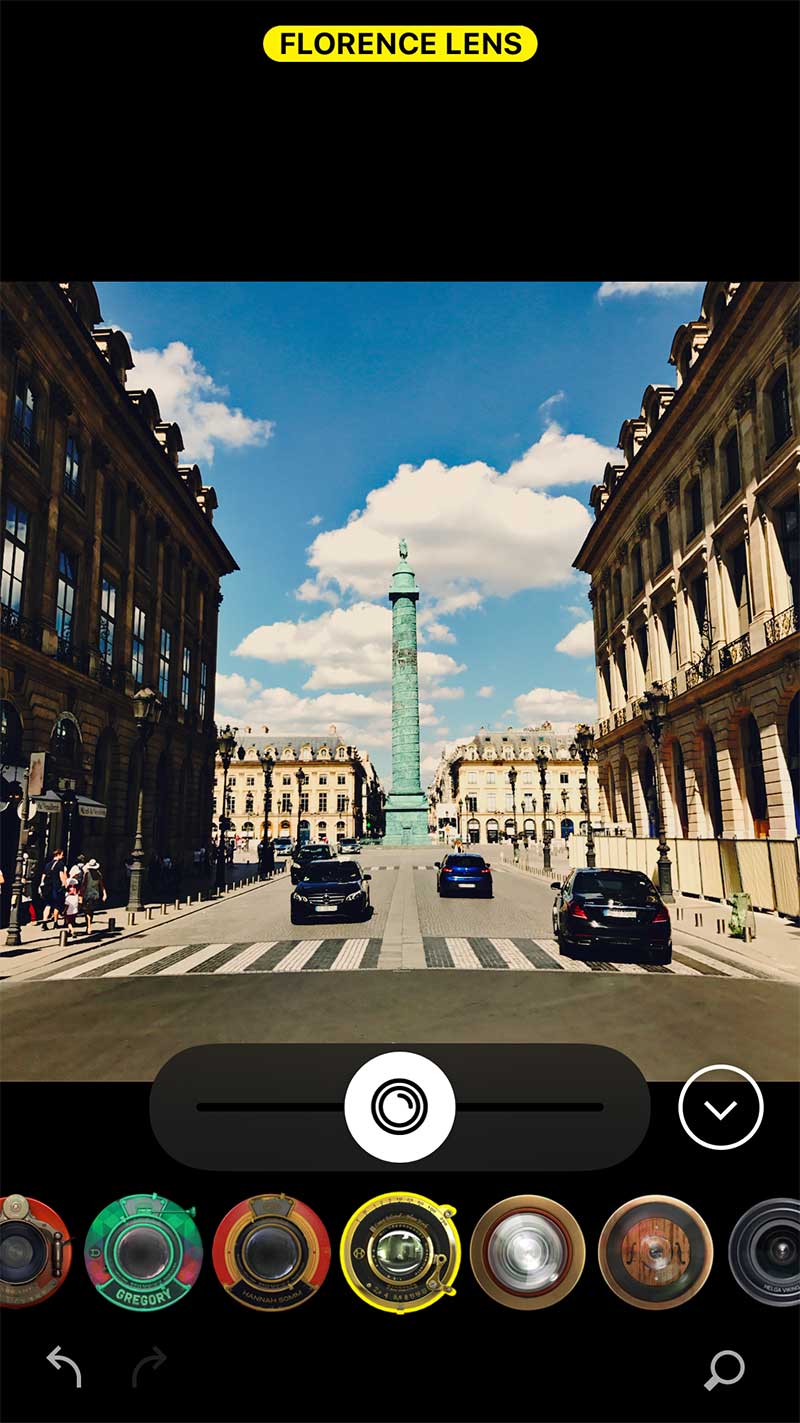
Another icon might appear to the left of the cursor with more options. I did say "might appear" because it doesn’t always occur; all depends on the effect that the lens produces. A number of them just don’t have this option; some will suggest two options, others only one... For example: with Jane you get the option of adjusting the texture and grain of the film. With Loftus you can only adjust the depth of field and Florence offers nothing at all. When your choice is made, click on the arrow to the right of the cursor to return to the previous menu.
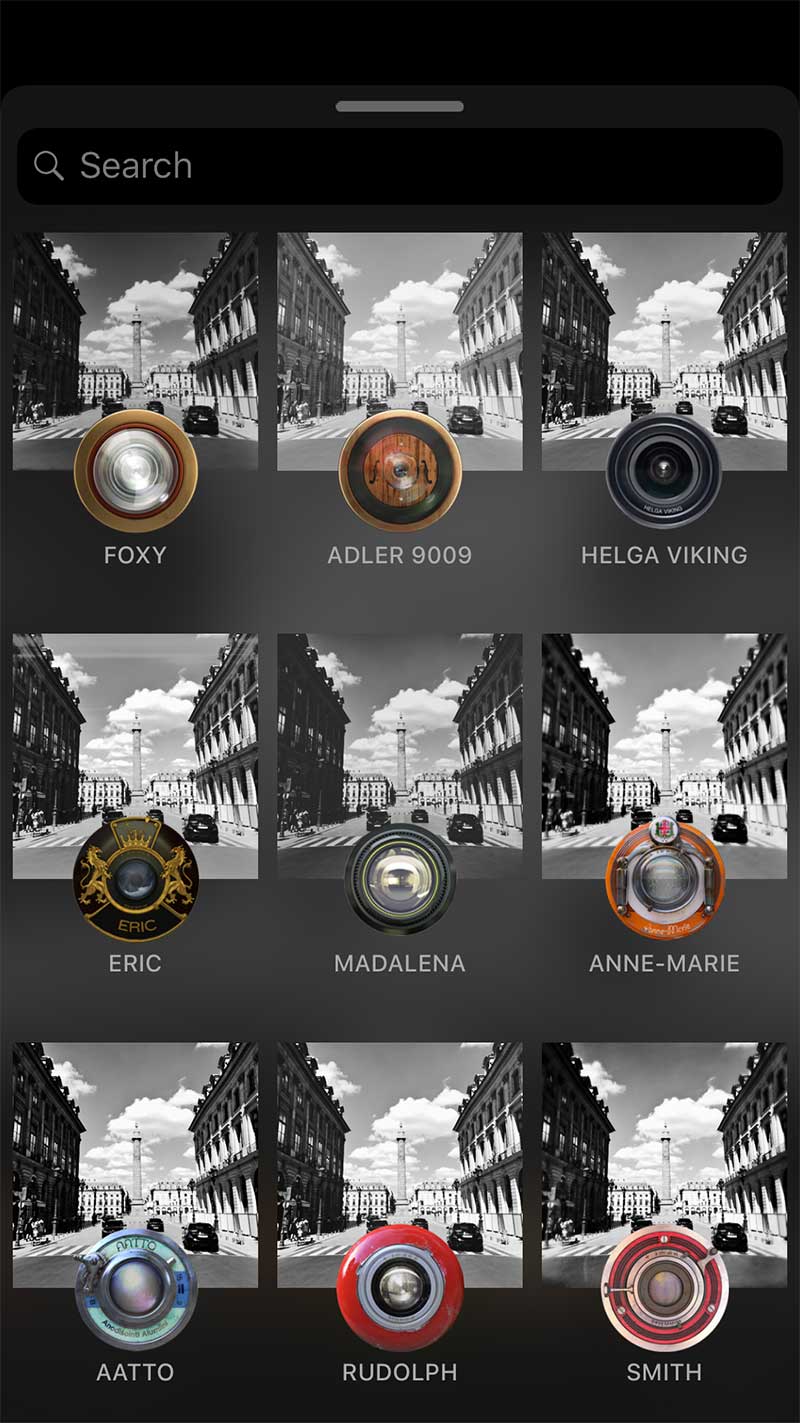
There are more novelties and quite exciting ones too! You’ll notice a small magnifying glass at the bottom of your list of lenses; this allows you to access another menu which, in turn, allows you to search for other elements. By clicking "Mark", for example, I’ll get the full list of lenses that contain the word "Mark". It’s very handy when you have a lot of elements because you no longer have to navigate from left to right to find the element you’re looking for.
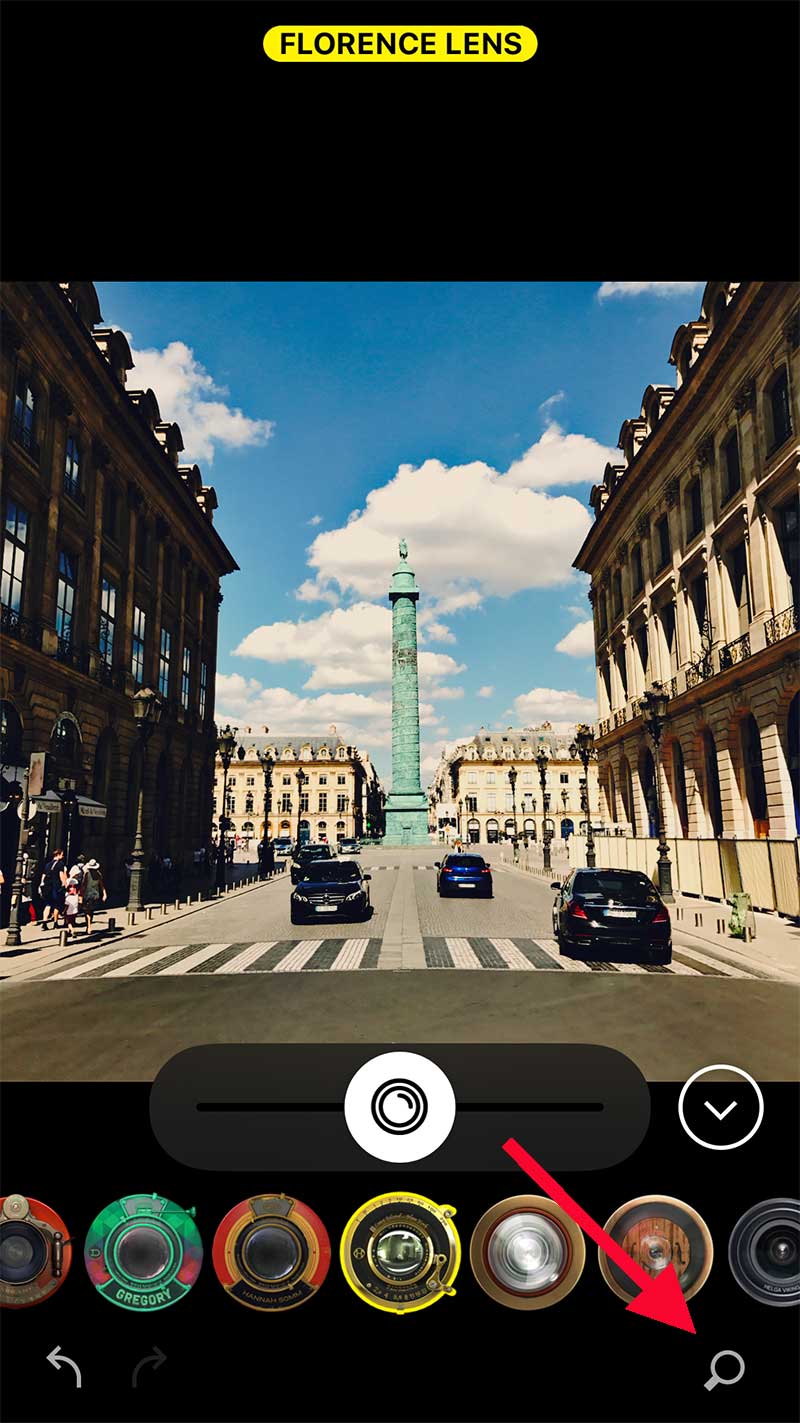

And that’s not all… Here’s a new and fantastic function: that same magnifying glass also gives you a run-down of all the different elements in your catalogue! By clicking "Done", you can now see every effect produced by every element! And the same goes for films and flashes, of course.
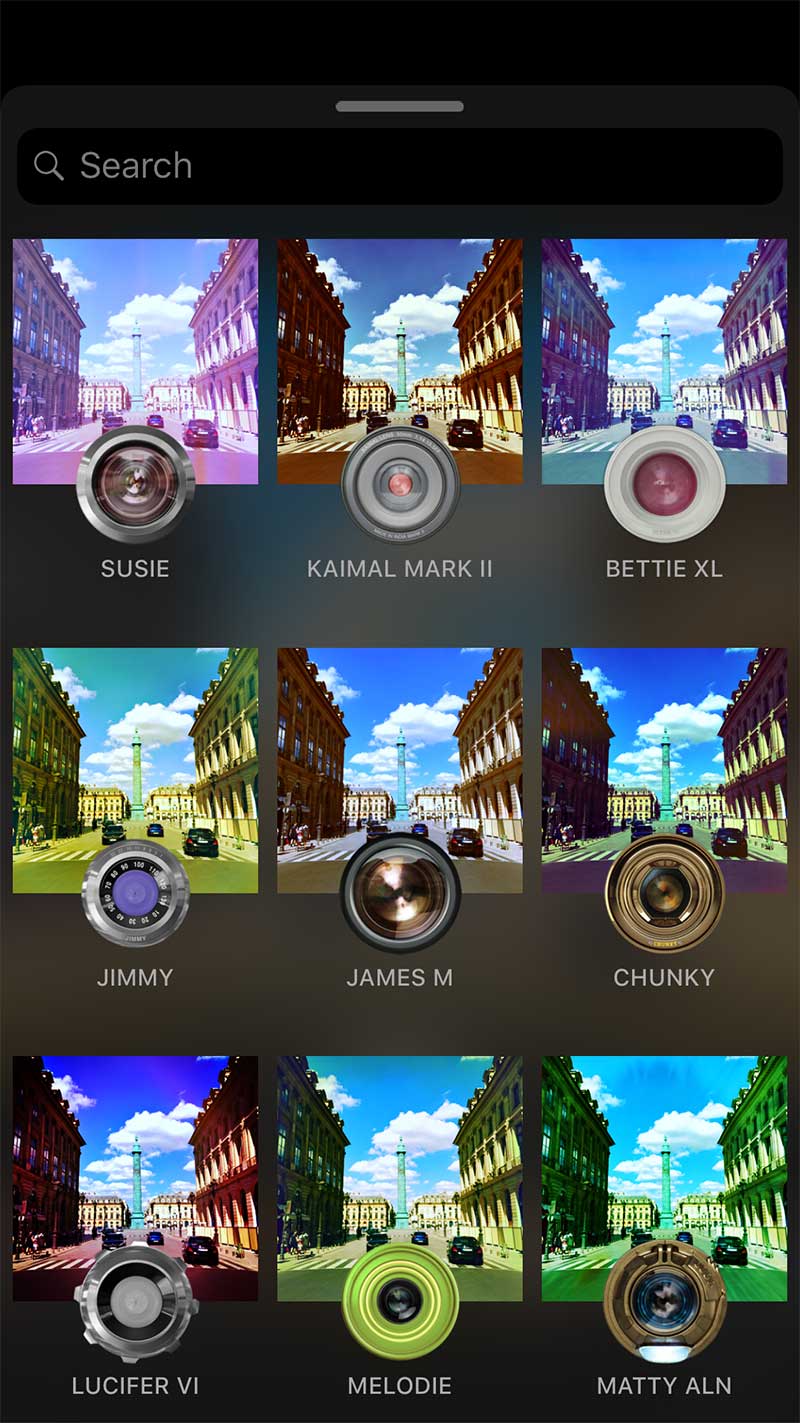
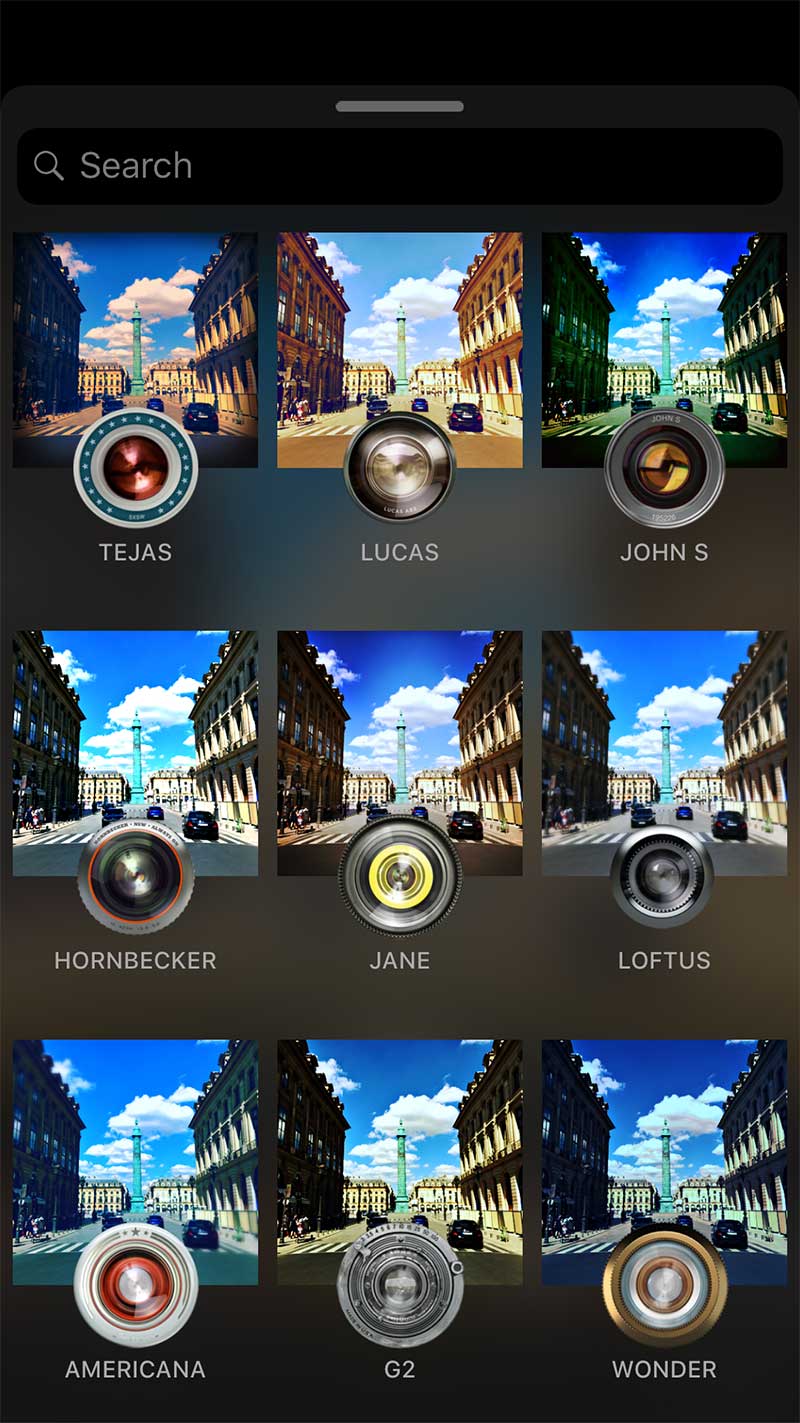
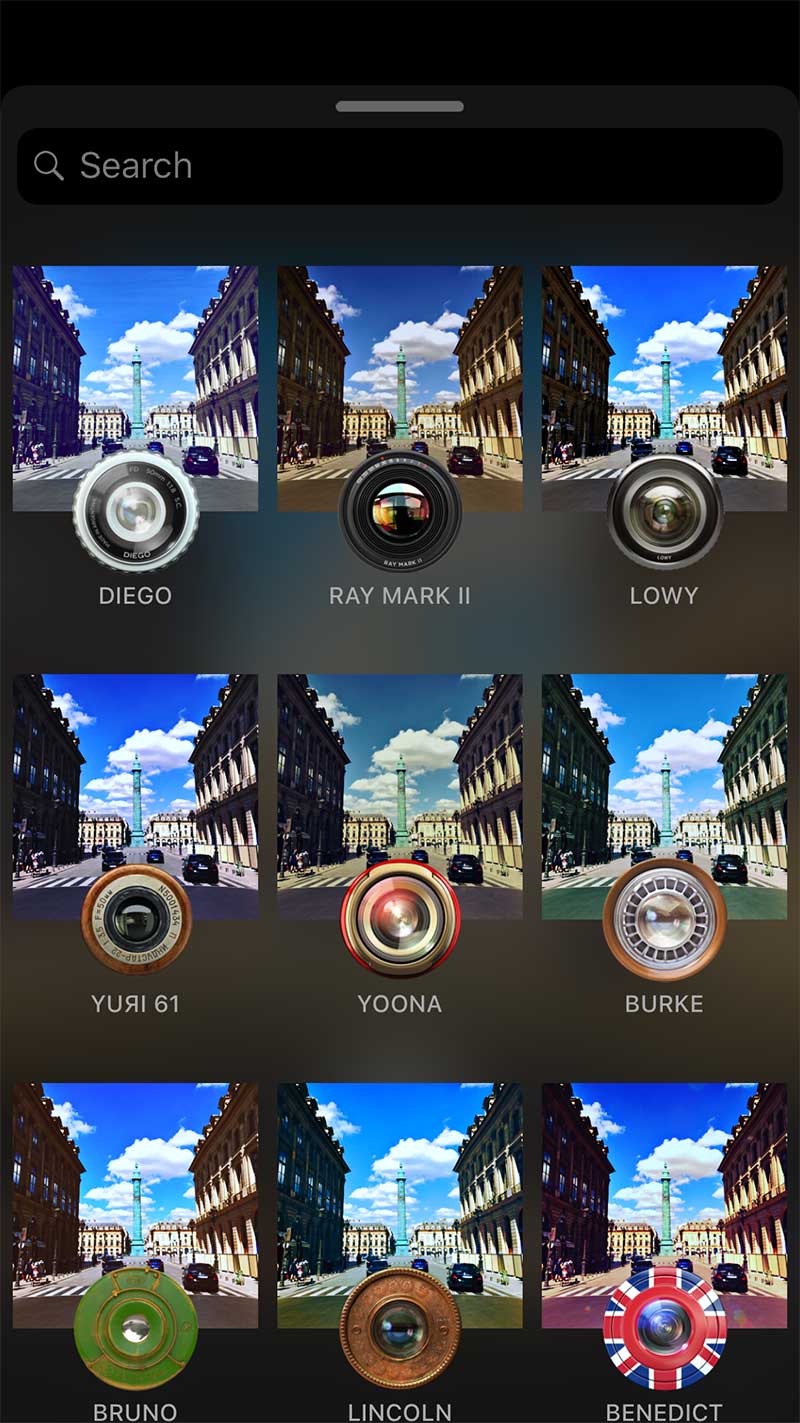
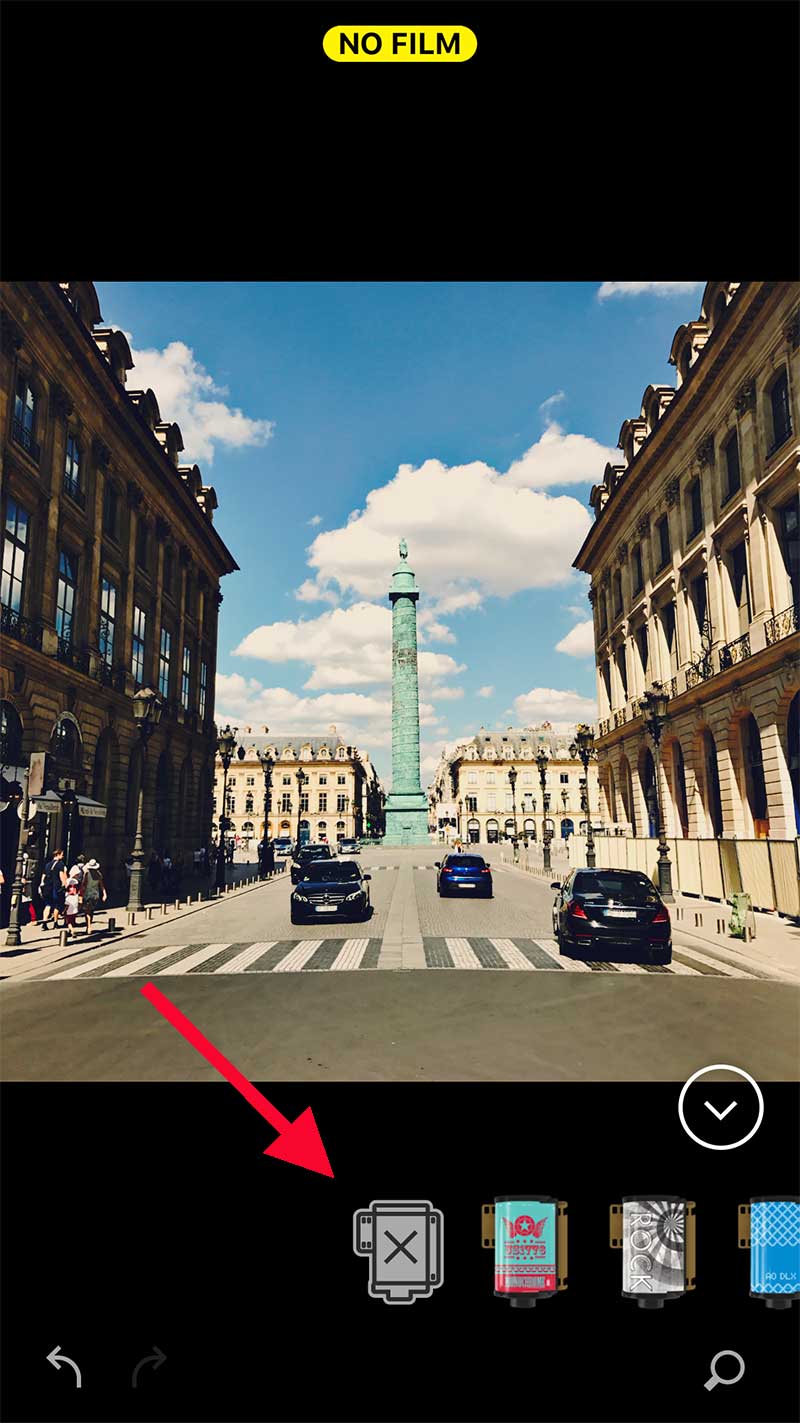
A small detail about these miniatures: don’t forget that the suggested effects are linked to the film you choose. If you opt for a B&W film, all the miniatures will be in B&W, along with the varying versions depending on the lens. Best to stick to a rather "neutral" film (without too many effects) or you can opt for "no film" too, if you want to choose your lens first.
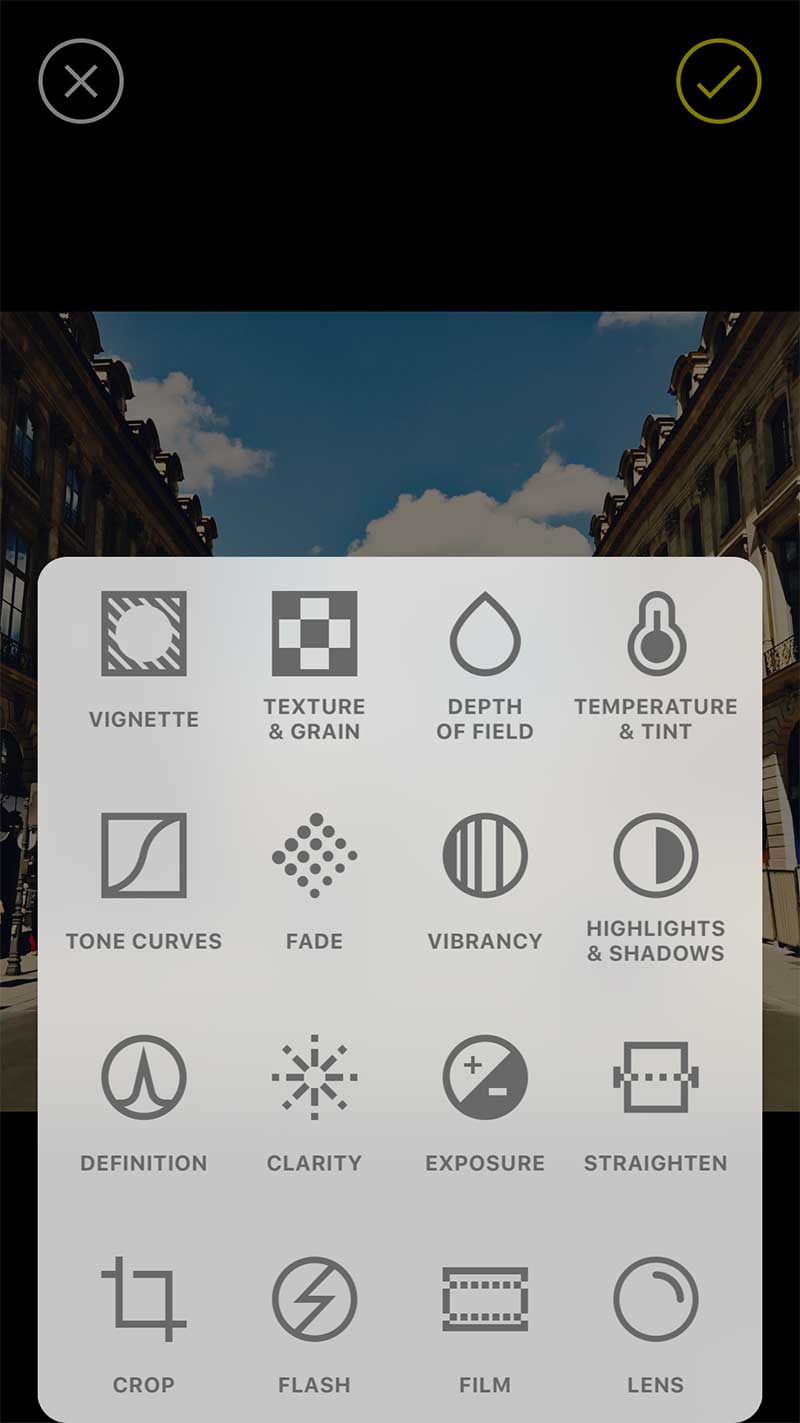
The last bit of good news… if you go back to the previous screen, you’ll see a yellow circle with four small circles in it. This basically gives you direct access to the remainder of the parameters in Pro Mode: Exposure, Clarity, Vibrancy…
So you have all the necessary info, here are a few other novelties of the 340 version:
• Freshly designed to take full advantage of the new amazing new screen on iPhone X
• Support gesture to go back from photo detail to photo grid (swipe left to right)
• 3D Touch to edit from photos grid (on supported devices)
• You can swipe on the edit info bar (when pro tools are engaged during editing) to hide it (useful to see the full image for tall portrait ratios like 16:9)
I have to admit that this 340 version is quite something to get your head around, as it really changes the way you use Hipstamatic but it’s a lovely evolution for the app. Thanks go out to Ryan for all his hard work! The 330 series is dead, long live 340!
This post is also available in: French


One Comment