
Hipstamatic 300 – New formats
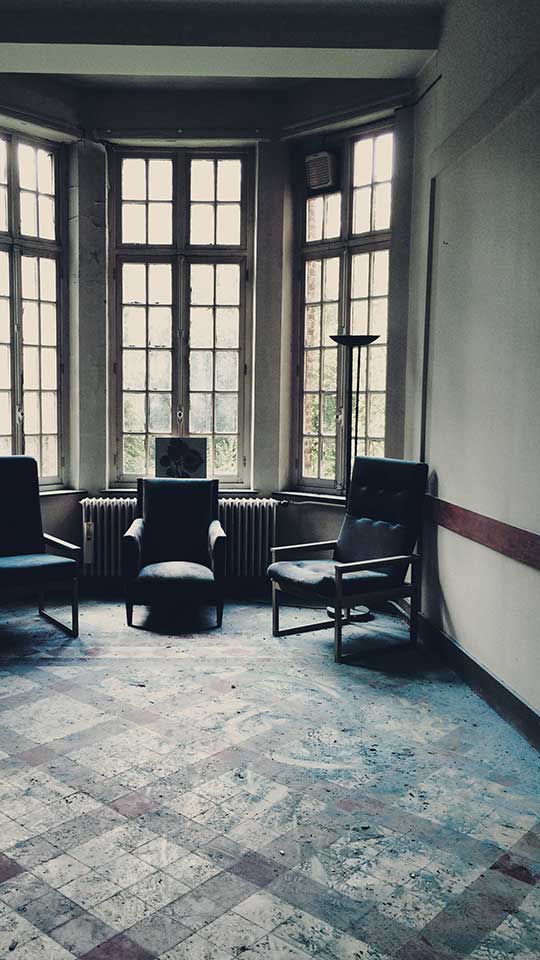
The square format has always been Hipstamatic’s hallmark, but the only certainty in life is constant change, so… In all honesty, when the first Beta version of 300 appeared and I discovered that it was now possible to change the format of pictures, I was a bit at a loss. I couldn’t possibly imagine a Hipstamatic picture in any other format than the square one I was so used to.
I love the format, particularly for the freedom it allows the photographer; because of its perfect symmetry the rules of composition for the rectangular format don’t apply. It allows you to center your subject if you so choose. So, it’s a creative format that leaves the photographer free to "construct" the image differently; and it’s also perfectly suited to black-and-white photography.
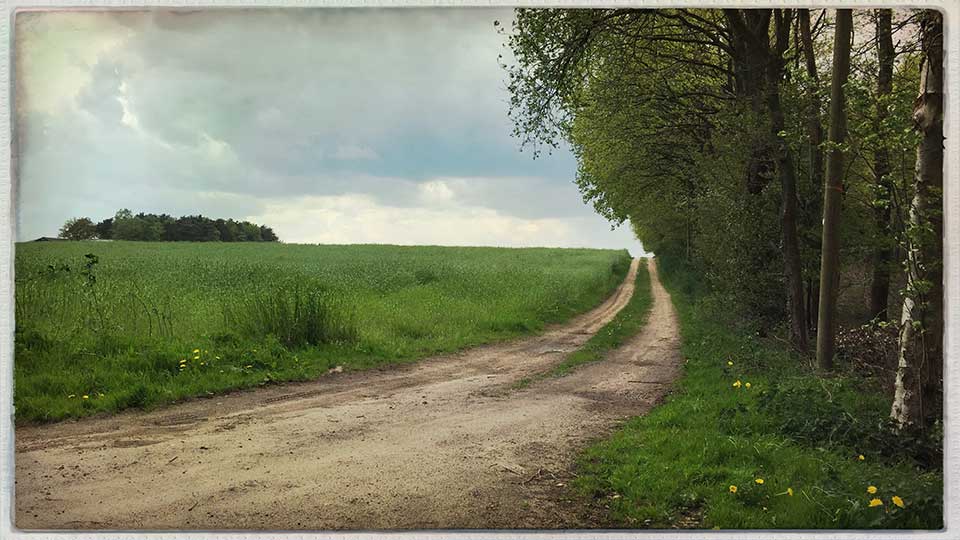
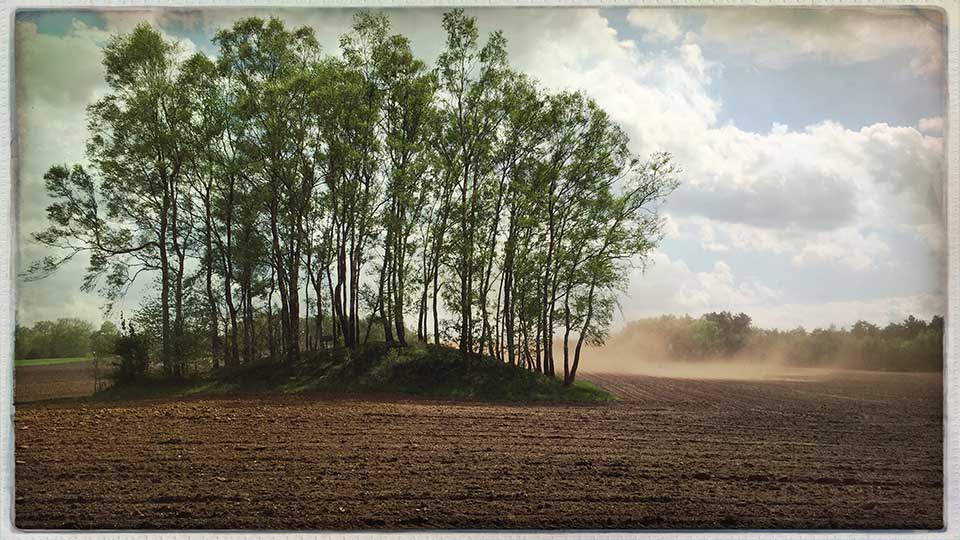
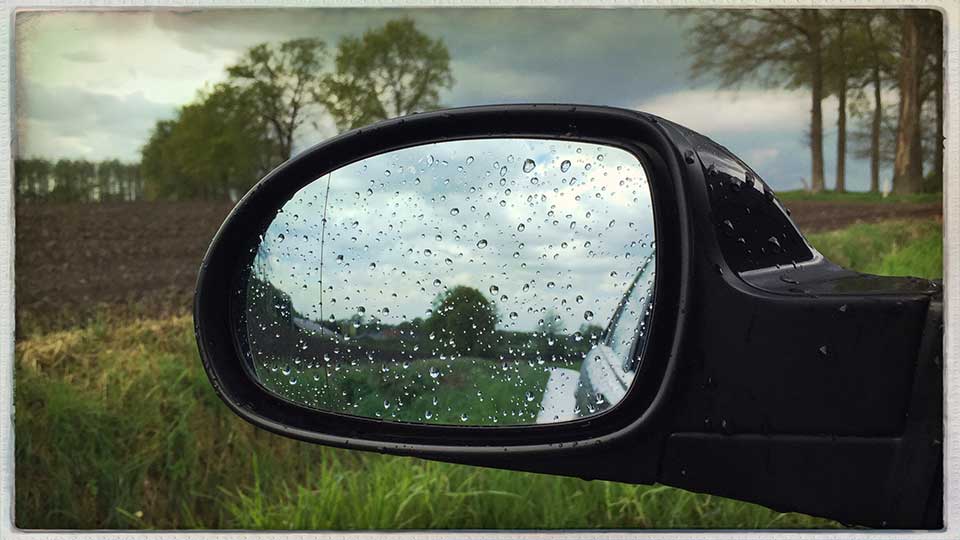
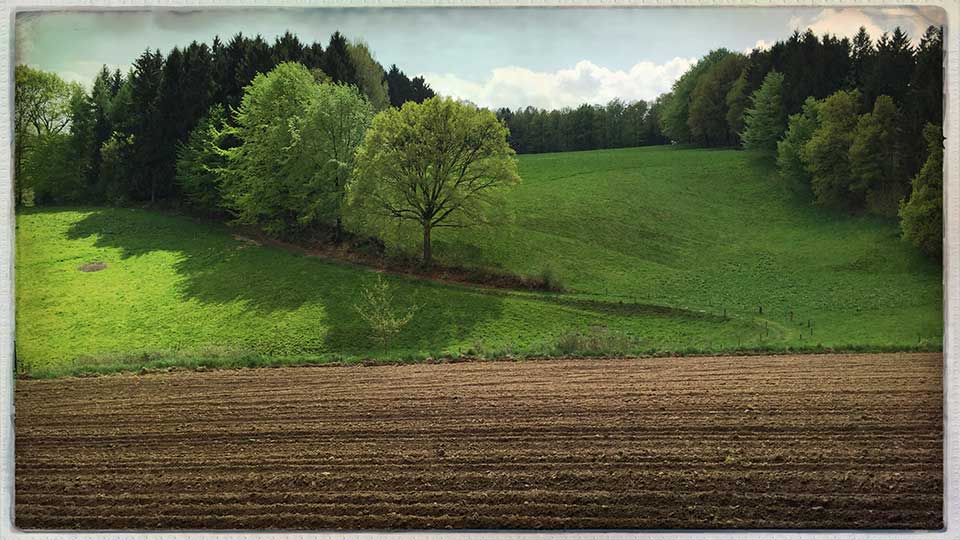
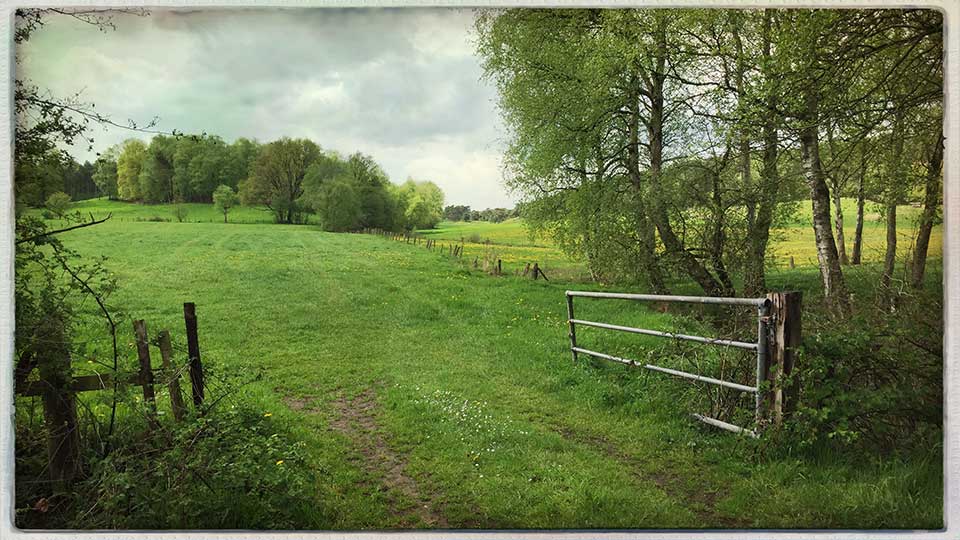
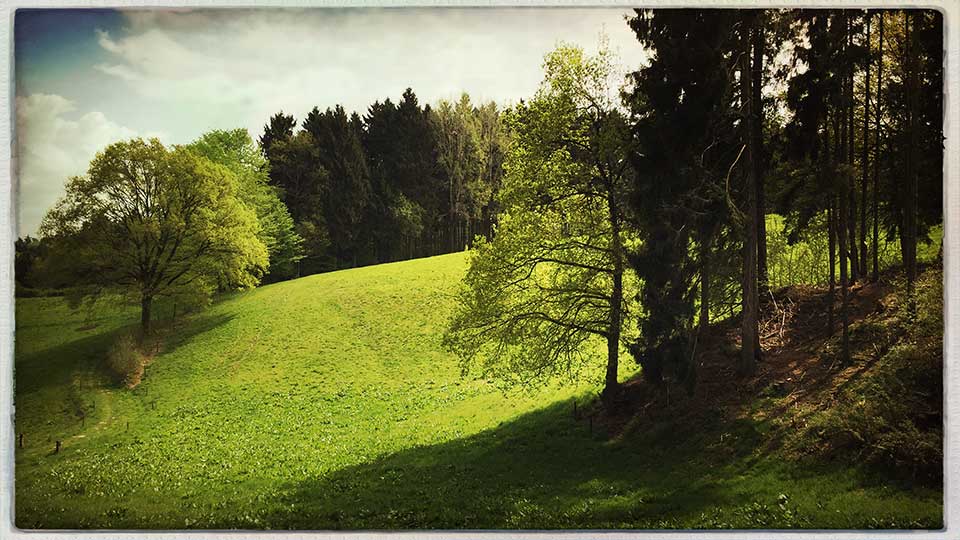
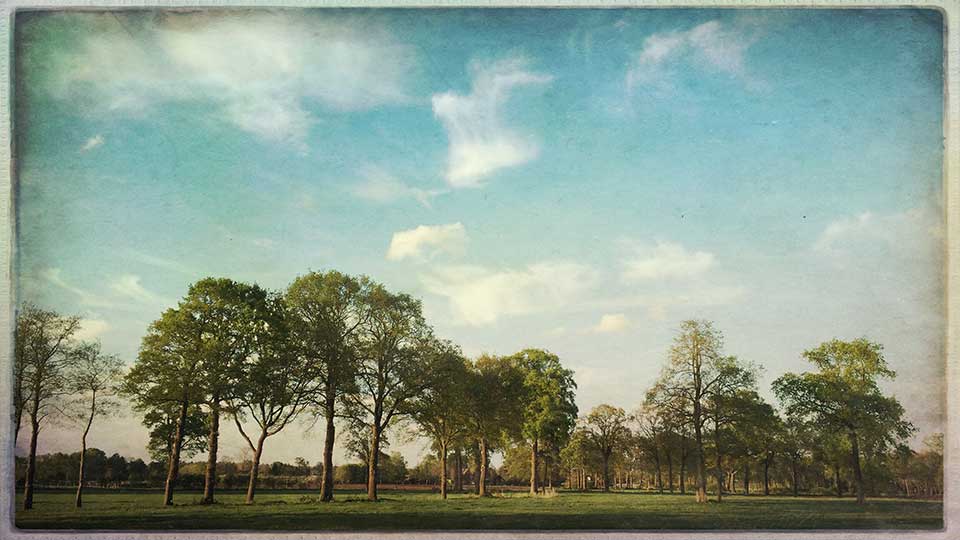
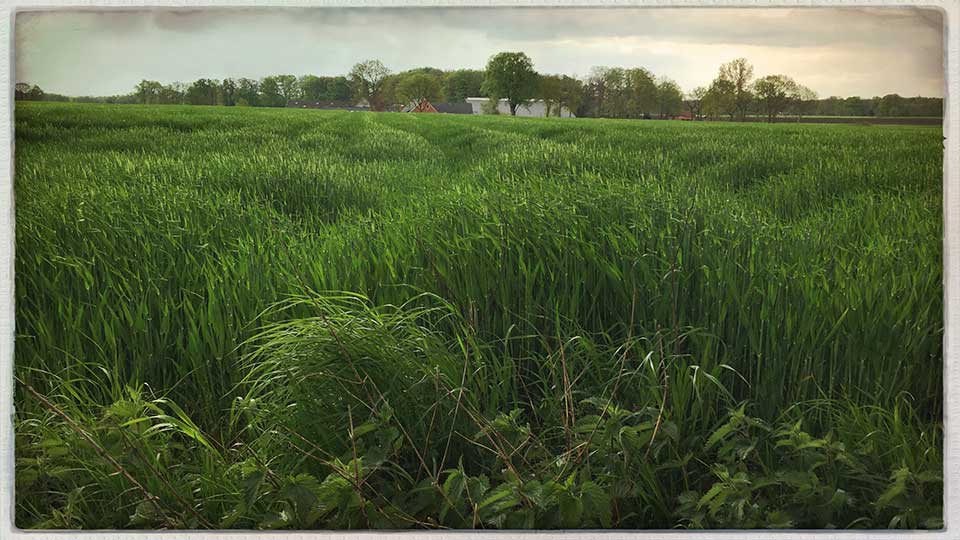
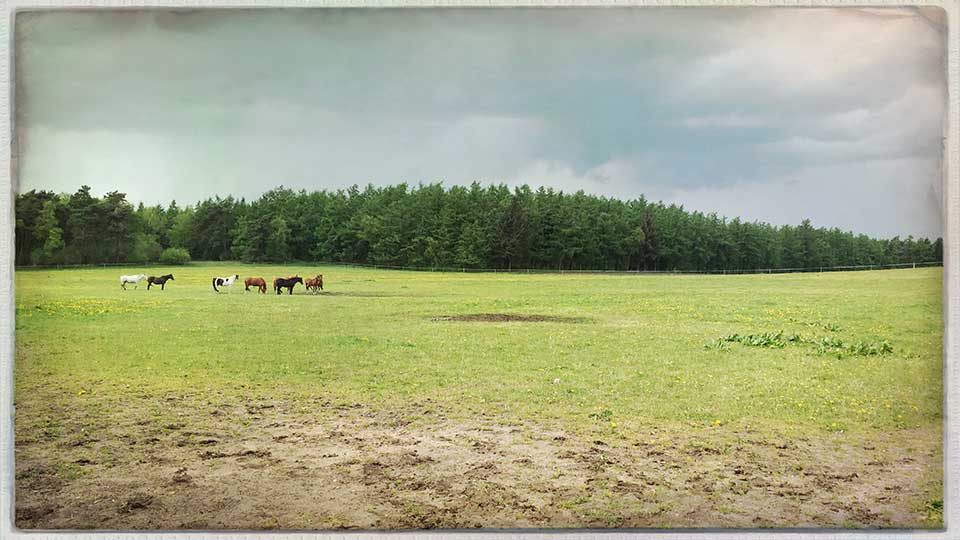
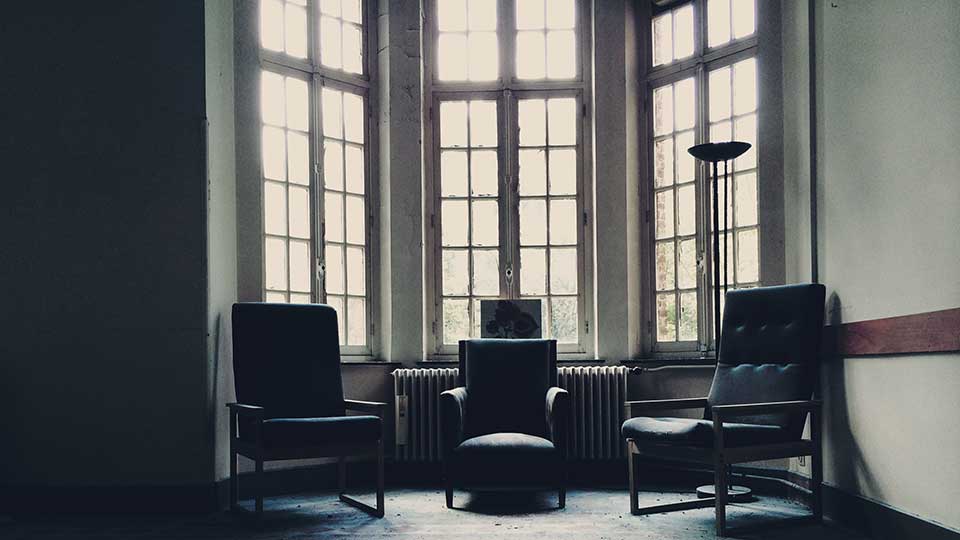
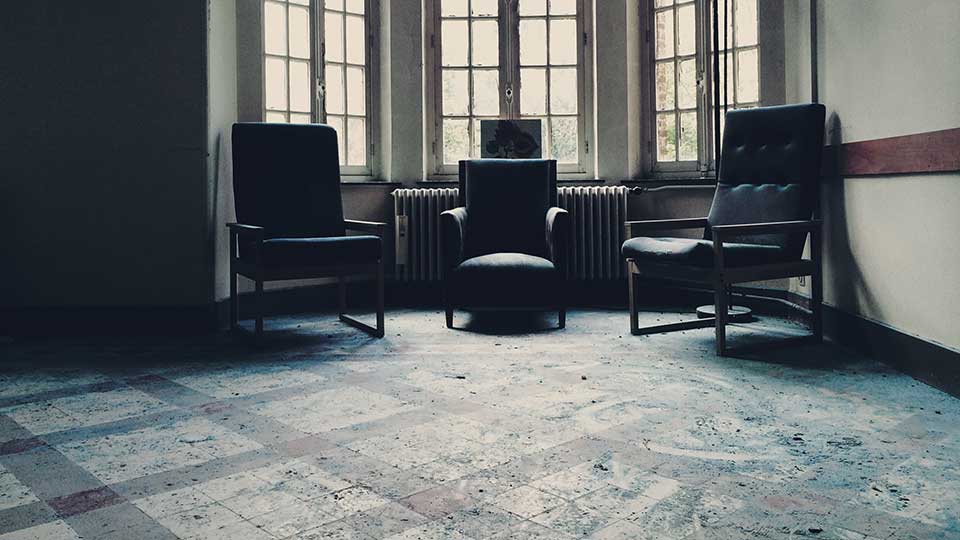
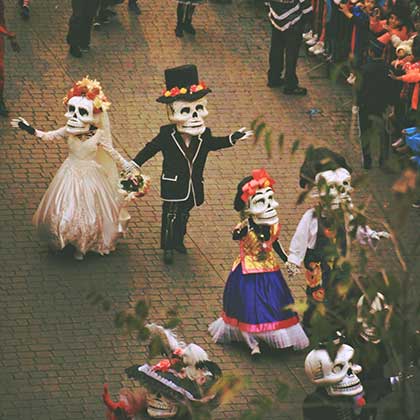
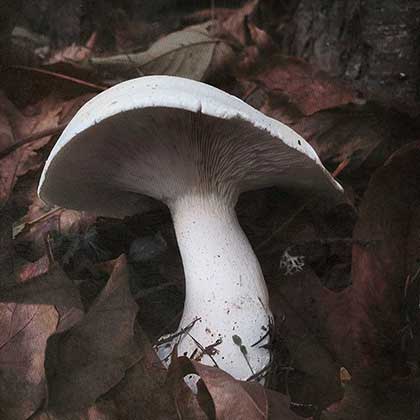
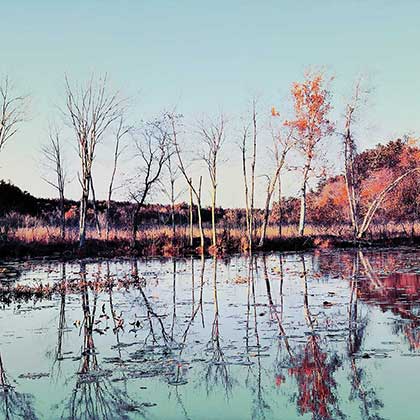
But… as is often the case in the world of Hipstamatic, nothing is ever written in stone and preconceived ideas are often swept away in the blink of an eye. I have - also in the blink of an eye, might it be noted - changed my mind about the format, when I discovered a series of pictures by Herbert Stegeman, who was part of the Hipstamatic beta program. Herbert used a pretty standard combo: Jane, Robusta and the Standard flash. Nothing to write home about, but the series was published in the 16:9 format: I was utterly charmed and it really was a bit of a revelation. For this particular series, the square format just wouldn’t have cut it... quite the opposite, actually. The winds of freedom are sweeping through Hipstamatic!
The new image ratios
The image ratio specifies the height and width proportions of the image. Identified by two numbers, separated by a colon, e.g. 16:9 or 1:1, however, not related to any particular metric system. It could be 16 cm by 16 cm, just as well as 16 inches by 16 inches. Hence, the square format has a ratio of 1:1.
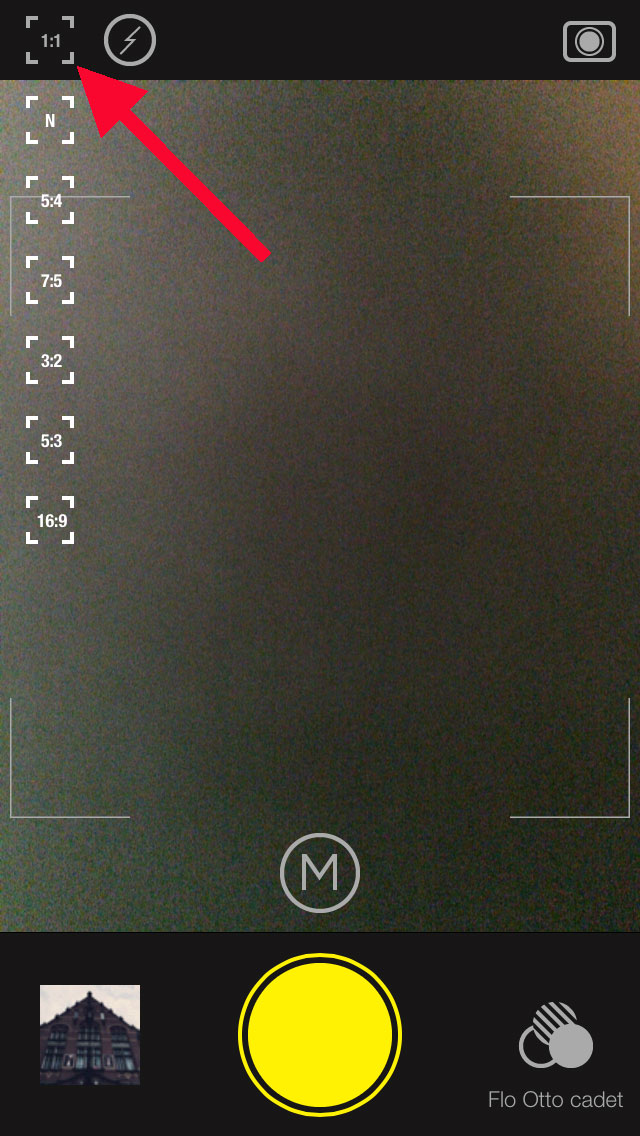
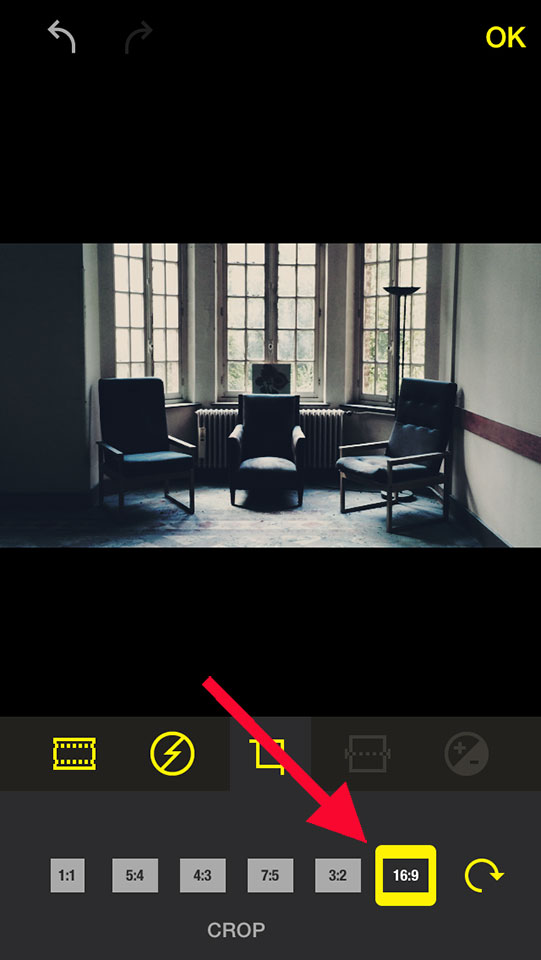
Hipstamatic now suggests the following formats: 1:1, 5:4, 4:3, 7:5, 3:2 and 16:9.
-
- 1:1

-
- 5:4

-

- 4:3

-

- 7:5
-

- 3:2

-

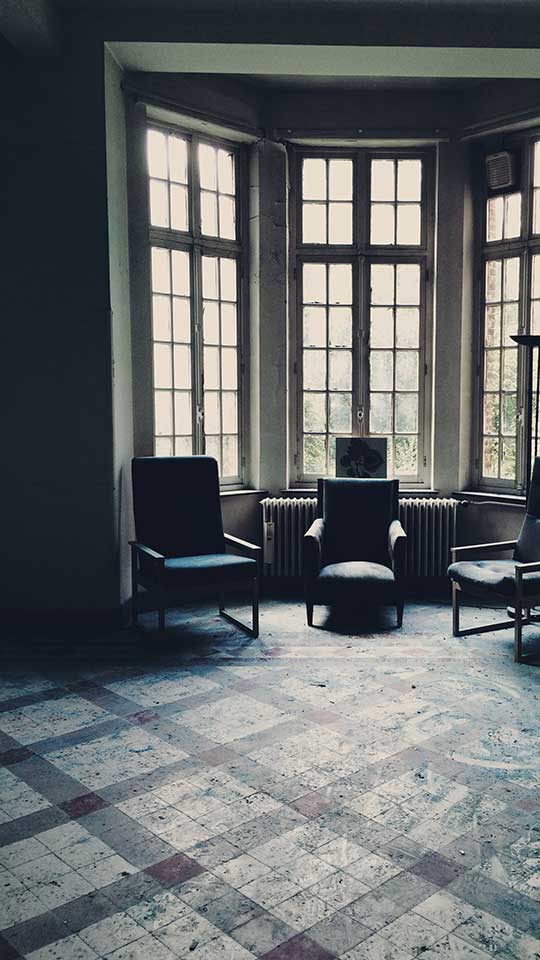
- 16:9

Let’s me just point out: this is only possible in "Edit"-mode, nothing changes in "Classic"-mode in regards to the actual shooting; the pictures will still be taken in the square format.
In Pro Mode, you can determine which format you want to use, before actually taking the picture or you can apply modifications later.
Before shooting: you only need to click on the logo, in the top left-hand corner. A scroll down menu allows you to choose the format.
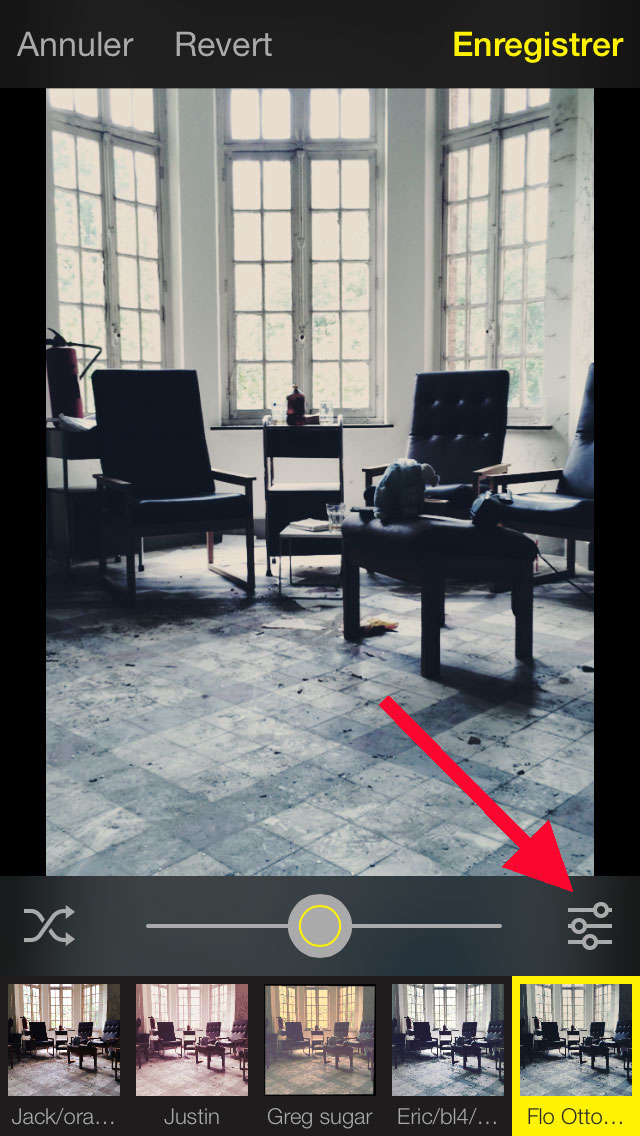
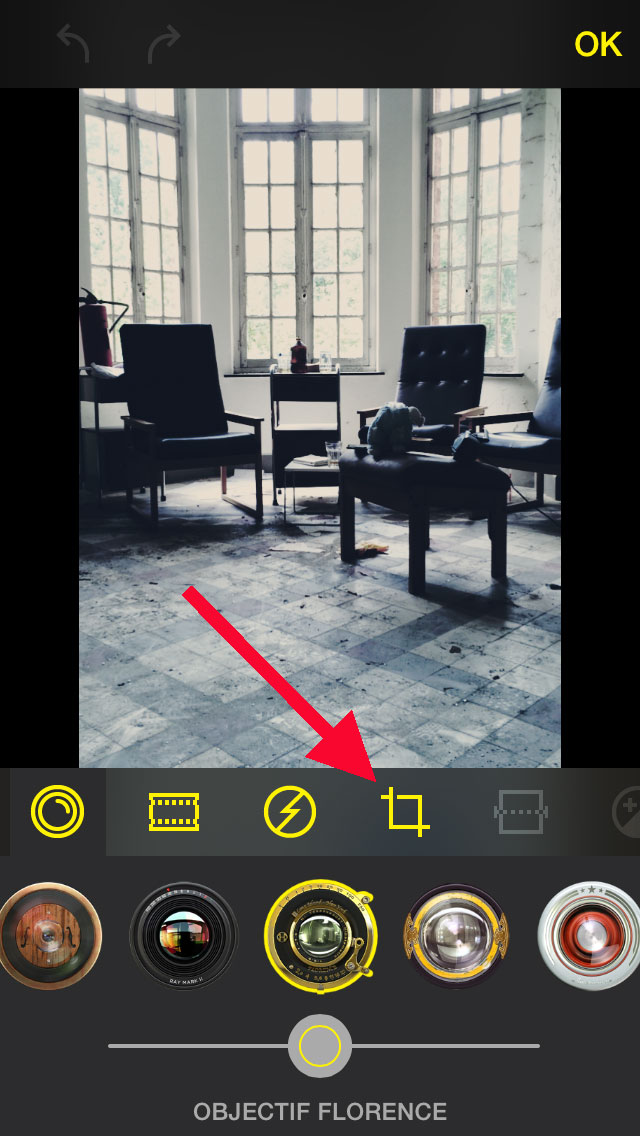
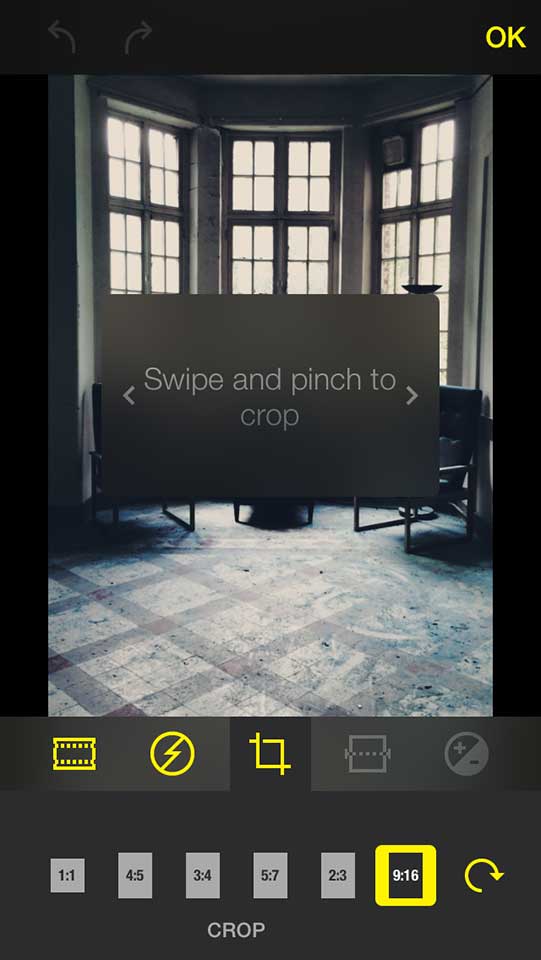
After shooting: click on the three circles at the bottom of your screen, chose the "Edit" logo, followed by "Cropping".

Picture orientation while shooting
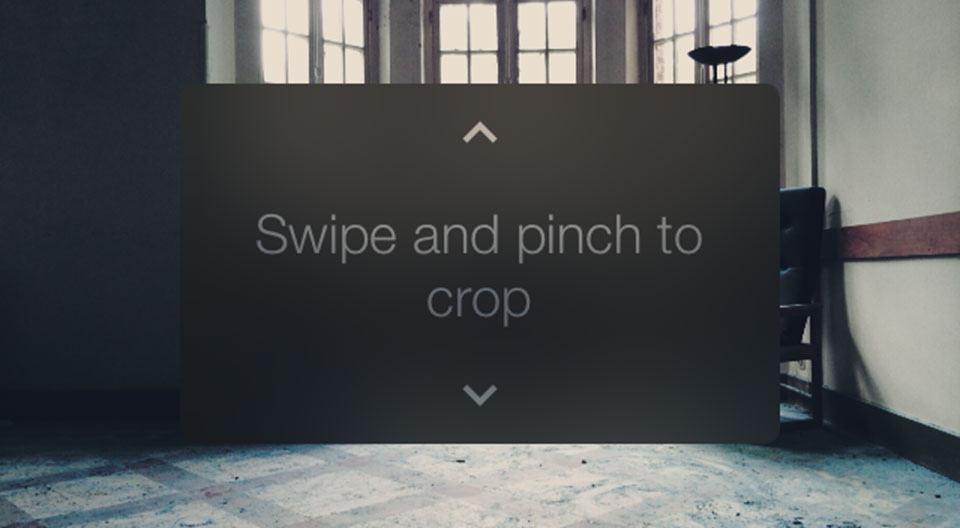
These new formats also concern the orientation of the iPhone itself while shooting a picture, in other words: whether you’re holding your iPhone horizontally or vertically. A picture taken with an iPhone isn’t square, but rather, rectangular. Its ratio is 4:3 and the pictures are 3264 pixels by 2448 pixels. As with Oggl, the framing of the picture can be modified by moving the picture left to right, or up and down. It’s important to select the desired format before shooting, especially with 16:9: horizontal ("Landscape"-mode) or vertical ("Portrait"-mode). You might want to change your square 1:1 to a 16:9 panorama… in hindsight. If you hold the iPhone vertically, you won’t be able to produce a "Landscape" shot, at least not with a half-way decent resolution. Let me explain:
If you hold your iPhone horizontally, your picture will be in "Landscape"-mode, which you will then be able to modify by sliding it up or down.
On the other hand, if you hold your iPhone vertically while shooting, you will have a picture that is taken in "Portrait"-mode, which you’ll be able to slide left to right (or vice versa).
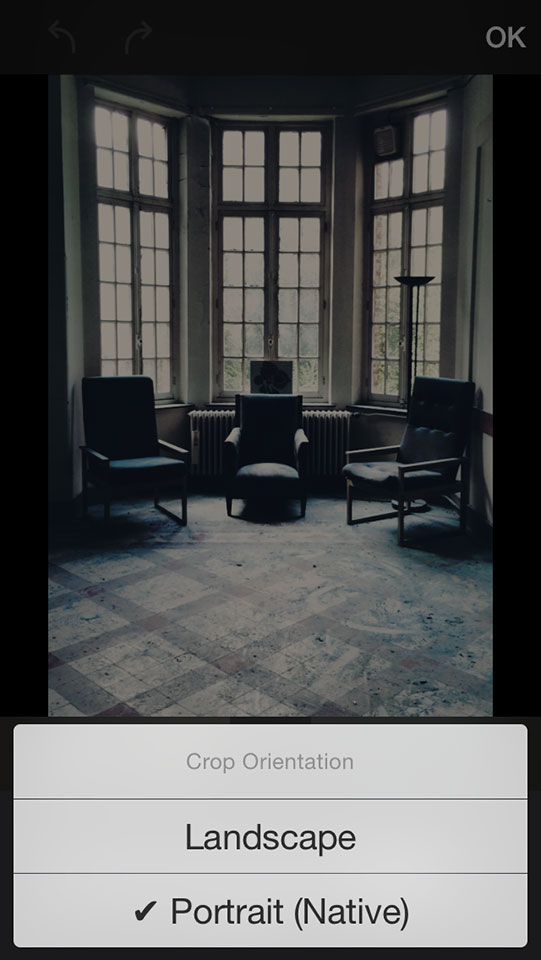
You can, however, switch between "Landscape" and "Portrait"-mode, by holding down one of the ratio buttons. This will open a window, which gives you the choice to switch from one to the other. "Native" specifies the mode that was used for the actual shoot.

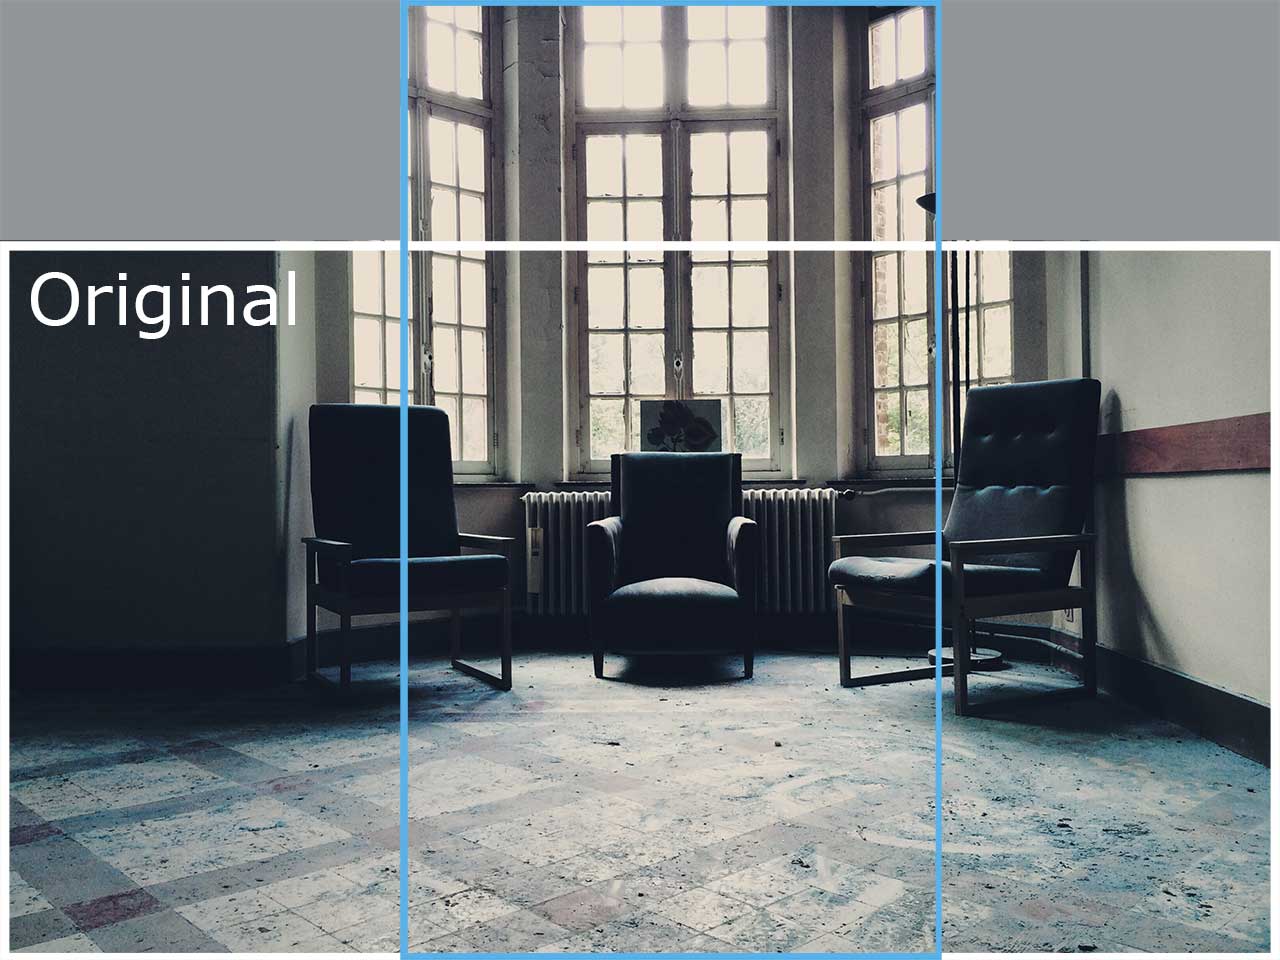
Do bear in mind that a picture taken in "Landscape"-mode can’t just "become" a "Portrait"-picture: it is, in fact, a reframing, so you will lose quite some of the original image, along with an important number of pixels. In the example, below, the original (white frame) was taken in "Landscape"-mode, however, the actual file (grey frame) actually measures 3264 pixels by 2448 pixels. By changing the mode (blue frame), you can recover the top part of the image, but you will end with an image that now only measures 1377 pixels by 2448.
This post is also available in: French

0 comments