
Hipstamatic 300 – Pro Mode
This is "THE" big innovation in this 300-version! The new interface evokes Oggl but the available options are quite a bit more complex. Here are the different elements of Pro Mode:
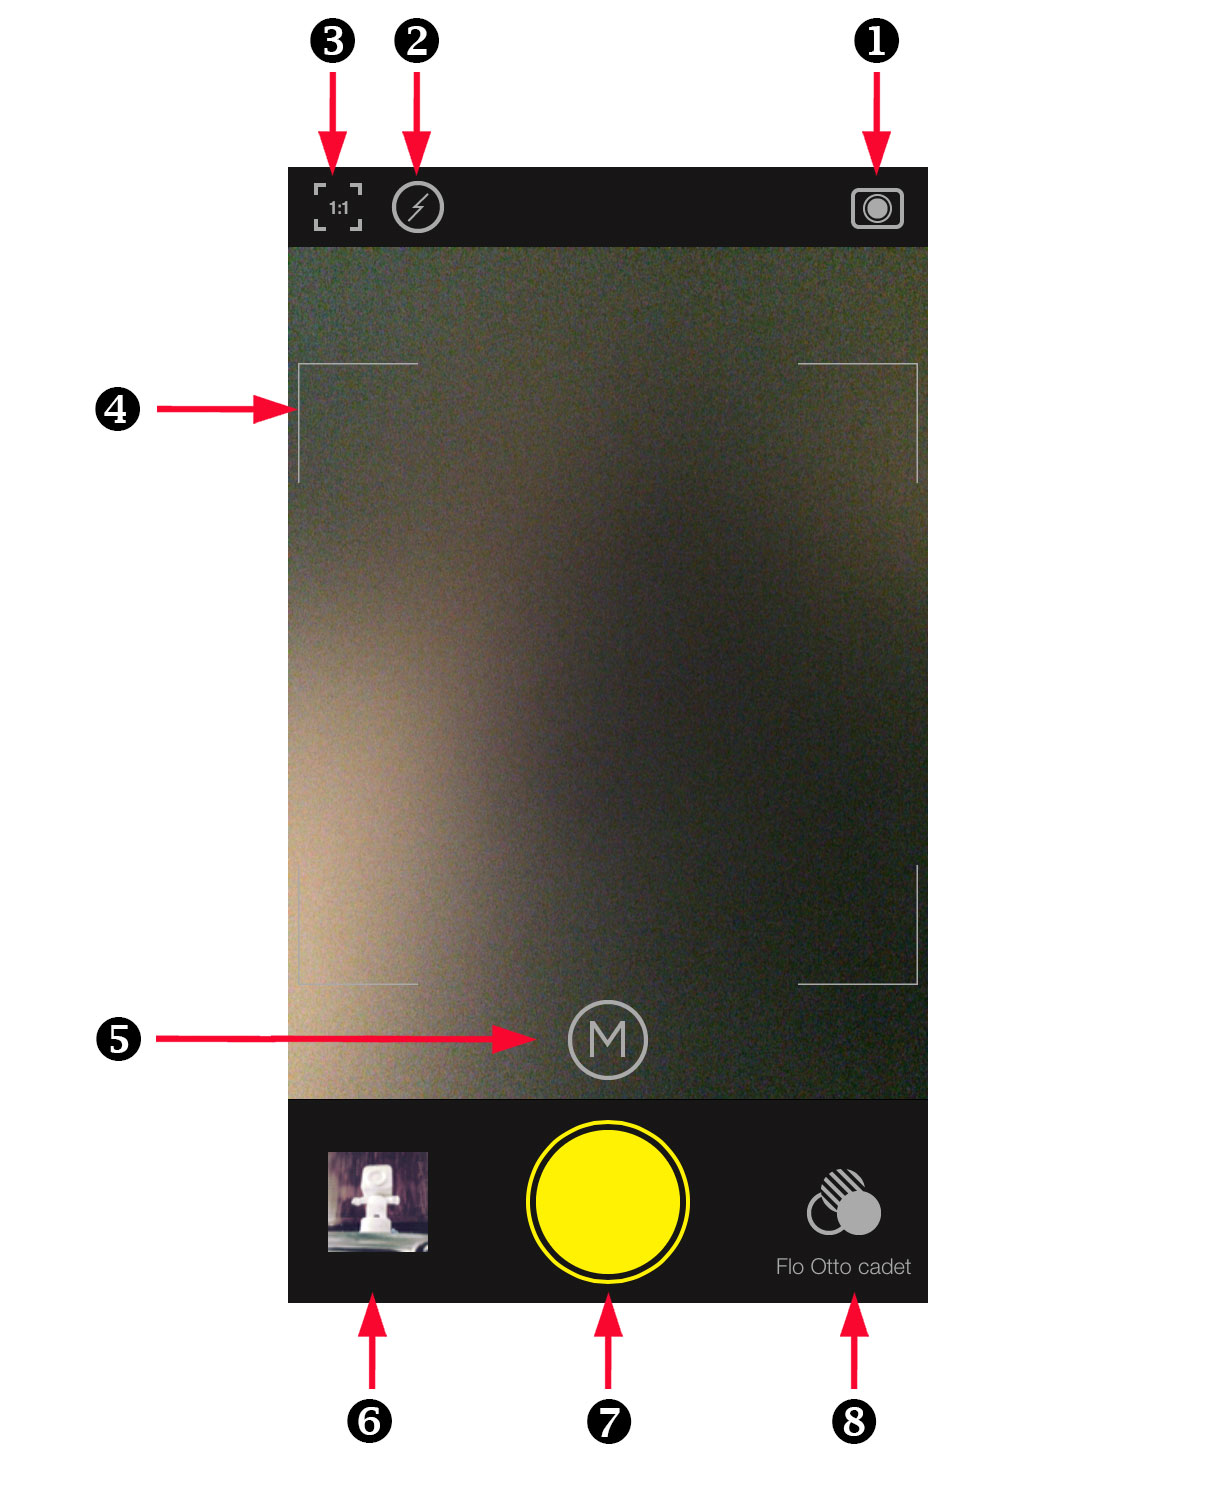
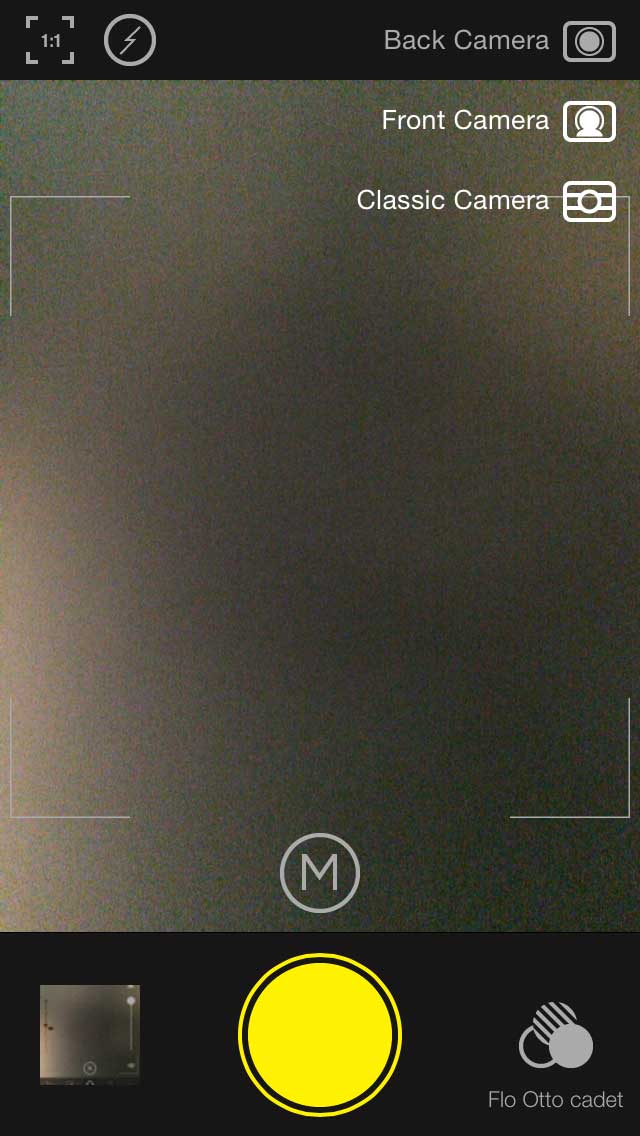
1. Camera choice
You have three options here, among them "Back Camera", which is Pro Mode’s main interface. Selfie aficionados will be jumping for joy because it’s now possible to use the iPhone’s front camera, by selecting "Front Camera". The last option, "Classic Camera" takes you back to Classic Mode.
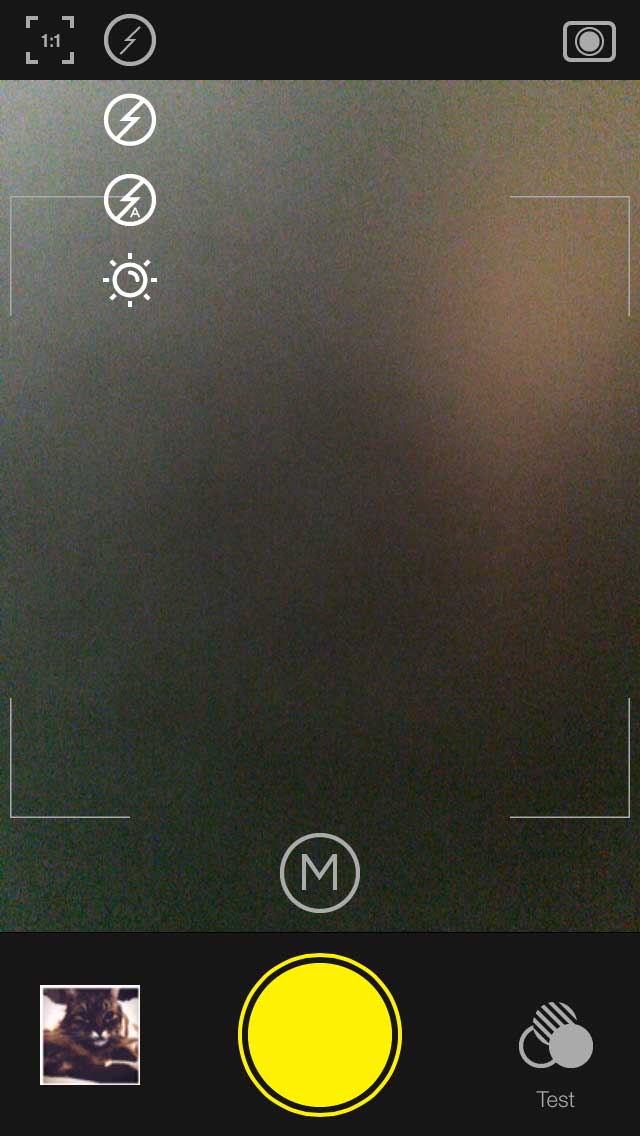
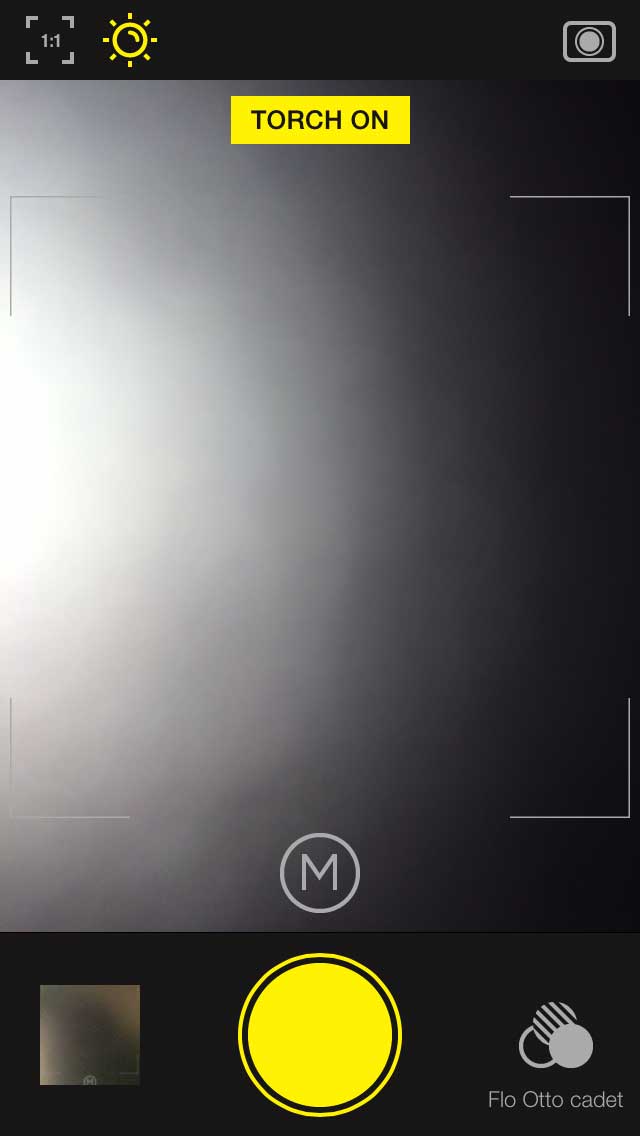
2. Choice of flash
We are talking about the "real" iPhone flash here and not the flashes in your Hipstamatic catalogue! In Pro Mode you have 4 possibilities:
- "No Flash"
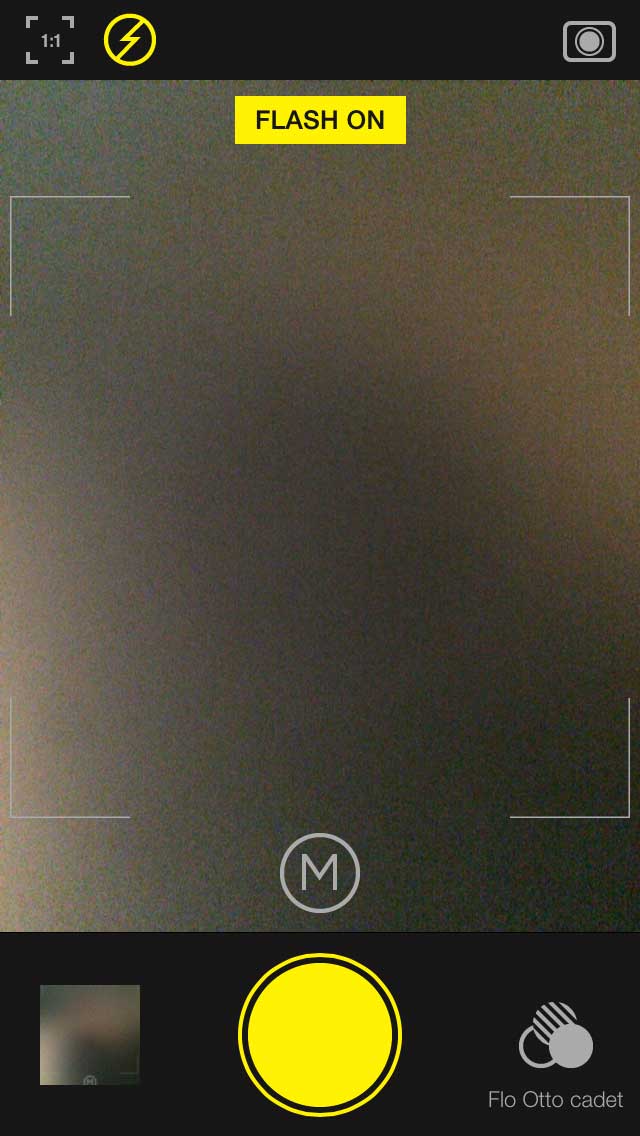
- "Flash On": the iPhone’s flash engages, regardless of the light intensity.
- "Auto Flash": the iPhone flash engages, when light is insufficient.
- "Torch On": the flash remains on.
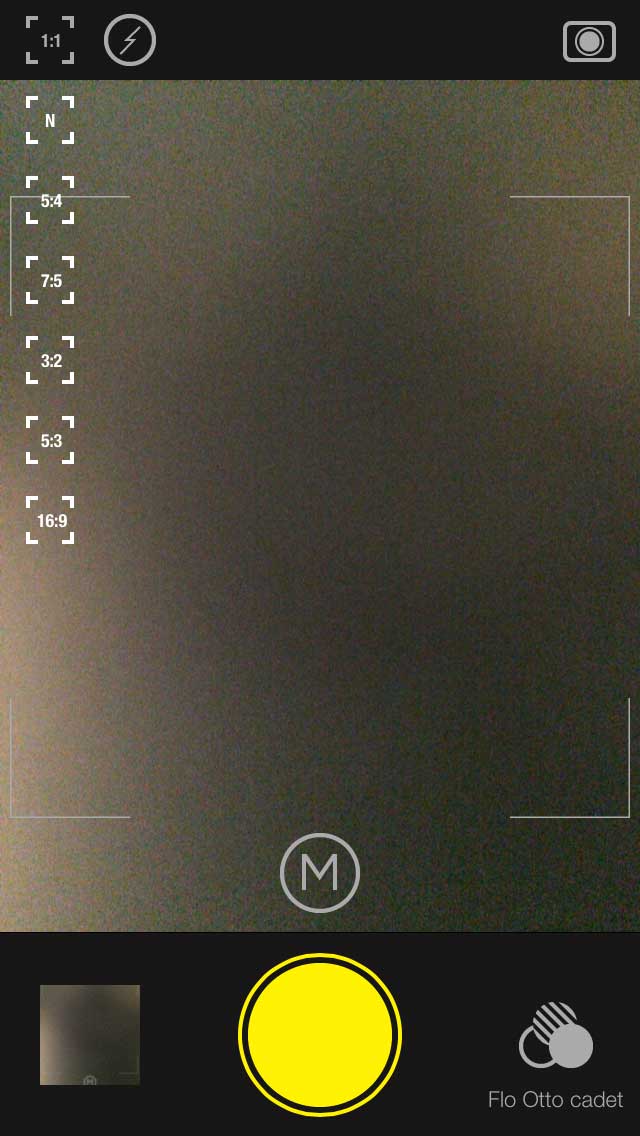
3. Choice of ratio
This is one of the most exciting - if not "the" most exciting – changes of the 300-version! Hipstamatic now offers the choice of a number of new ratios (image formats): 1:1, 5:4, 4:3, 7:5. 3:2 and 16:9.
As of now, it’s possible to take rectangular pictures, even panoramic shots adn. Of course, this opens up entirely new horizons ! You can find more information about these new ratios in this article.
More good news on this front : you can change the format after having taken the picture by using a new option called "The Editing Suite".
On that note: please read below as this an important point to bear in mind!
Although it’s totally possible to change the format after actually taking the photo, it is important to decide beforehand on the orientation of your iPhone (horizontal or vertical). A picture taken with an iPhone is not square, but rectangular. So, you’ll have to bear in mind that the positioning of your iPhone is of crucial importance if you decide that you want rectangular pictures. You can find more information about the new formats in another tutorial.
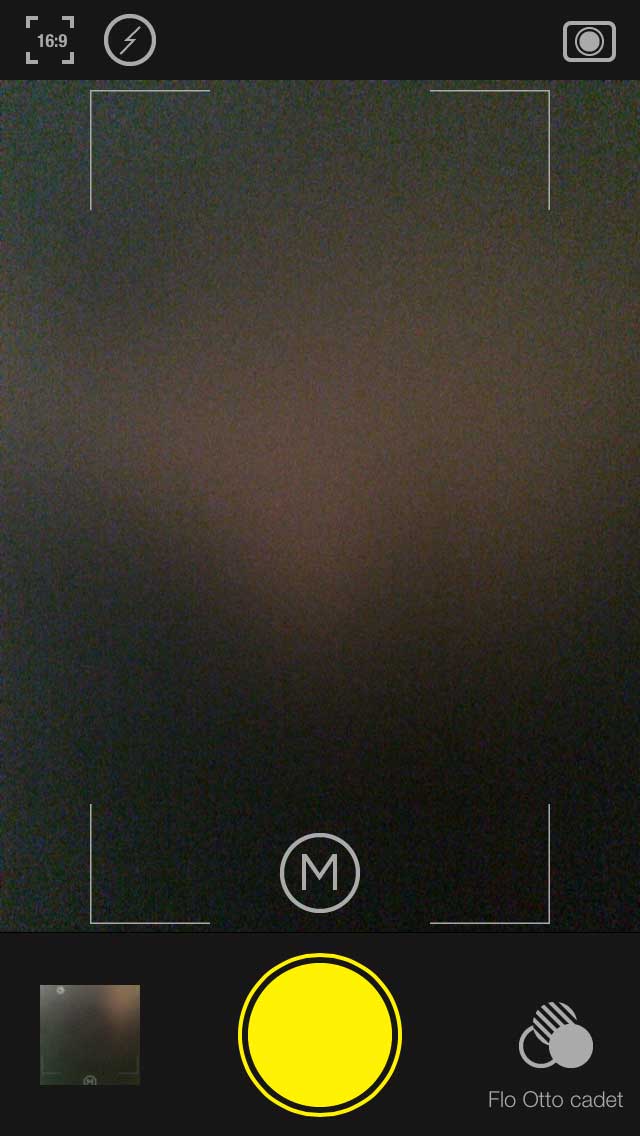
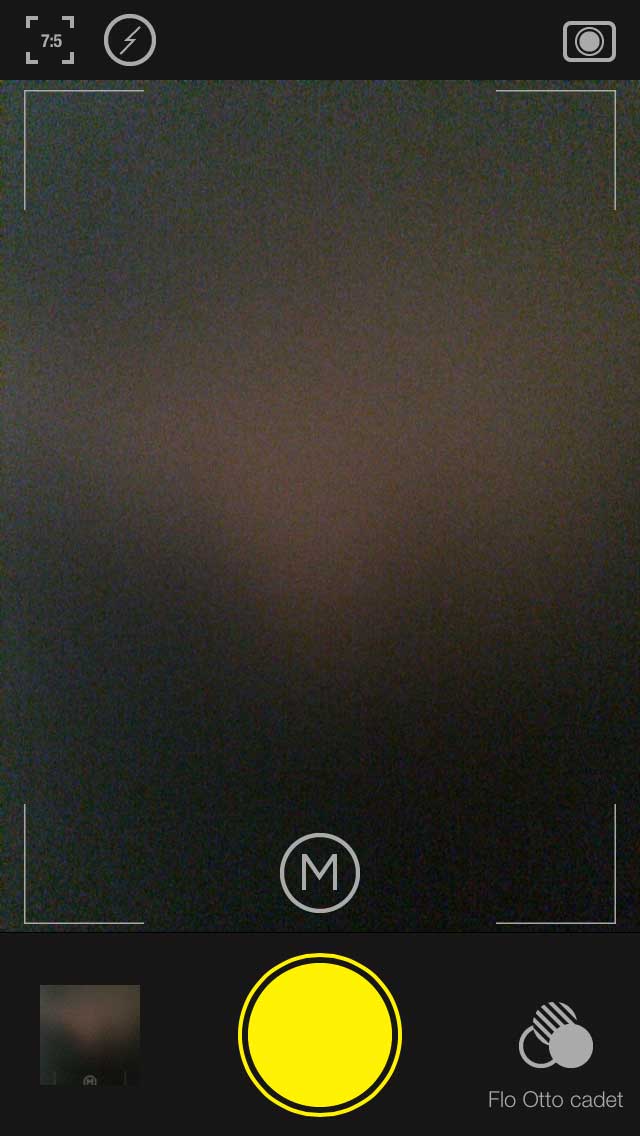
4. Format
The faint grid lines indicate your chosen format.
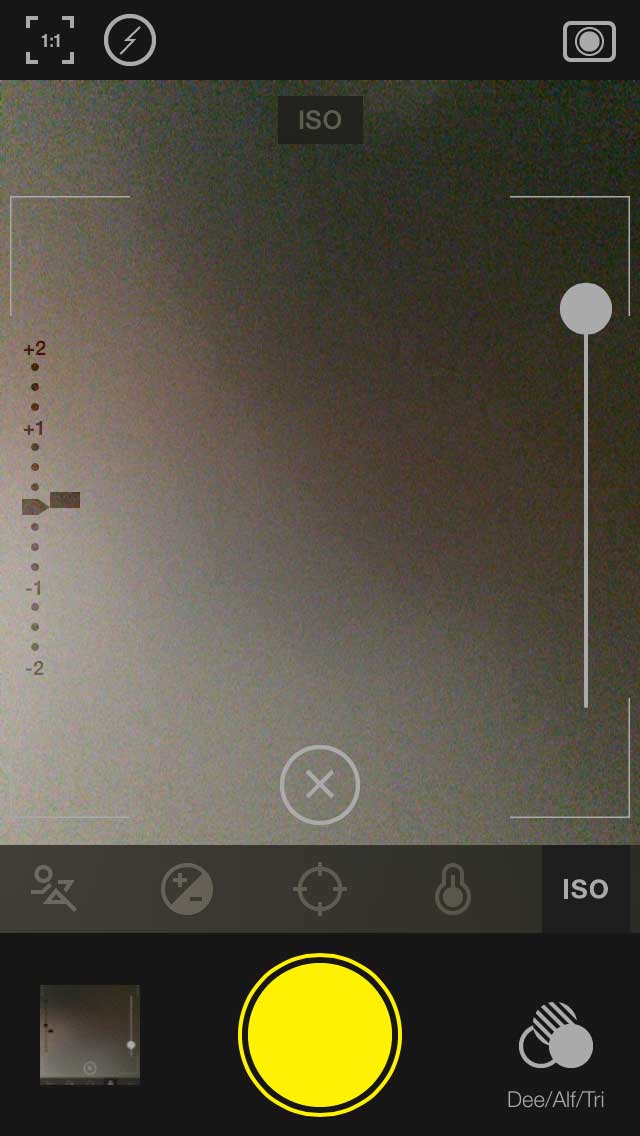
5. Manual (by Joe Morrissey)
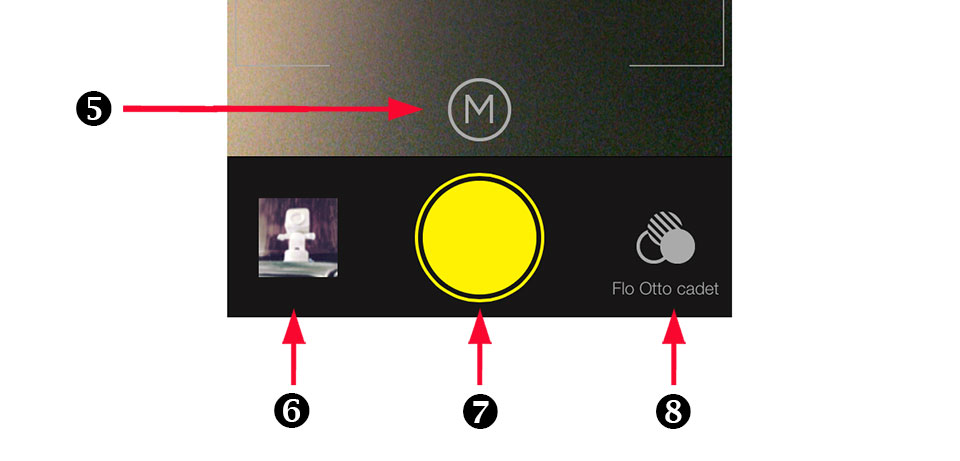
The "M" (5) allows you to manually adjust a number of parameters before shooting your picture. You now have control over the shutter speed, exposure, focus, white balance and ISO (light sensitivity).
Shutter Speed: adjust the speed at which the photo is captured. Increase to freeze motion or decrease to create motion blur.
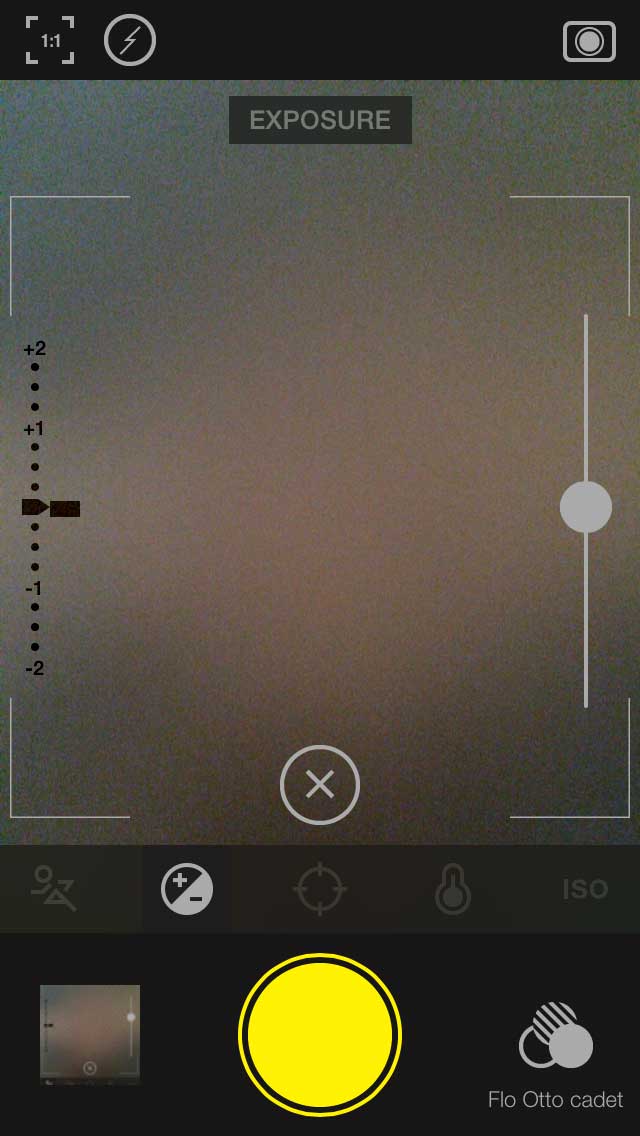
Exposure: add light or darken a scene, before you capture it.
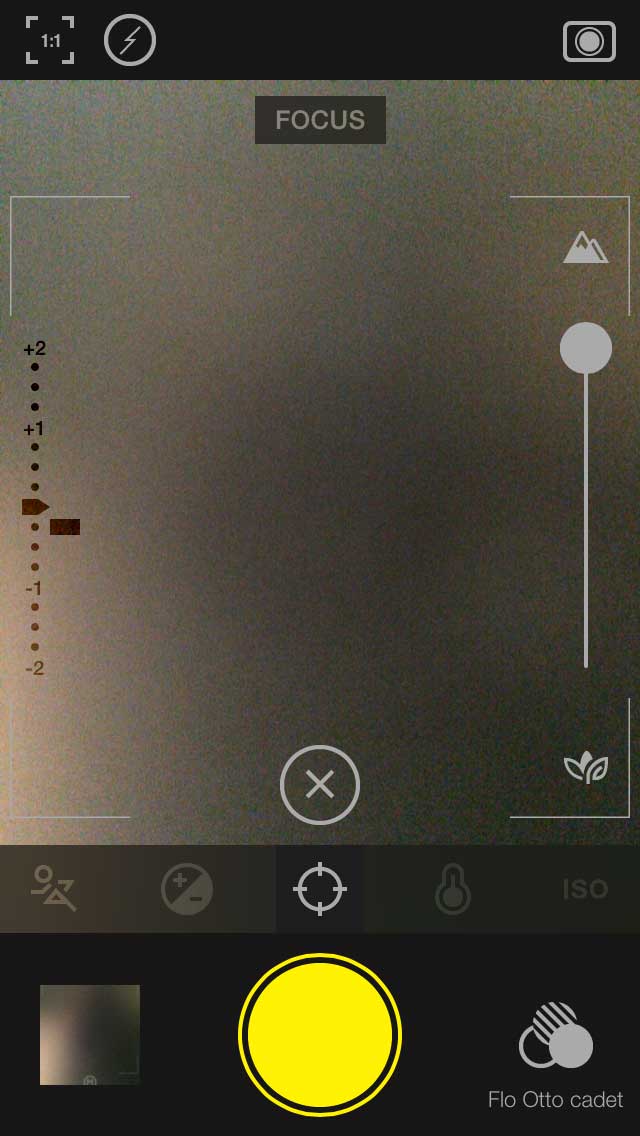
Focus: this slider gives you fine control of where the camera focuses. Much more precise than "tap to focus".

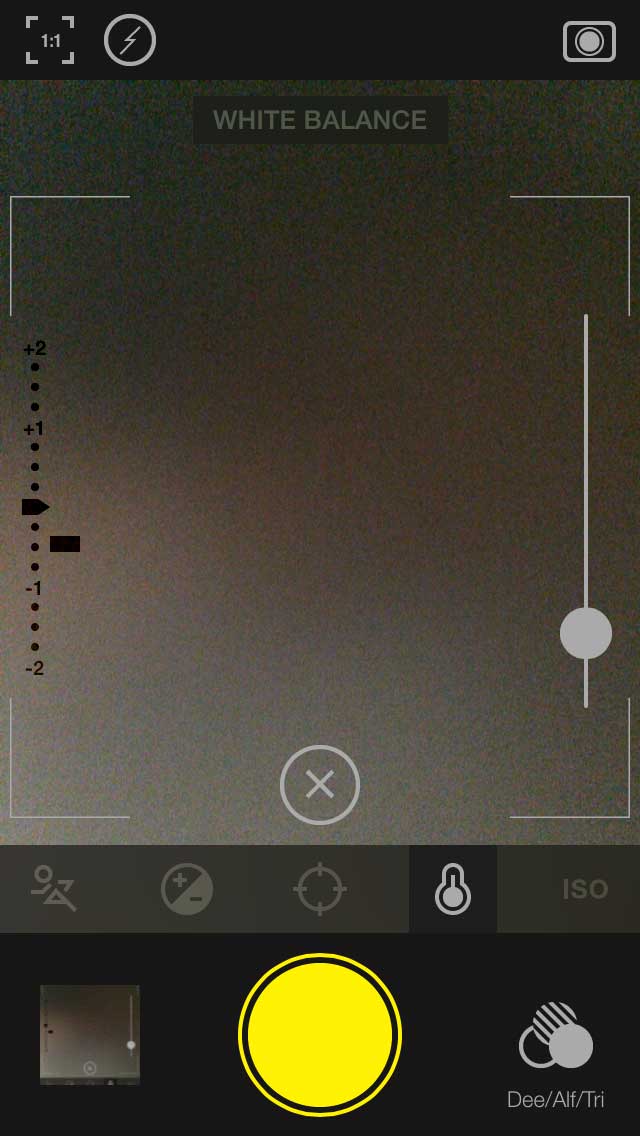
White Balance: much like the temperature slider in the editor, this tweaks the warmth of the scene, before the photo has been taken
ISO: ISO is the sensitivity of the "film" to light. A high sensitivity (higher number) will produce a lighter photo.
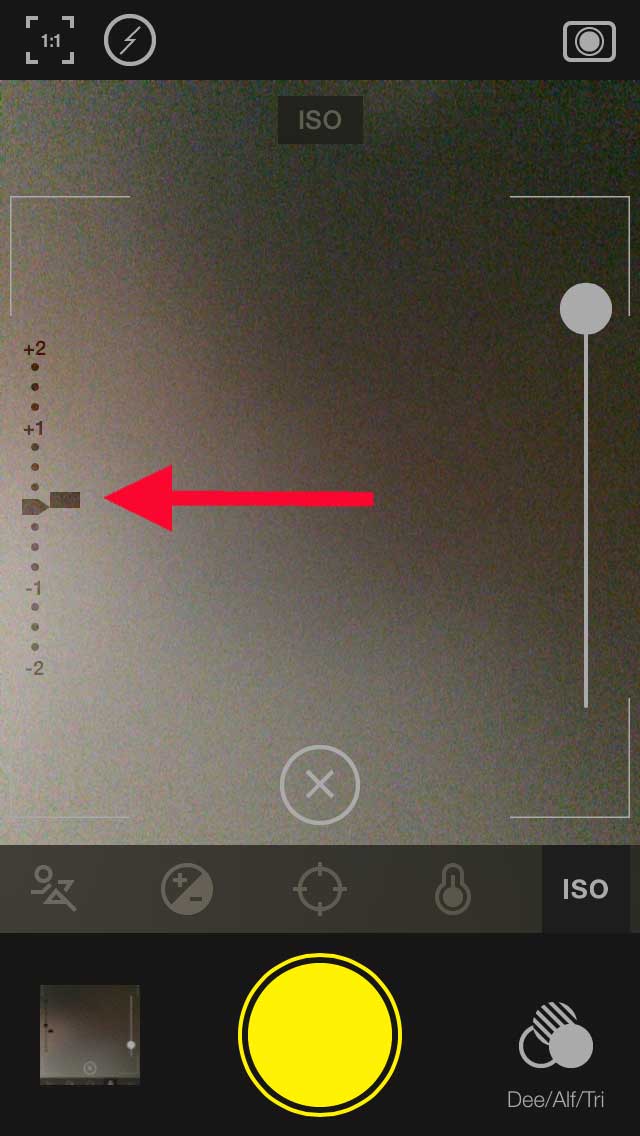
Light Meter: once the arrow and moving dial line up, your photo will be correctly exposed.
Extra Tip: Shutter Speed & ISO
These settings work together, a higher ISO will make your photo more sensitive to light, so the shutter speed can be higher, freezing the scene while still being correctly exposed. A slower shutter speed, allows less light onto the image, so will require a higher ISO in order to not be under exposed.
Hipstamatic have made things easy. You may chose to set your exposure, which overrides the shutter speed & ISO settings, preventing incorrectly exposed photos. In the same respect, adjusting either the ISO or Shutter Speed will override the exposure setting.
"X" takes you back to automatic mode.
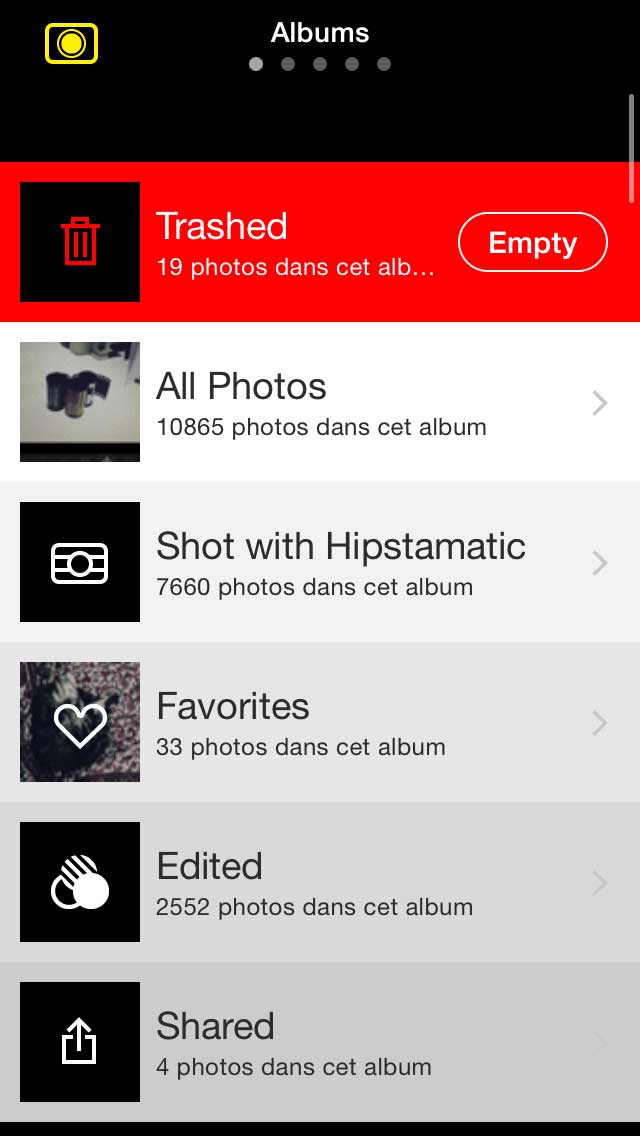
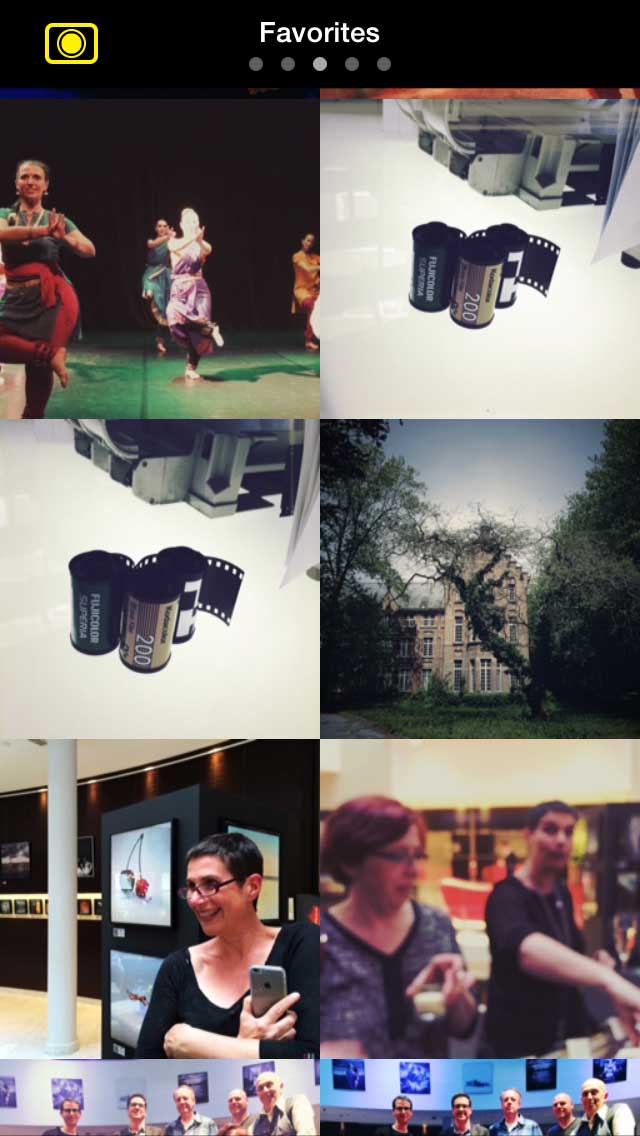
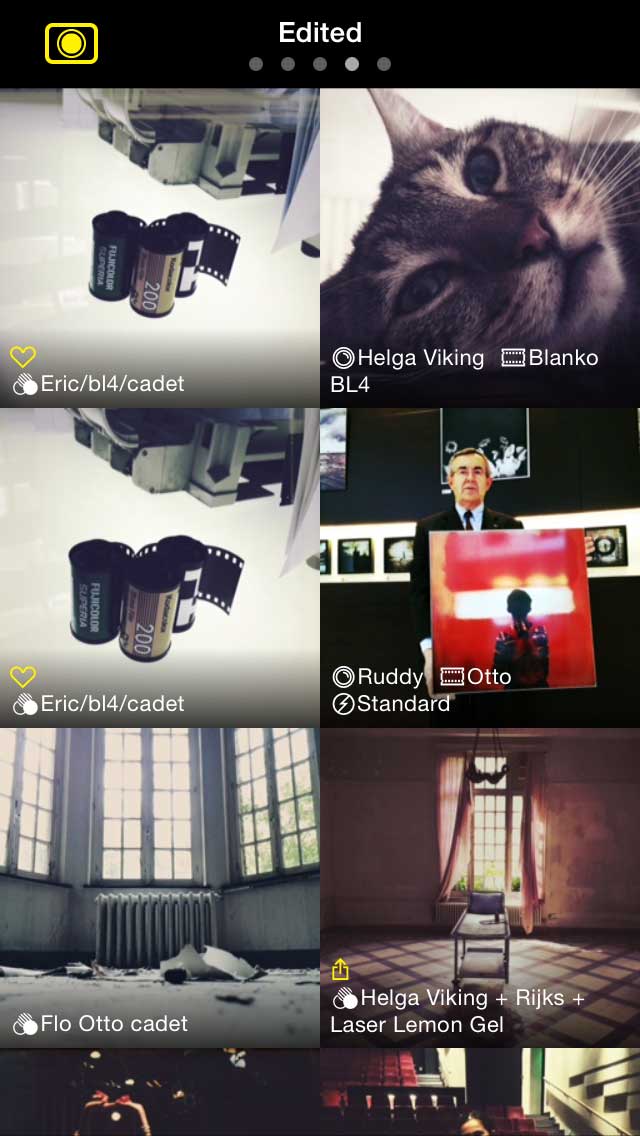
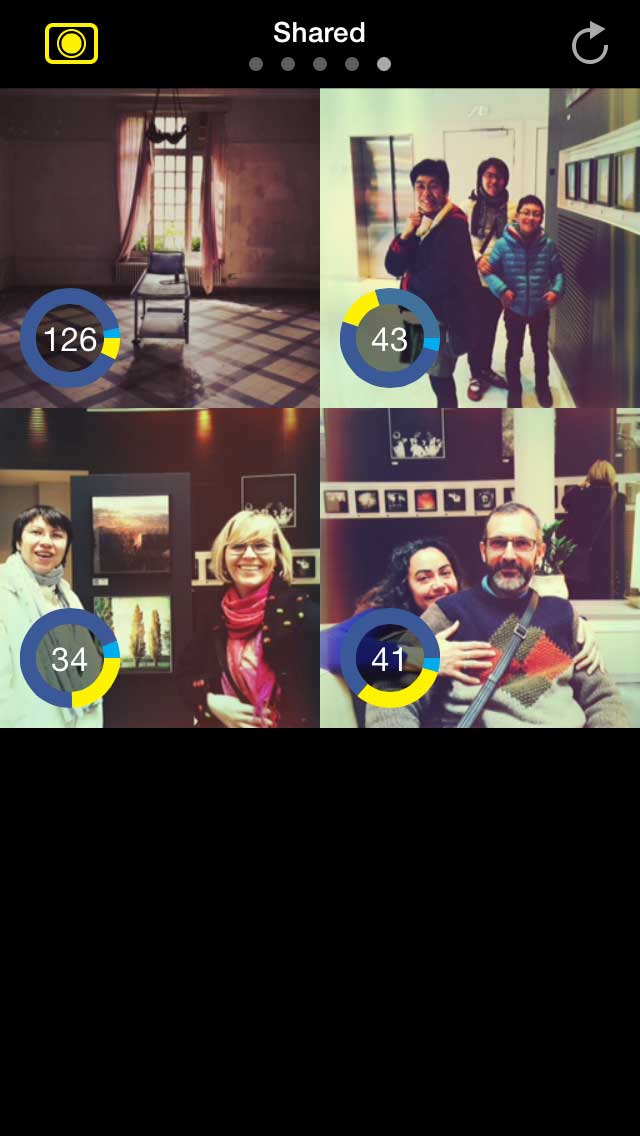
6. Library
The library has been completely revised and the all the new functions really do require more than a few lines of clarification. Another tutorial, dedicated entirely to the Hipstamatic library, can be found here.

7. Release
What is left to say about the now almost-cultish yellow button? Use without moderation!
8. Favorite Combos
This is where you get to choose the combo you want to use for your next shoot; all you need to do is double-click one of the available combos in order to use that one.
At the top of this window, you will find a new menu with 4 options:
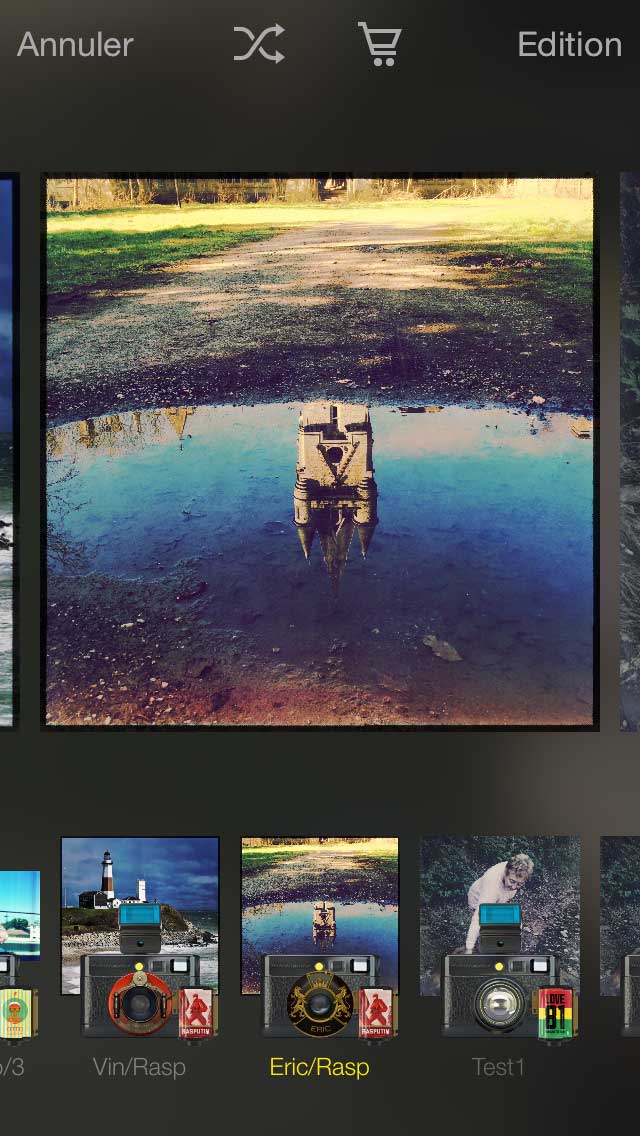
"Cancel": takes you back to Pro Mode.
"Shuffle": this allows you to choose a random mode ("Shuffle Everything"), a concept closely related to "Shake to Randomize", which will select a lens and film randomly for each picture you take. Another new option is "Shuffle Favorites", which will randomly apply one of your favorites.

"Store": the shopping trolley will take you to the store where you can purchase a new Pak, or two…
"Edit": this is where you can put order in your favorites.
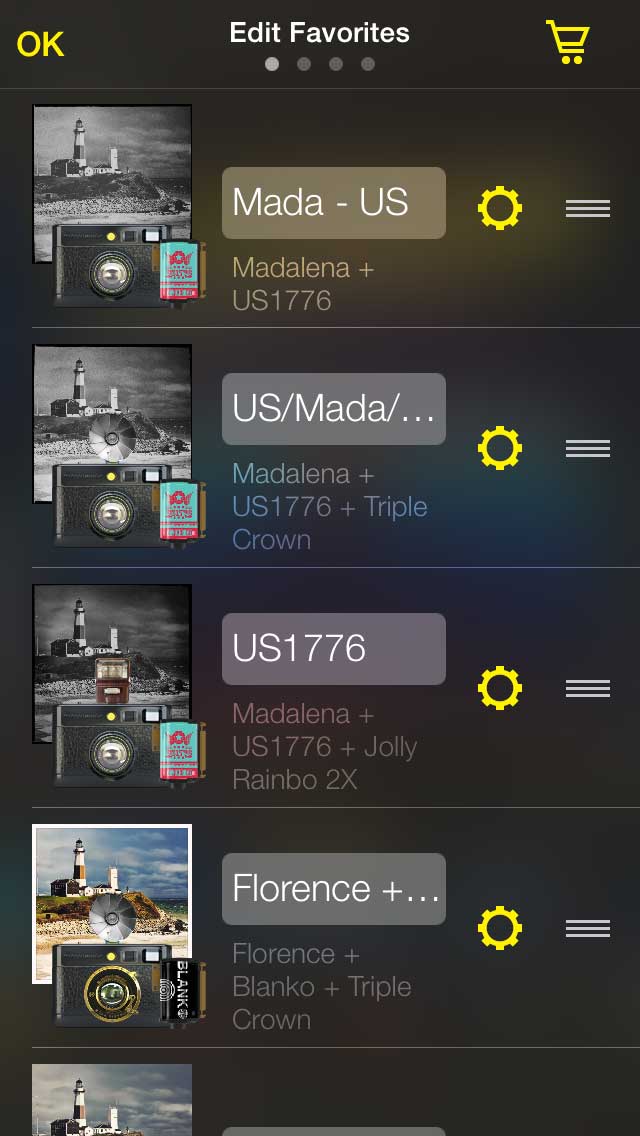

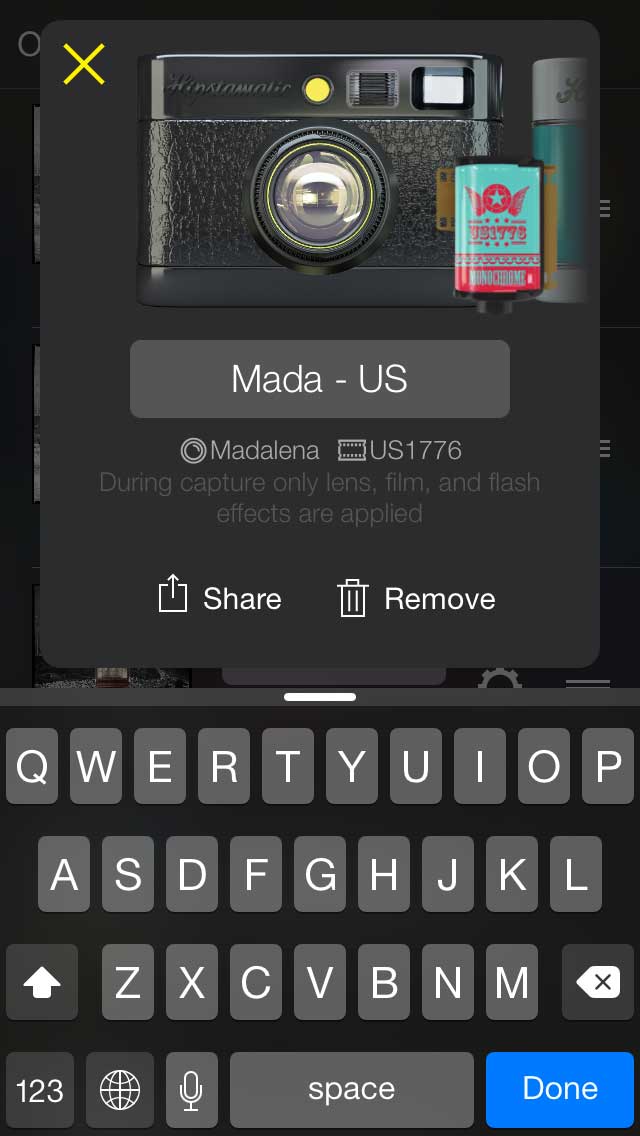
By clicking the name of the favorite ("Mada – US", in this case), you can rename it. By clicking on the cogwheel, you open a new window, where you can change the Hipstamatic case by sliding it to the left, rename the favorite or share it. This new function is not yet available on the beta version I’m using to write this tutorial, so… more info later! The three small horizontal bars to the right allow you to change the order of your favorites. You can move a favorite up or down the list.
But! That’s not all… You’ll notice three small dots at the top of the screen. This is where you go to manage your Hipstamatic catalogue, by classifying the lenses, films and flashes… or to deactivate certain elements. With over 140 different elements, it might be time to have a clean up. You can find more information in this tutorial.
This post is also available in: French


Pingback: Hipstamatic 310 - hipstography
Pingback: The Manchester HipstaPak - hipstography, Hipstamatic
Pingback: One Belongs to New York Instantly* | Karen Johnson - A Photographic Life