Hipstamatic 300 – The Editing Suite
This is one of the biggest innovation in this new Hipstamatic version. We are now at the heart of the 300-laboratory: this is where you can modify your pictures after shooting. You can change combos, add a flash, minimize the effect of a lens, adjust the brightness, change the format of your picture, eliminate the border, and more…
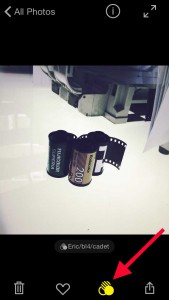
You can access it via Classic Mode or Pro Mode: in both cases you will need to access the library first, select a picture and press the "Filter Icon" button (the three overlapping circles).
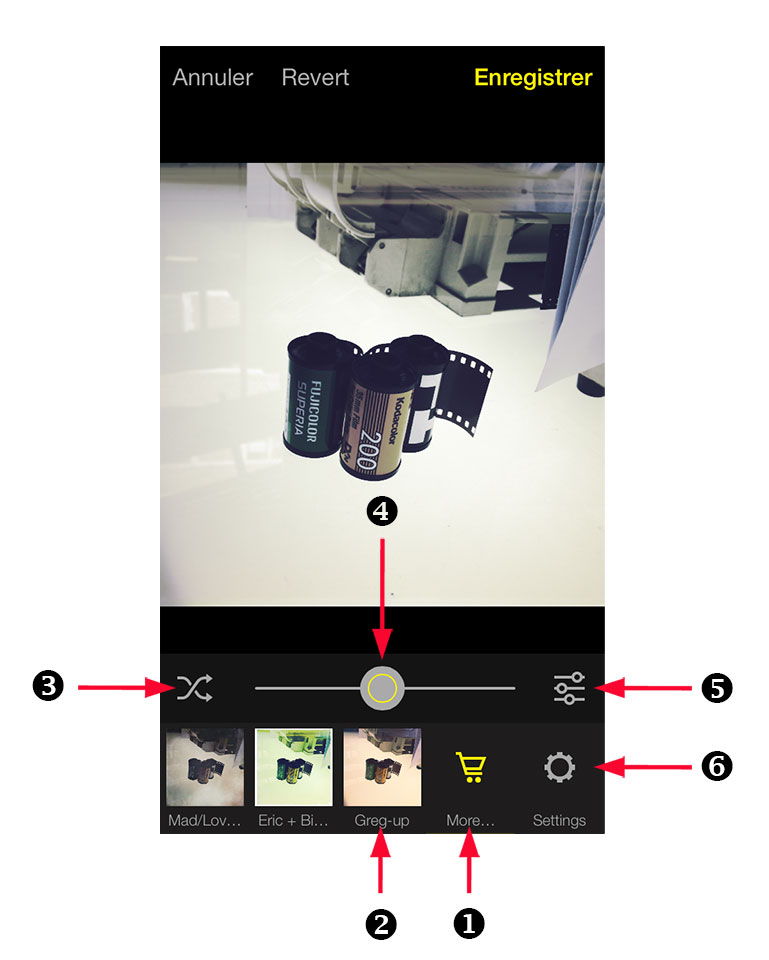
The menu at the top is fairly simple: you can cancel your choice, go back to the original or save the modifications. That said, the bottom menu is more complex, to say the least.
1. Caddy: you are redirected to the store where you can buy more Paks.
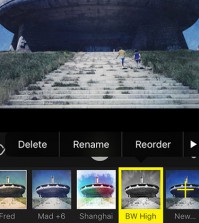
2. Combos: a complete list of the combos, as suggested by Hipstamatic but, more importantly, your own. To create a new combo, you only need to modify the picture: more about that below.
You can also modify the order of the combos, rename or delete them. More info about this in this tutorial.
3. Shuffle Gear:
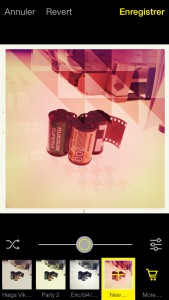
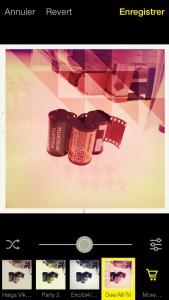
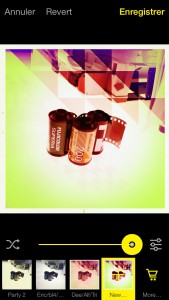
Every time you use this button, Hipstamatic choses a random combo. This is great for finding new combos or if your inspiration is refusing to cooperate… After a few clicks, I discovered a combo that I found quite interesting: Dee/Alfred Infrared/Triad Gel.
A new square appears at the bottom left side of the screen: "New…". I can now save it by clicking on "+". I’m going to call it "Dee/Alf/Tri" and press "Go". My new combo has now been saved and I can use it for other pictures.
4. Cursor:
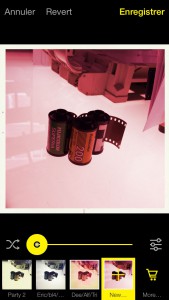
The cursor allows you to modify the effects of the combo. In other words, you can’t modify the lens or the film, but you can adjust the effects produced by the combo as a whole. By sliding the cursor to the right you accentuate the effects, and by sliding it to the left, you minimize them.
You’ll notice a new square at the bottom of your screen, which allows you to save the new combo. This is one of the main innovations in this new Hipstamatic version: even the slightest modification can be saved as a new combo.
For this tutorial, I am going to go back to the previous version and select another combo (one I’m personally very fond of): Eric/Blanko BL4/Cadet Blue Gel.
5. The three cursors:
Listen up! This is at the heart of this section called The Editing Suite! This is your gate to a new world! Even though the cursor (4) didn’t really allow you to make any major changes… here, we have the exact opposite! In order to be as clear as possible, I am going to briefly outline the available parameters; another more elaborate tutorial for each of the options will be published later, as quite a few of the options are really rather intricate.
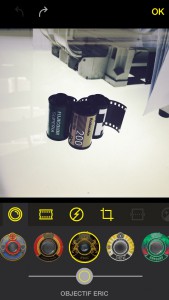
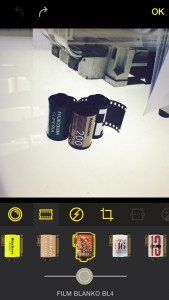
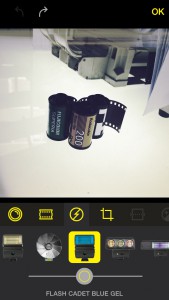
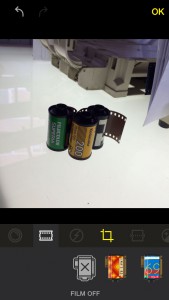
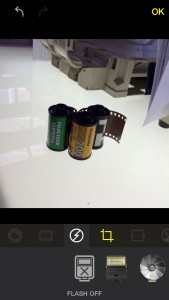
By touching the icons relating to the lenses, films, flashes and formats, you, first of all, get an overview of them. In this case, the chosen combo is: Eric/Blanko BL4/Cadet Blue Gel.
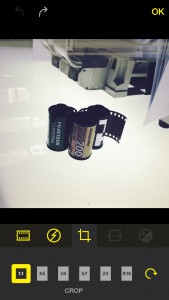
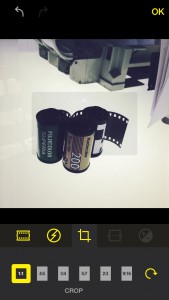
Right next to the flash, there is an icon allowing you to "crop" the picture; this means you can change the format, pivot your picture by 90° or zoom in. Once again, it’s not as simple as it all seems because, for example, in order to make a panoramic shot, you will need to make this choice before you shoot your picture. You can find all the necessary info regarding the new formats, here.
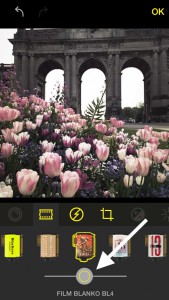
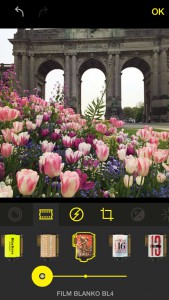
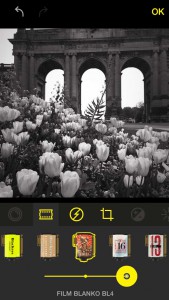
Under the lens, film and flash, you will see yet another cursor. This new function allows you to tweak the intensity of many elements from the Hipstamatic catalogue, whether that’s a film, a lens or a flash. Let’s take Blanko BL4 as an example: one of its main characteristics being a desaturation of color. A cursor allows you to minimize or heighten this effect. When you slide the cursor to the left, you are going towards invisible, slide it to the right and the effect is maximized producing something much closer to a monochrome.
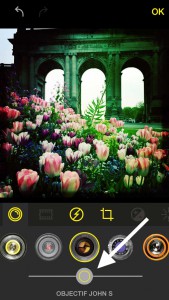
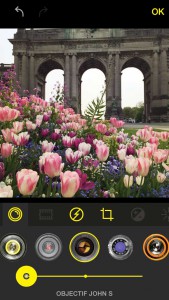
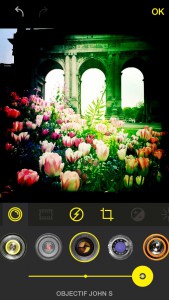
Same thing goes for the lens. Let’s take John S as an example, a lens that is recognizable because of its vignette and its greenish tinge. Slide the cursor to the left and both effects disappear, but you can emphasize them to the extreme.
You can even eliminate the border completely with certain films. More info in a future article.
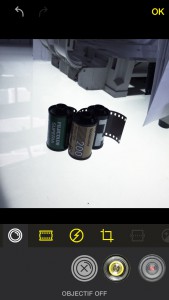
One observation about the lens/film/flash icons: if you click twice on one of the icons, that particular element will be removed. I am going to select the icon of the lens, on the top, and the effects produced by Eric will be removed ("Lens OFF"), hence, my combo now consists of only the film and flash; none of the effects produced by any of the Hipstamatic lenses can now be found in the picture.
It’s yet another of these new addition that could come in handy in certain circumstances. As an example: let’s say you want to take a picture of a painting or picture hanging on the wall; you really don’t want too much alteration, but you still want to use Hipstamatic… you can just choose the "OFF" option for the lens, film or flash.
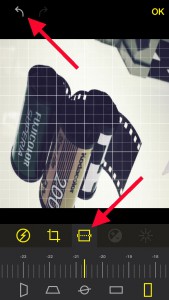
The small arrow at the top left-hand corner of the screen allows you to backtrack as far as the last saved version of the picture in question.
6. Settings
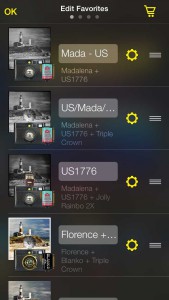
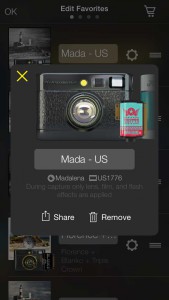
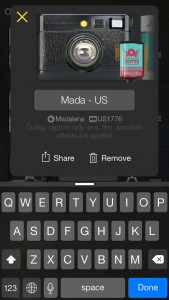
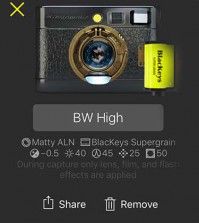
You can put order in your favorites: by clicking the name of the favorite (“Mada – US”, in this case), you can rename it. By clicking on the cogwheel, you open a new window, where you can change the Hipstamatic case by sliding it to the left, rename the favorite or share it. This new function is not yet available on the beta version I’m using to write this tutorial, so… more info later! The three small horizontal bars to the right allow you to change the order of your favorites. You can move a favorite up or down the list.
But! That’s not all… You’ll notice three small dots at the top of the screen. This is where you go to manage your Hipstamatic catalogue, by classifying the lenses, films and flashes… or to deactivate certain elements. With over 140 different elements, it might be time to have a clean up. You can find more information in this tutorial.
Pro Mode: Adjustments
By Joe Morrissey
Now, if you slide the top bar to the left, more icons appear.
These are a few of the options that will radically change the way Hipstamatic operates. The number of parameters that can be modified is substantial (about 15 in all!), but a little restraint is recommended if you want to maintain the characteristic charm of your Hipstamatic pictures.
Here is a list of the possibilities: an upcoming tutorial will analyze all the adjustment settings. A general note to bear in mind: for every adjustment, there is always the possibility to delete whatever effect you decided to attribute to the picture by clicking on the arrow on the top of your screen (step back), or by clicking on the icon of that particular parameter.
1. Crop: you can modify the format of your pictures! The square format is no longer mandatory! You can find tons of info about the new formats here.
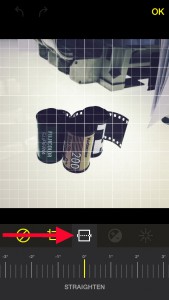
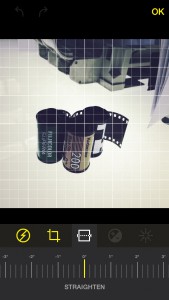
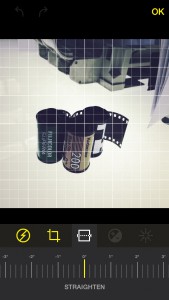
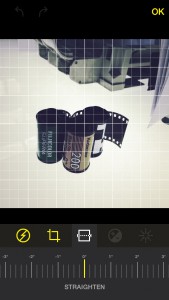
2. Straighten: using the slider, you are able to tweak those photos that just don’t sit quite right. Hipstamatic takes care of the hard work, keeping your image centered, while you are in control of the angle of the shot, as though you tilted the camera when you were capturing your photo.
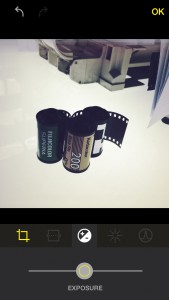
3. Exposure: adjust the exposure of your photo using the slider. Moving the slider to the left, reduces the exposure by up to two points, while moving the slider to the right will increase the exposure. Think of it as adding or taking away the light from the scene, rather than lightening or darkening the whole photo. Attention: you can also control this before you shoot, with the "M" option, in Pro Mode.
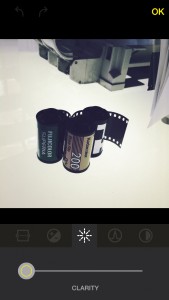
4. Clarity: this slider gives you the option to add more "pop" to your photo. Increasing the contrast without losing those carefully considered details in the scene.
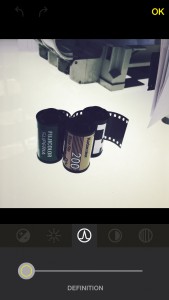
5. Definition: sliding this to the right will sharpen the details in the photo. This slider can compensate for a slightly out of focus shot, or bring out the details of a subject that were not previously visible.
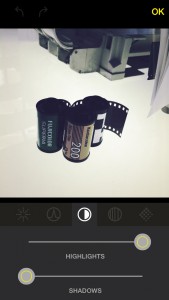
6. Highlights/Shadows: This pair of sliders gives you more control than ever over the contrast of your photo. "Highlights" adjusts the exposure of the light areas of the photo. "Shadows" adjusts the exposure of the dark areas of the photo.
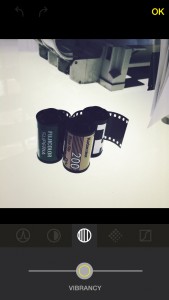
7. Vibrancy: slide to the left to remove the colour from an photo, slide to the right to increase the intensity of the colour from a shot.
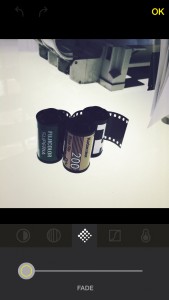
8. Fade: lighten your photo using this slider. Reduce the intensity of your photo to make it more subtle.
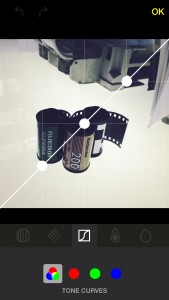
9. Tone Curves: a tool straight from the big named photo editors. Use this tool the adjust hue and contrast of the blues/greens/reds of your photo.
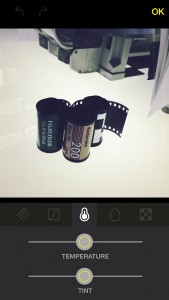
10. Temperature/Tint: use these sliders to give fine control over the your white balance. Temperature gives control over the warm/cool tone of the scene. Tint gives control over the green/magenta hue of a scene.
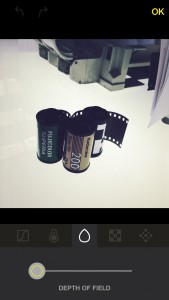
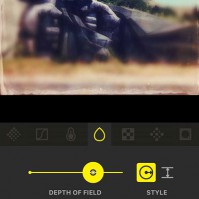
11. Depth of Field: you now have full control over the blur elements of you photo, from the shape of the blur (circular/ tilt shift), to the intensity and position.
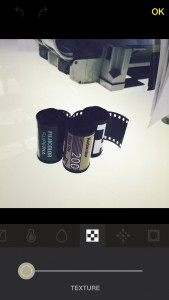
12. Texture: add or remove a gritty, vintage layer to or from your photo.
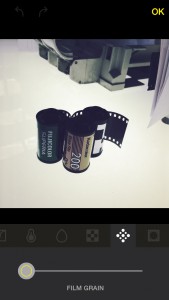
13. Film Grain: sticking with the roots of Hipstamatic, the slider lets you emulate the texture of film photography. Grain is the small dots that appear on a film negative when the exposure and ISO are under the right conditions. Many consider this a "distinguished" look, harkening back to the "good old days".
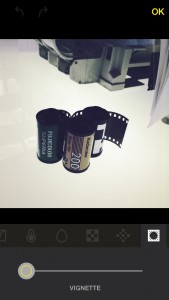
14. Vignette: give a subtle shadow around the edge of your photo, to draw the eye in to the subject.
Once you’ve obtained your final result, all you need to do is save your modifications and, while you’re at it, why not create a new combo!?
This post is also available in: French



Pingback: Photo of the day by Polina Sarri - hipstography, Hipstamatic
Pingback: The Helsinki HipstaPak - hipstography