
‘Multi exposure with Hipstamatic – The Basics’
 Since a few months now the multi-exposure option has extended the range of creative opportunities in Hipstamatic. Using this feature can be tricky though, as the results will not always look as you expect them to if you don't take into account the effects that multi-exposure may have on your image.
By Tilman Haerdle

When overlaying two photos with multi exposure, light areas usually become lighter, or even overexposed. Dark areas that are overlayed with dark areas become even darker. Subjects with lots of texture tend to become quite unrecognizable with multi exposure. For starters, some simple technique can help to get a better feel for multi exposure.


Try to find simple subjects with lots of negative space around them. You can then add a second subject that is arranged differently to get an overlay effect, or combine two different views of the same object.
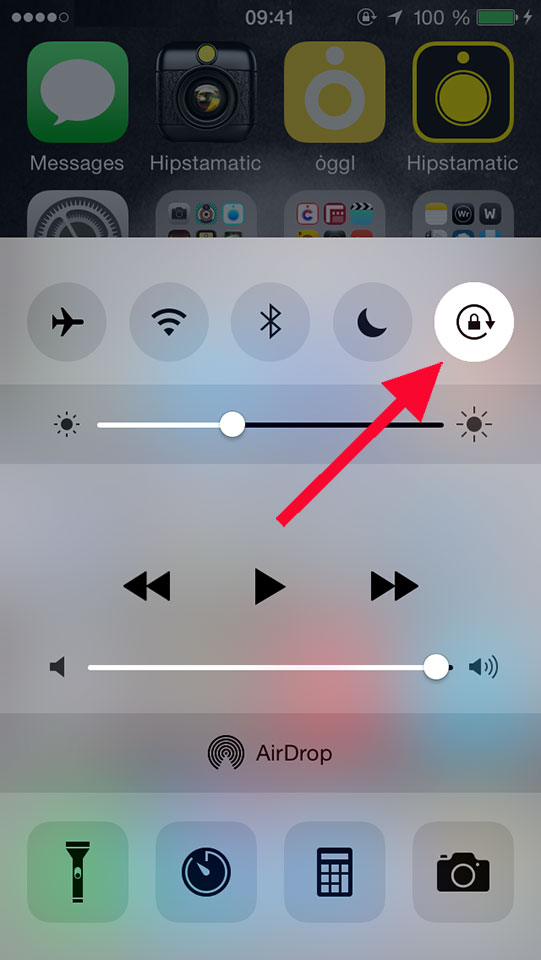
Another simple way to get an interesting effect is by using the iPhone's orientation lock. You can lock the orientation of the screen via the Control Center on your iPhone. Just slide the bottom of your screen up to acces the Control Center and click on said icon. It only works in Portrait Mode, by the way ; you can’t use this function when you’re in Landscape Mode.
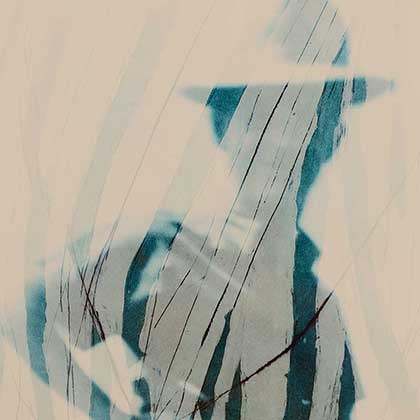
Now find a subject with a horizon line. In the most simple case, centre the horizon vertically, activate multi exposure, snap the first pic, then rotate the iPhone by 180 degrees, try to arrange the pic in exactly the same way and snap the second pic. You now have a mirrored image. Depending on your subject you can get quite weird looking patterns using this simple technique.

This post is also available in: French

2 Comments