
Hipstamatic 300 – Settings: Putting order in Hipstamatic 300
The release of this new Hipstamatic version is possibly the perfect opportunity for a thorough cleanup in your own Hipstamatic. At the time of writing this article (July 2015), there are 60-odd lenses, just as many films and about 15 flashes! That is becoming a little unmanageable and just imagines what it’ll be like in a year… or more… Seems like it’s time for a bit of a "Summer" clean.
You’ll first need to deactivate a few of the elements (lenses, films or flashes) you never use; you must admit we all have our favorites and we all have the ones we simply do not like… at all. Let me assure you that deactivating them does not mean they are lost forever! They will not be visible, that’s all. Also, for those who use the "Shake to Randomize"-function, this is a really useful thing to do.
Once you’ve done the above, you will need to reorder everything in your Hipstamatic catalogue, according to your own criteria. If you want to really benefit from this new version, it is necessary to clean your act up!
There are several ways of accessing "Settings". From Classic Mode:
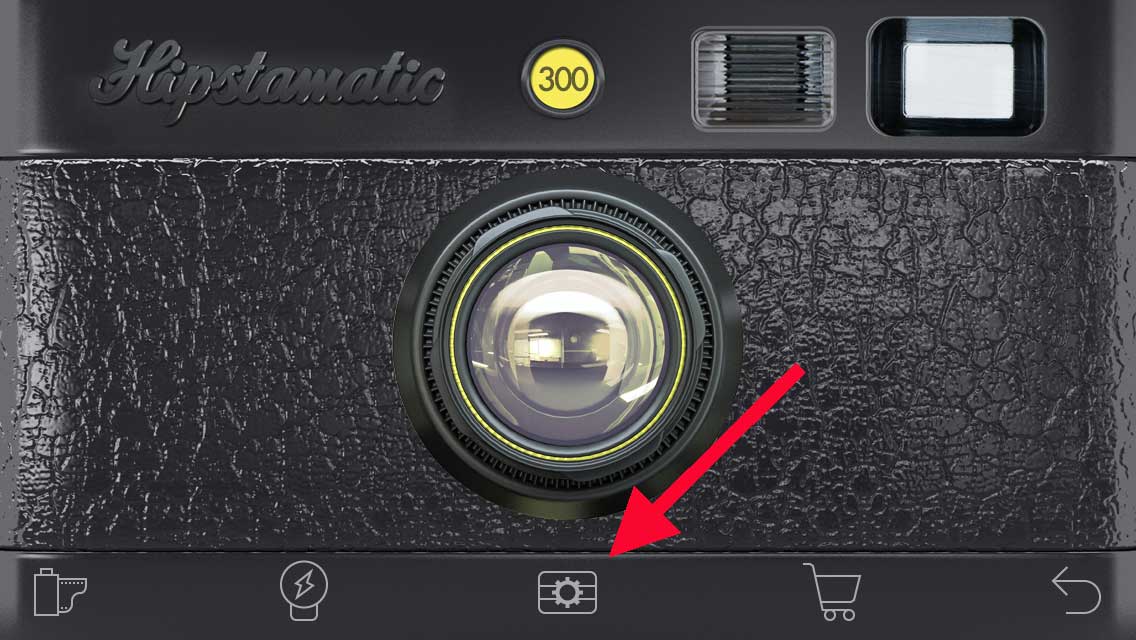
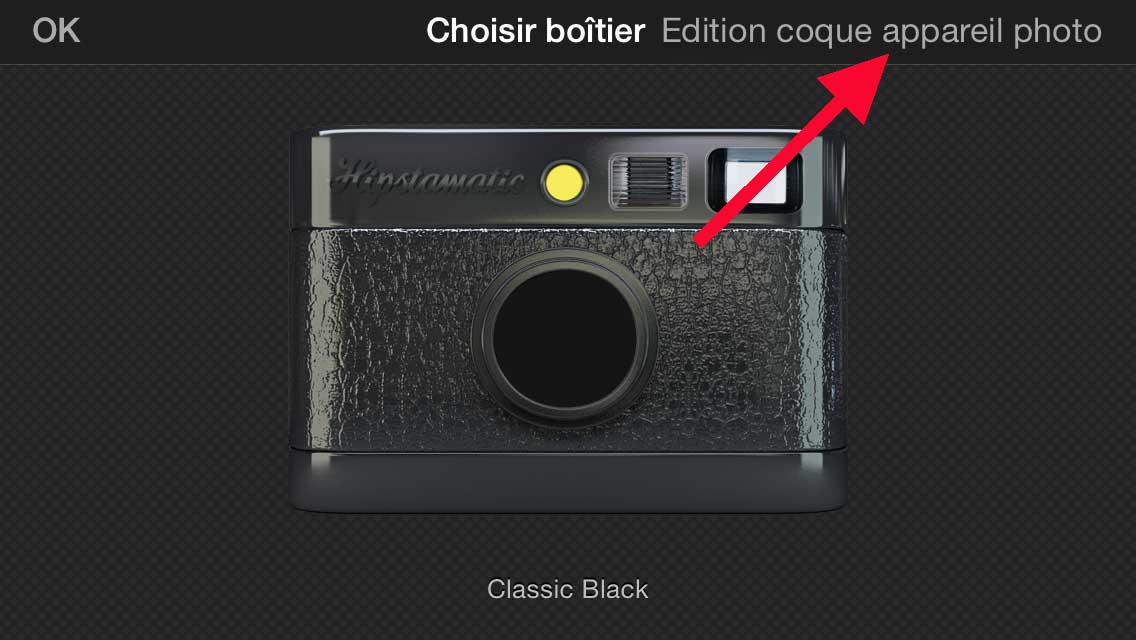
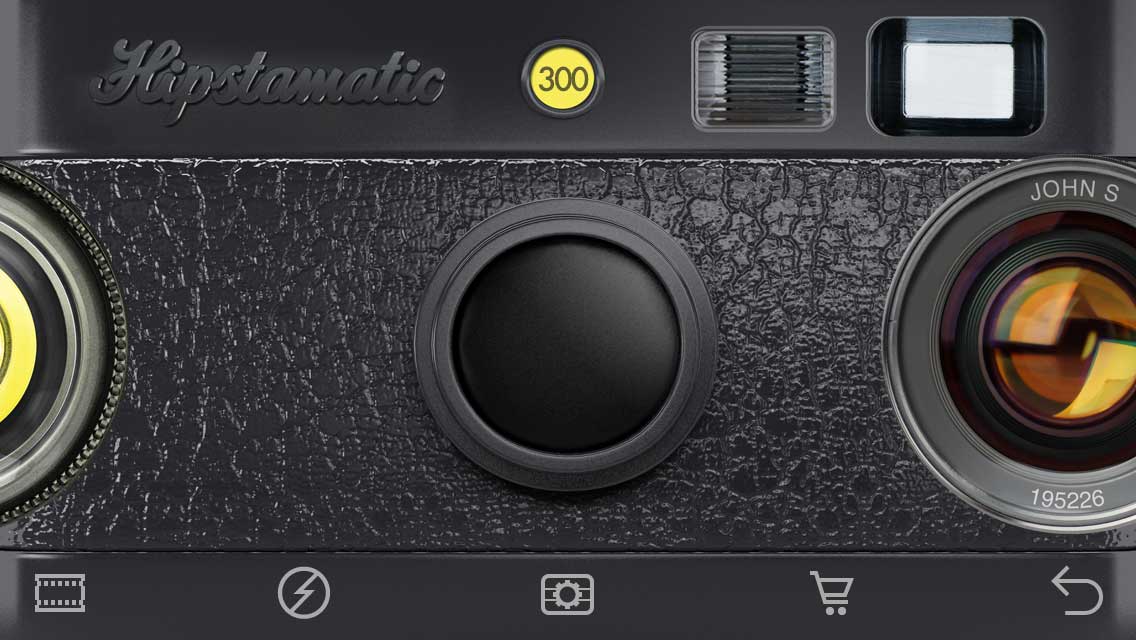
On the front face of Hipstamatic, click the icon in the center, just below the lens. A new window will appear, click on "Edit Camera Bag" (top right of the screen).
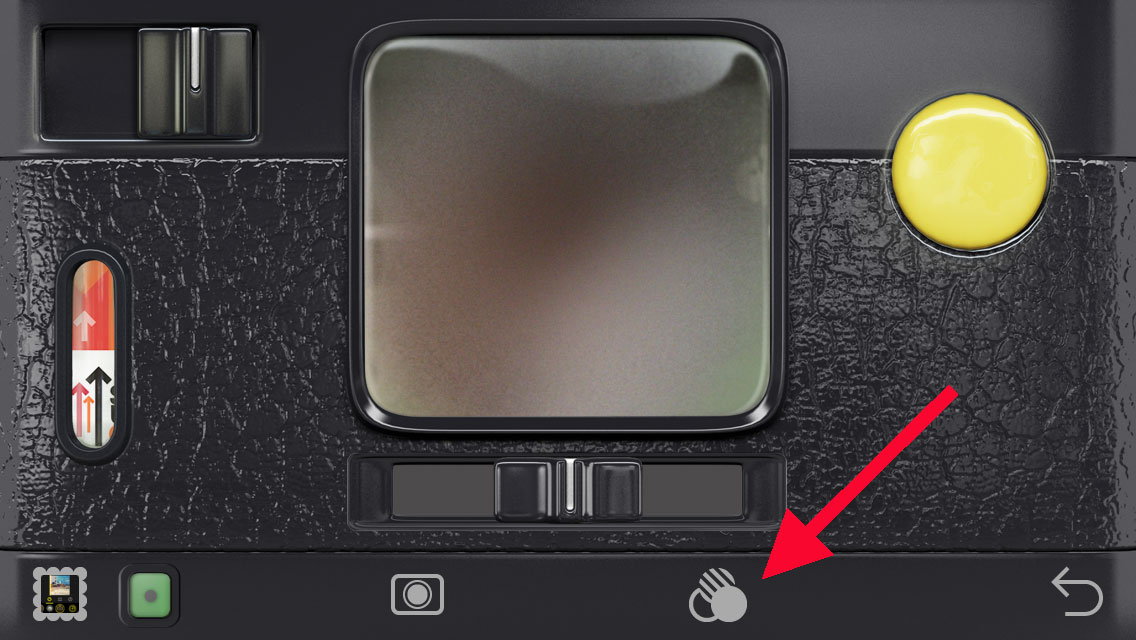
Or, you can access it via "Favorites". Click on the three overlapping circles on the back face, followed by "Edit", in the top right-hand corner.

When you’re in Pro Mode, there are two ways of getting there. The first is via the Combos/Favorites icon, followed by clicking on "Edit".
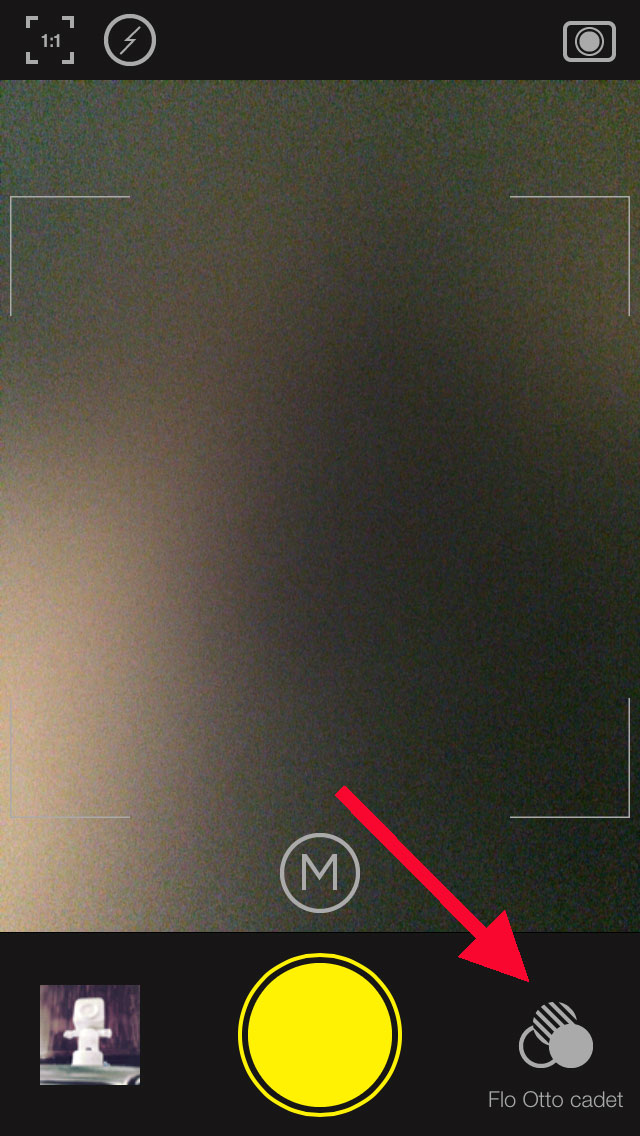
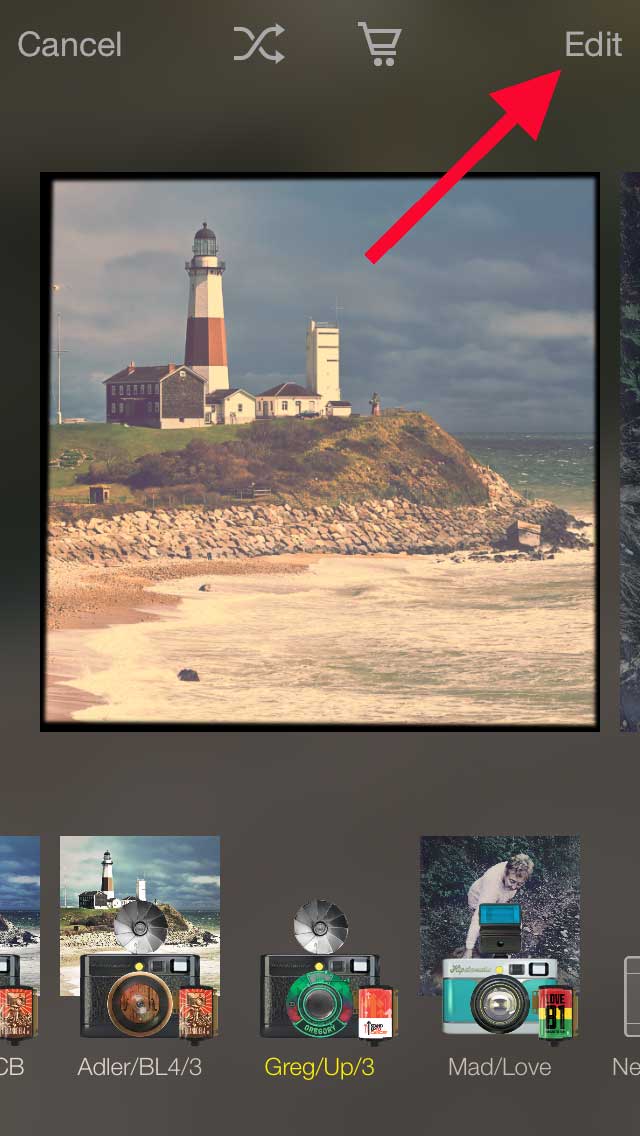
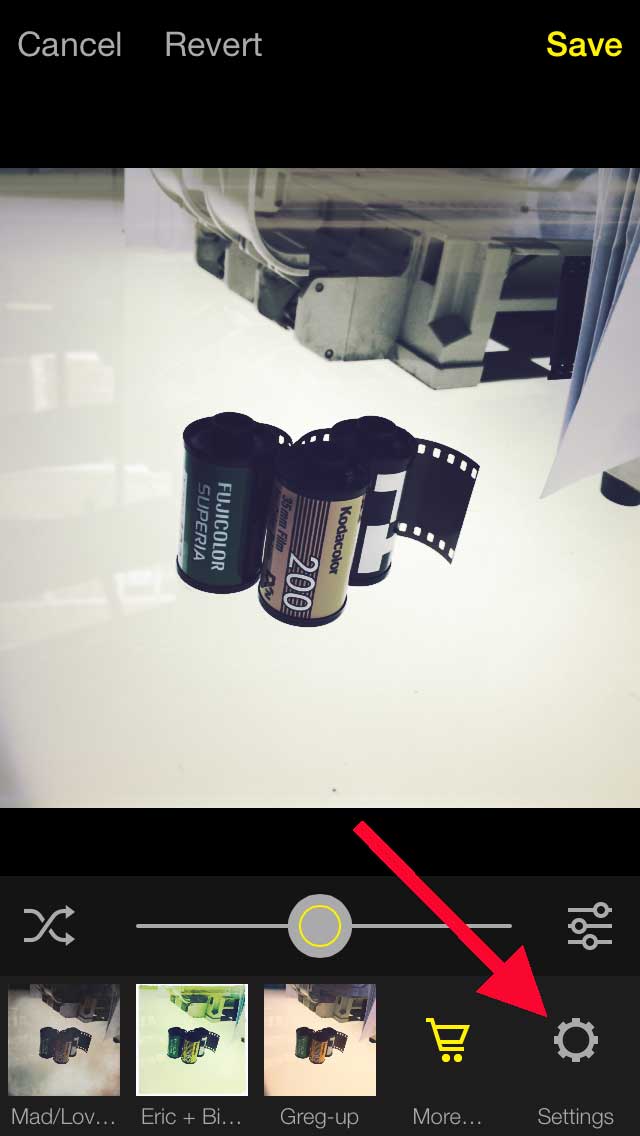
The second option is to go through the library: select a picture, then click on the three overlapping circles, slide the favorites to the left and hit "Settings".
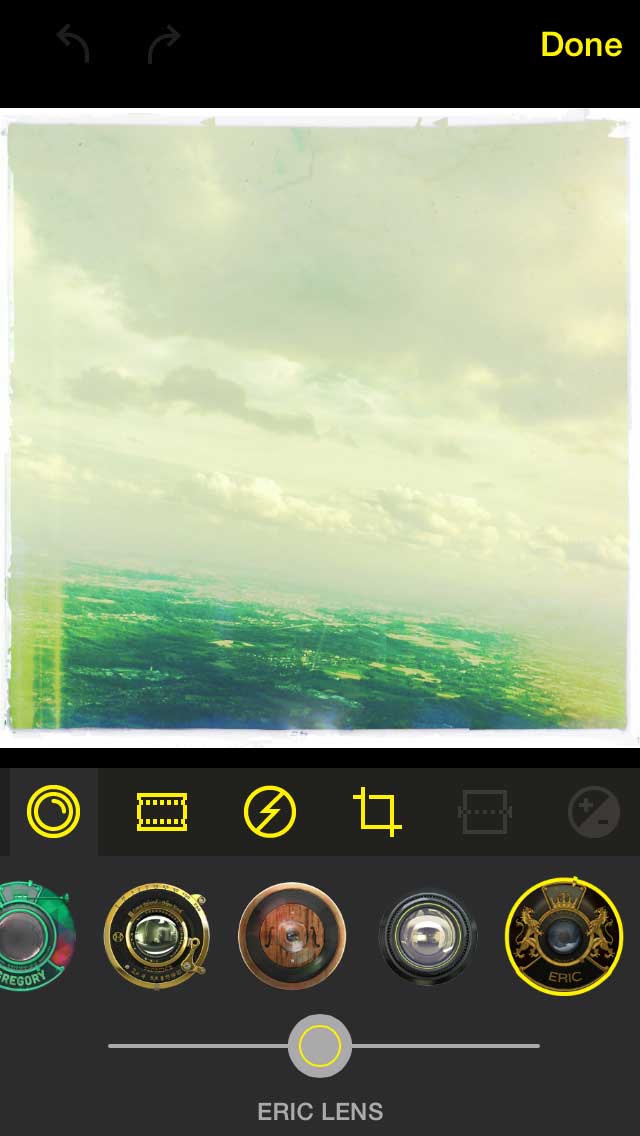
This new Hipstamatic section, called "Settings" consists of 4 parts: editing of the Favorites, lenses, films and flashes. The three latter ones all work in the same way but, Favorites is slightly different.
Before launching into this, a general, if fairly important, observation: the order of Favorites, films, lenses and flashes is the same, regardless of whether you’re in Classic or Pro Mode; or whichever window you happen to be in. In other words, you can classify everything according to your own criteria and these classifications remain the same in all other windows. Two examples:
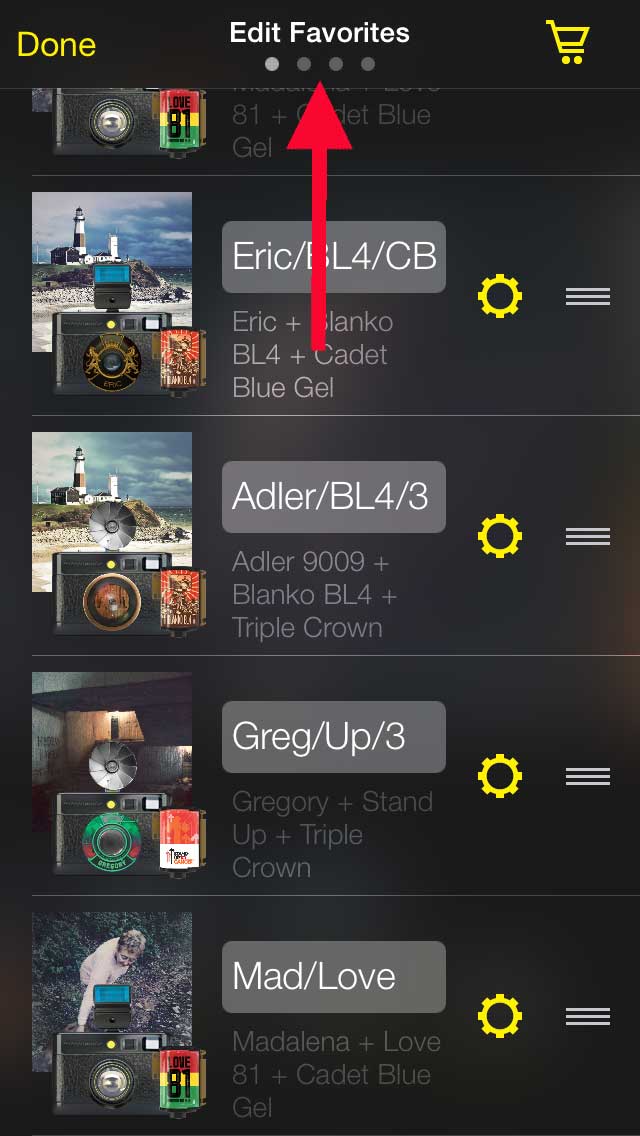
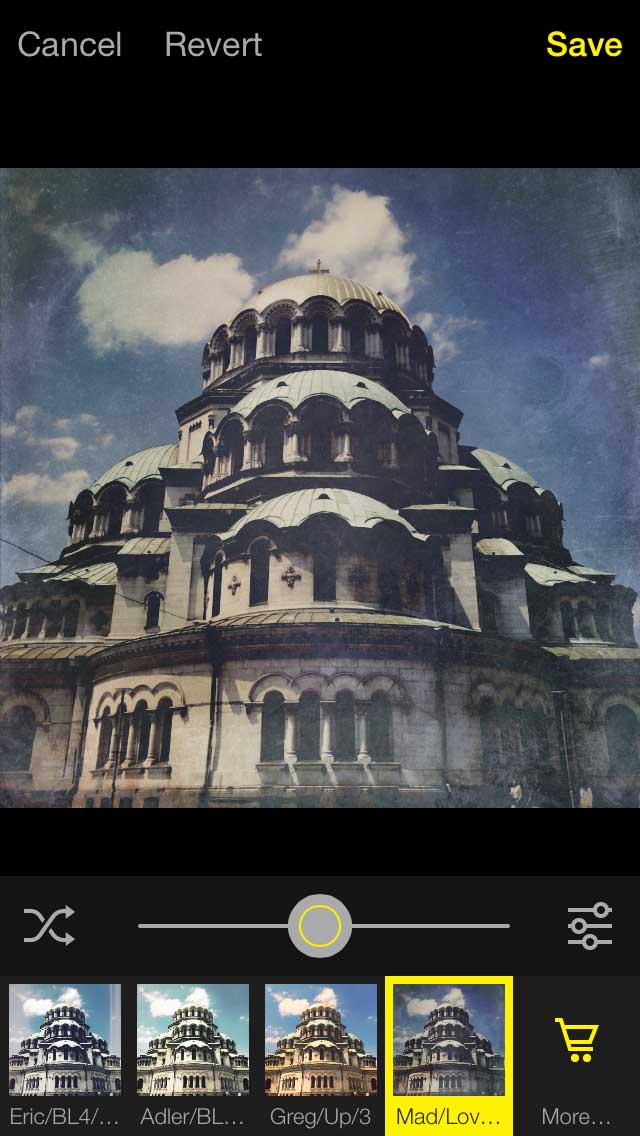
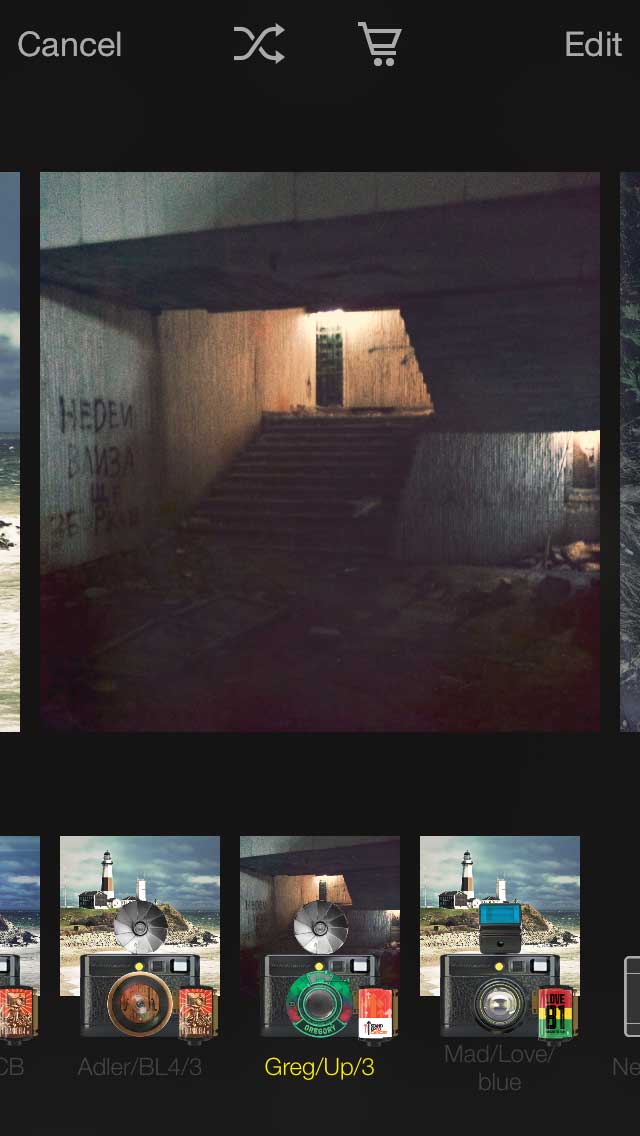
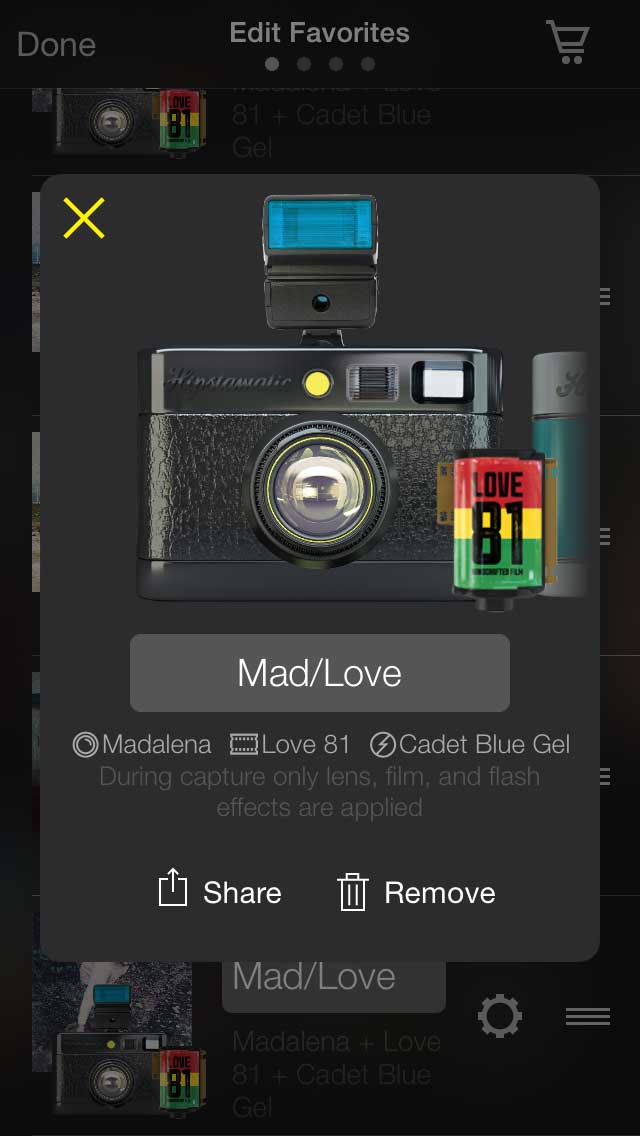
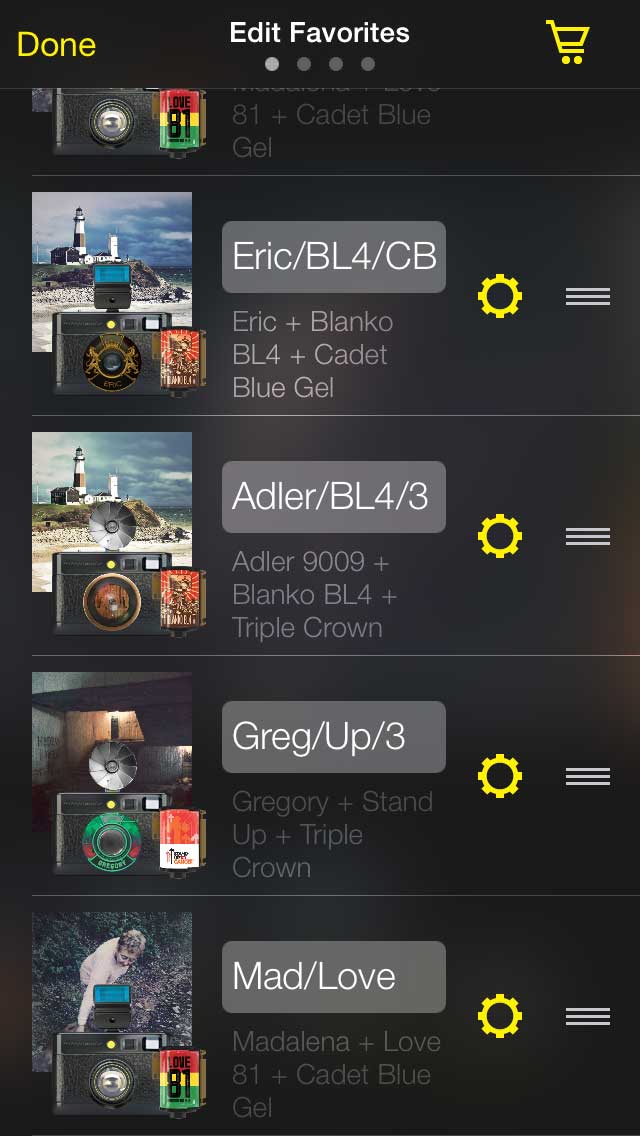
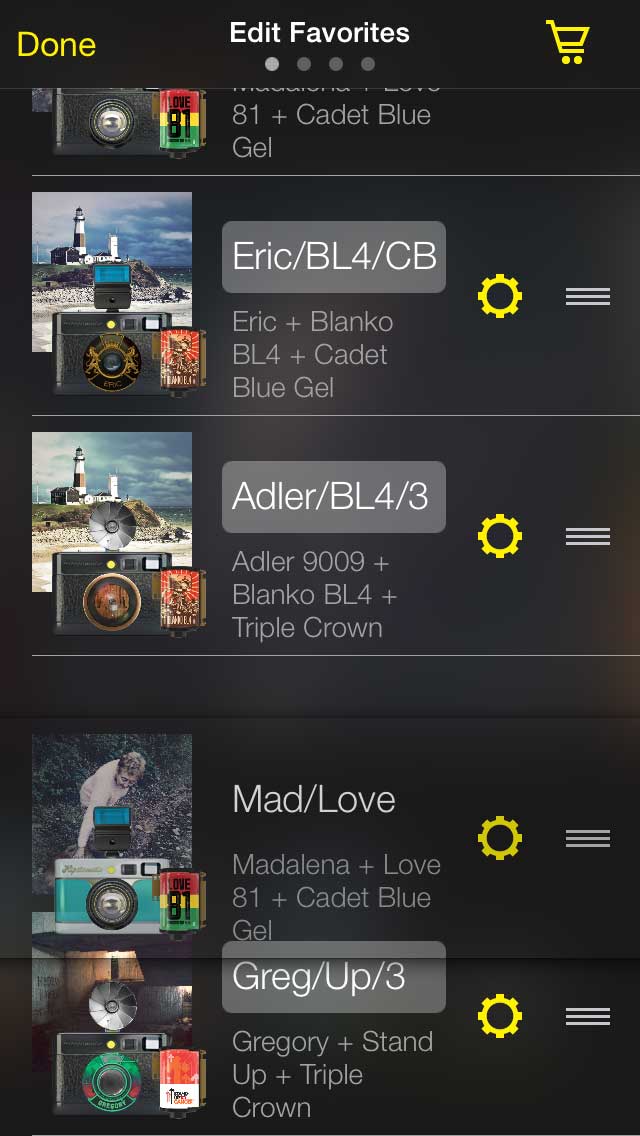
In my Favorites; I have about thirty favorites, of which the 4 newest are: "Eric/BL4/CB" (Eric, Blanko BL4, Cadet Blue Gel), "Adler/BL4/3" (Adler 9009, Blanko BL4, Triple Crown), "Greg/Up/3" (Gregory, Stand Up, Triple Crown) and "Mad/Love" (Madalena, Love 81 and Cadet Blue Gel). On a side note: you will have to abbreviate the names because there only a limited number of available characters. The same order can be found in the Settings, in Pro Mode, in the Editing Suite and even in Classic Mode.

The same goes for the elements in the Hipstamatic catalogue. For example: I’ve grouped my lenses by favorites: Florence, Adler 9009, Madalena and Eric (of course…). The same order will appear in the Settings, Editing Suite and in Classic Mode.
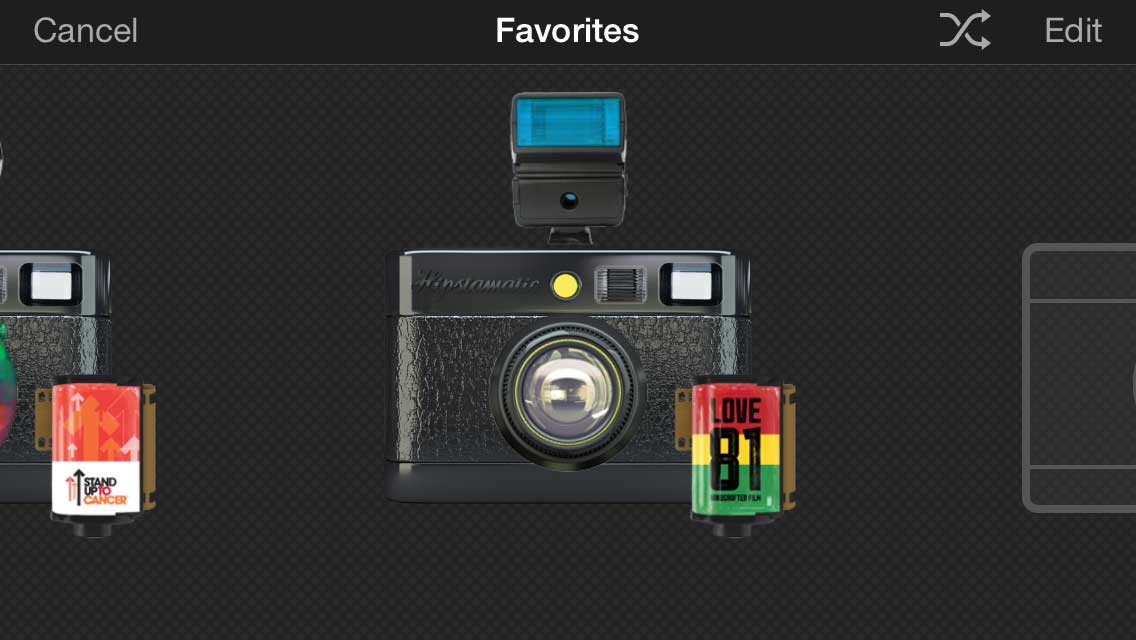
Classifying Favorites
From the Settings section, you proceed as follows:
Naming the favorite: by click on the name of a particular favorite ("Mad /Love" in this case), you can rename it.
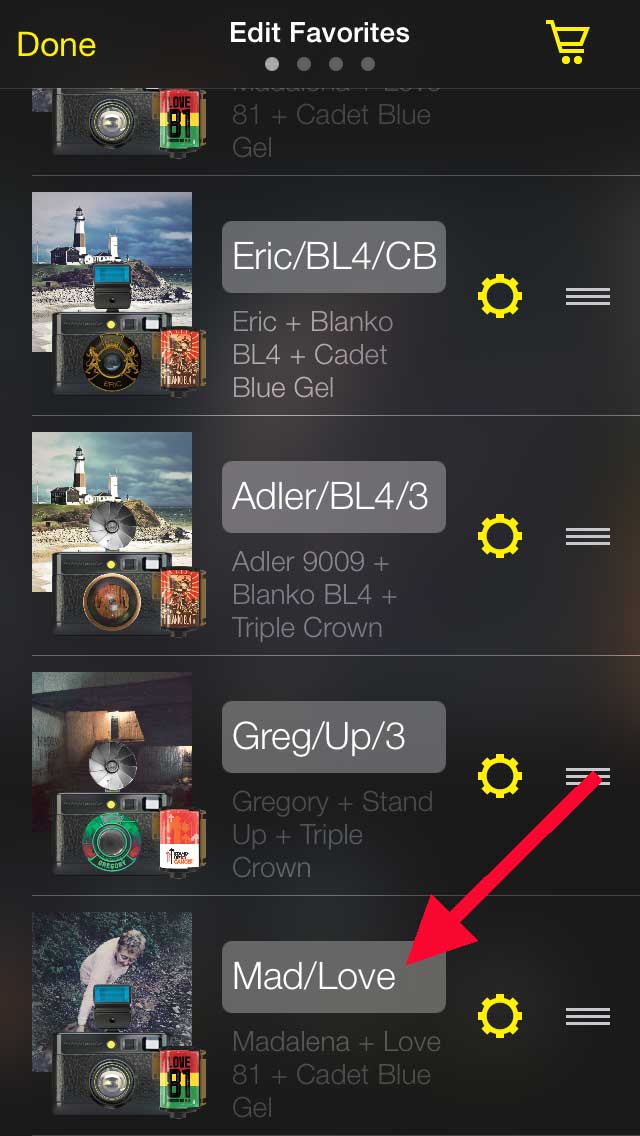
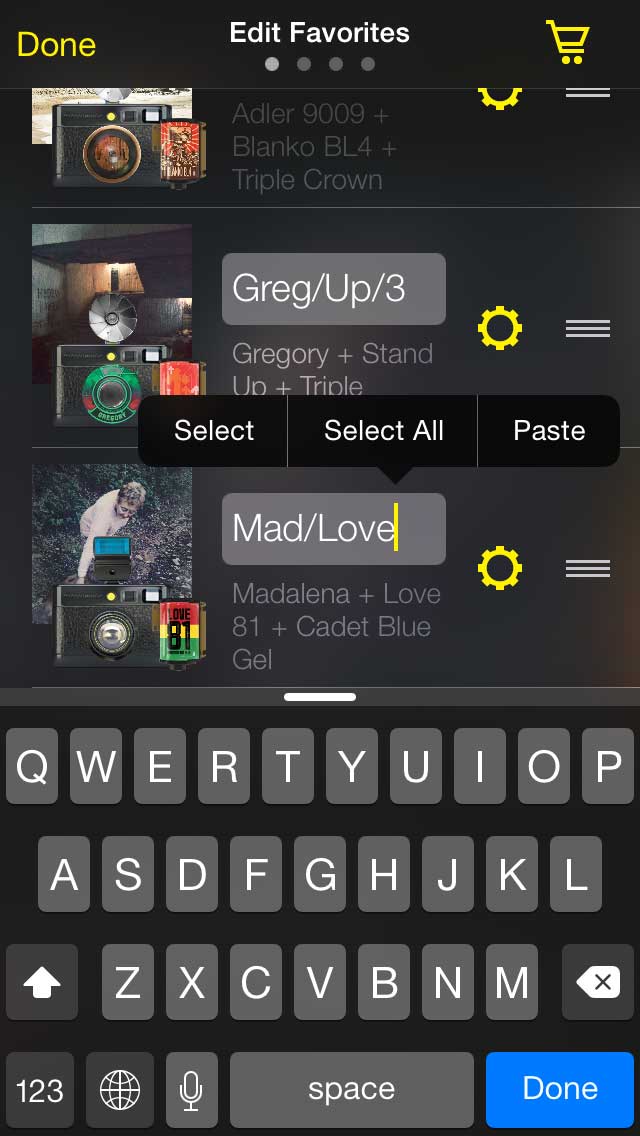
By selecting the cogwheel, a new window opens up: here you can change the appearance of the case by sliding it to the left, rename your favorite, delete or share it. This latest function is not yet available in the beta version that I’m using to put together this tutorial: more info later!

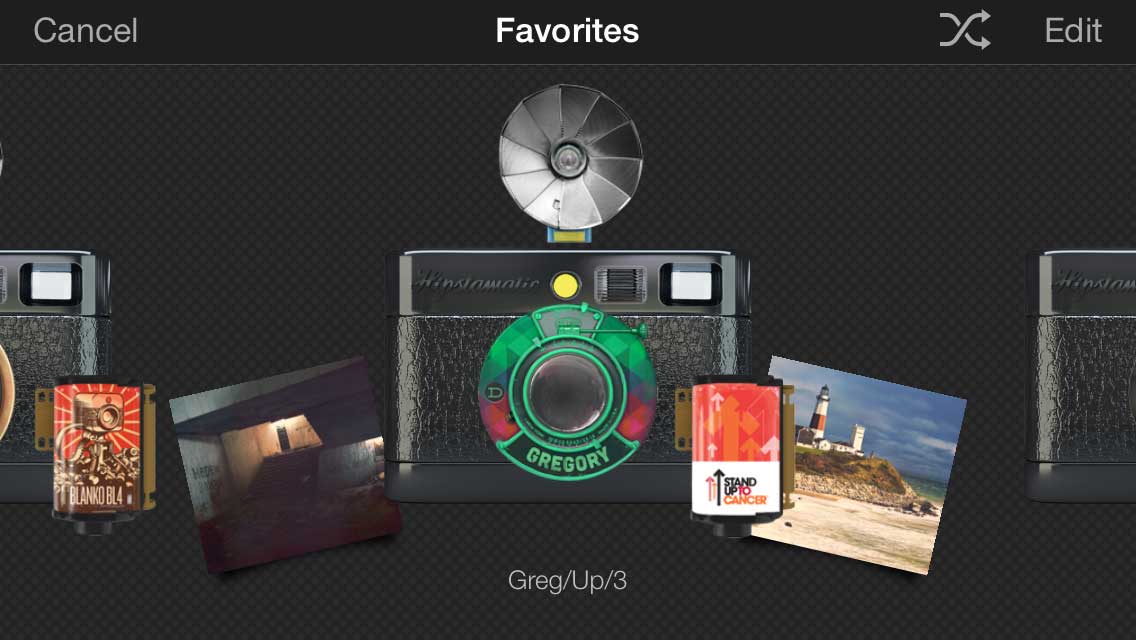
The three small horizontal bars to the right allow you to change the order of your favorites. You can move a favorite up or down the list.
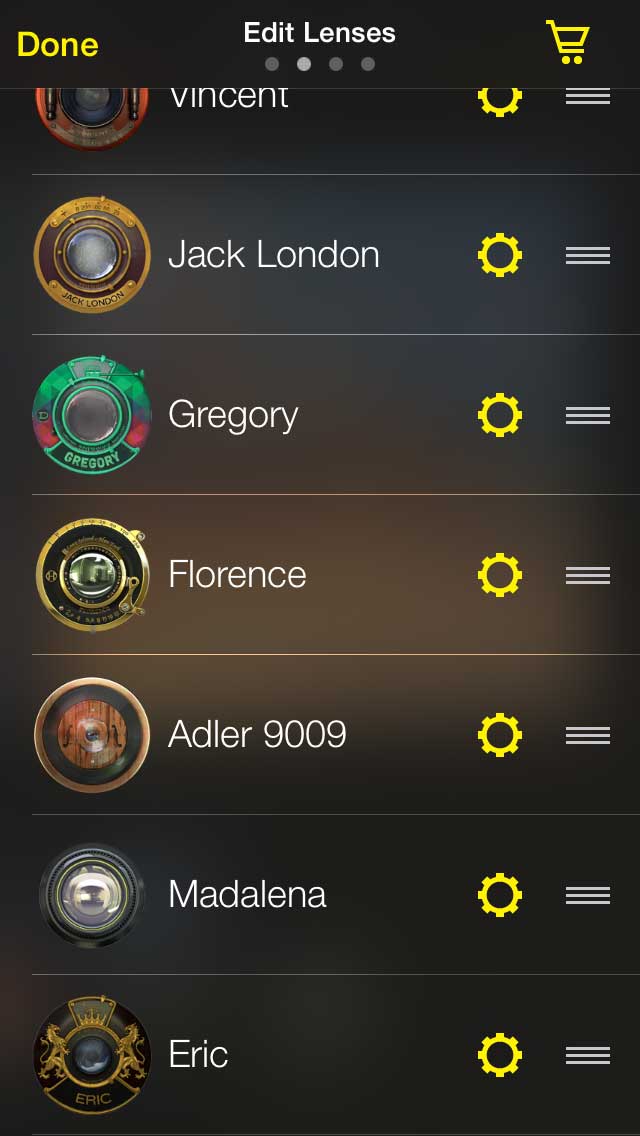
Classifying the lenses, films and flashes
Slide the entire Favorites window to the left: this brings you to the Lens section.
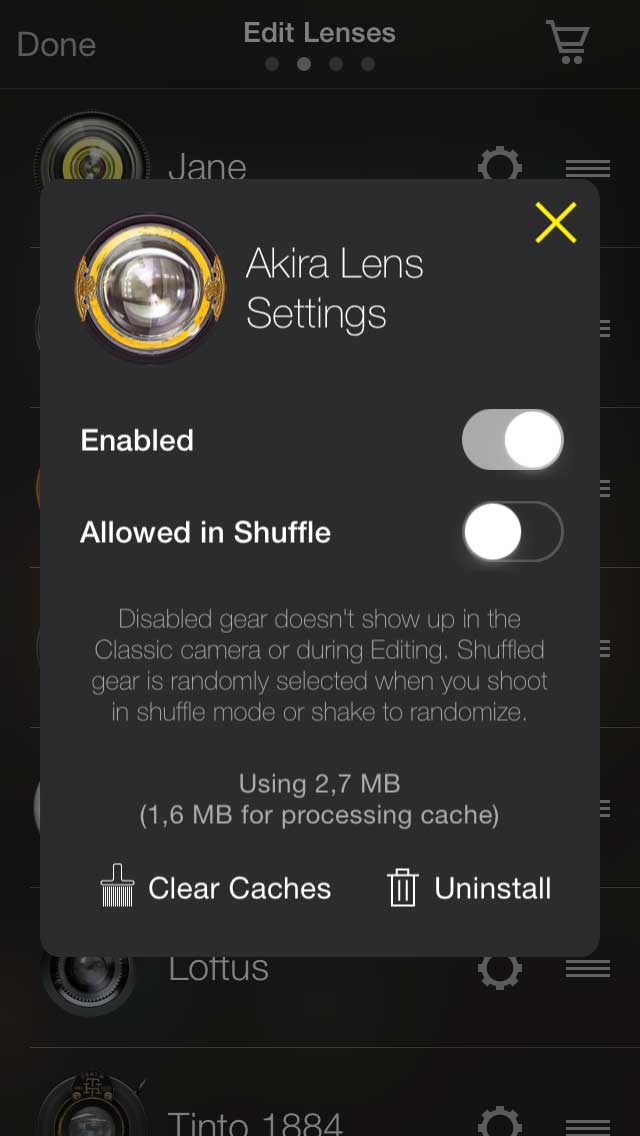
The cogwheel: here you have two main options ("Enabled" and "Allowed in Shuffle"), and two additional ones ("Clear Caches" and "Uninstall"). I will address the two latter in another tutorial, so in the meantime, here’s an explanation of the two main options:
Enabled allows you to deactivate an element you don’t like or never use. I have to admit that I never really liked Sergio… Not the tone, not the style, not the blurry effect. Some of you manage to make superb images with this lens, but personally, I will never use it, so I’m going to eliminate it altogether. By deactivating Sergio, the lens goes "down" to the bottom of the window and is put in a section entitled "Disabled Lenses".
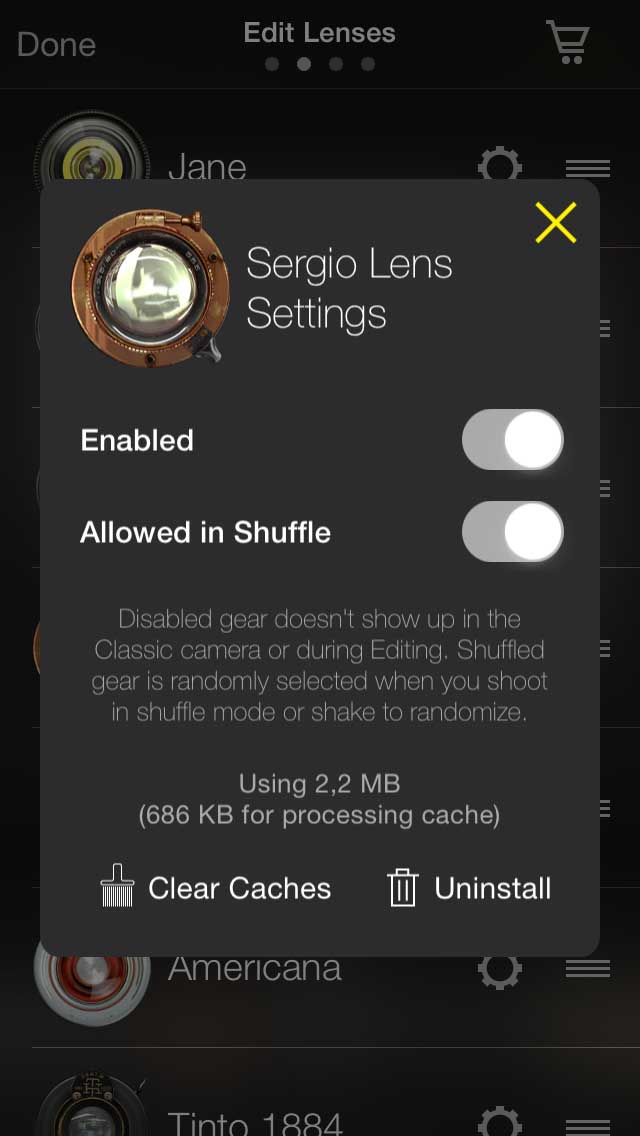
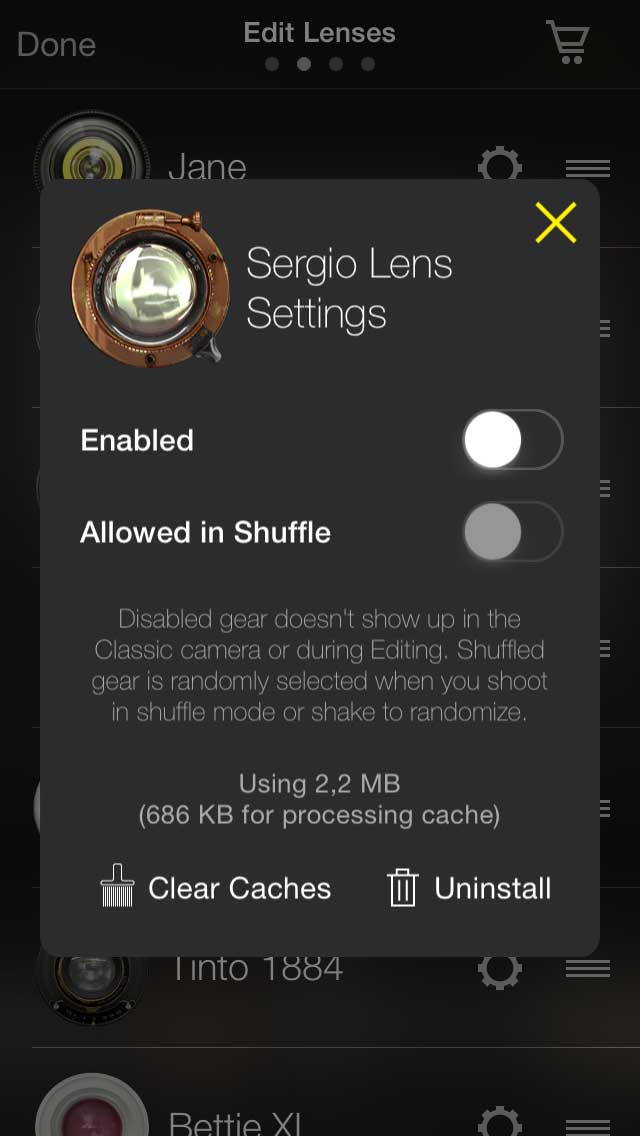
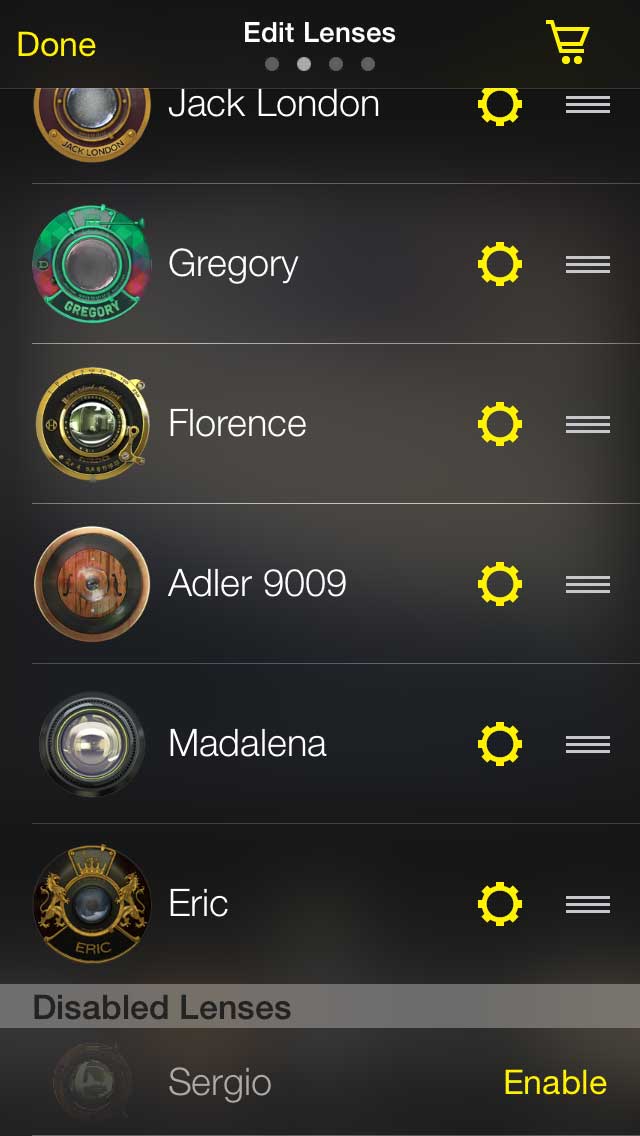
Do not worry, this does not delete the lens, it is just turned off. Results of this action: Sergio will no longer appear as a lens in Hipstamatic and will be omitted from the "Shake to Randomize" or from the "Shuffle Mode". Note that you can always reactivate Sergio by clicking the "Enable", which will add Sergio back to the active list of lenses, but it will appear at the bottom of the list.
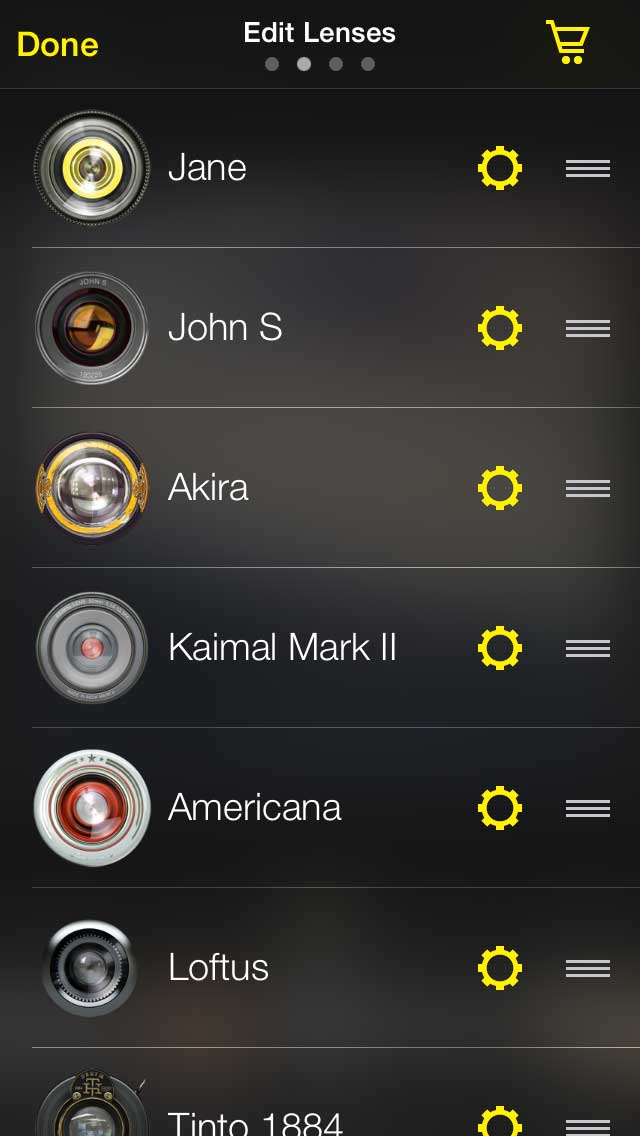
The three small horizontal bars allow you to move elements up or down the list. The element at the top is the same as the one you can find to the left of the front screen in Classic Mode. And so on… It is also the same order in the Filter Studio! In short, by ordering all your elements here, you will be ordering them in all windows where these elements appear.
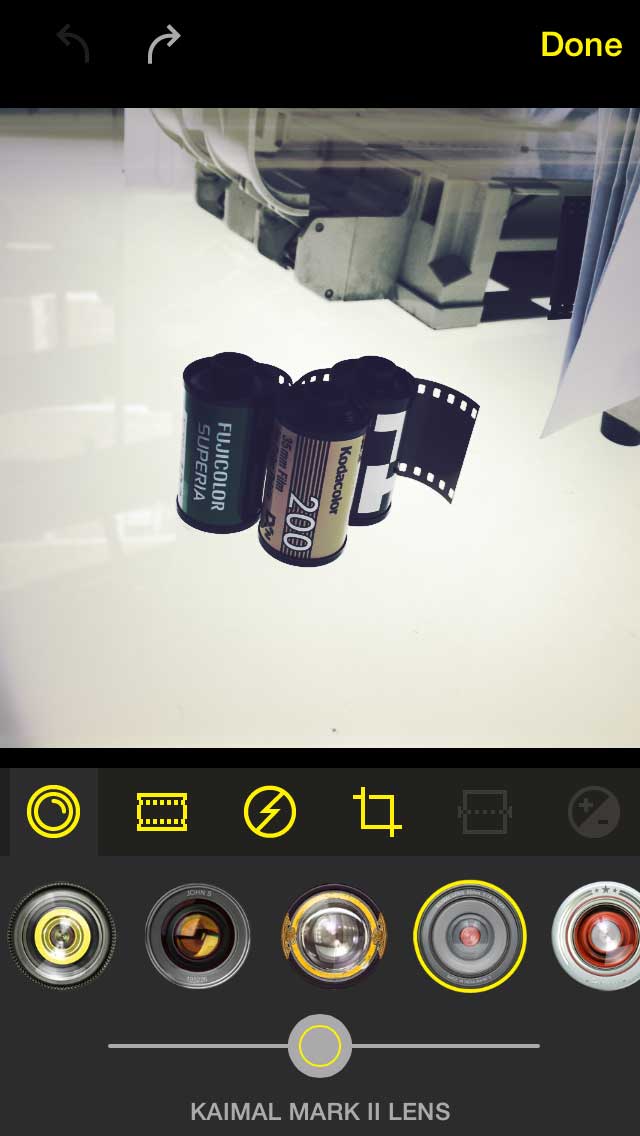
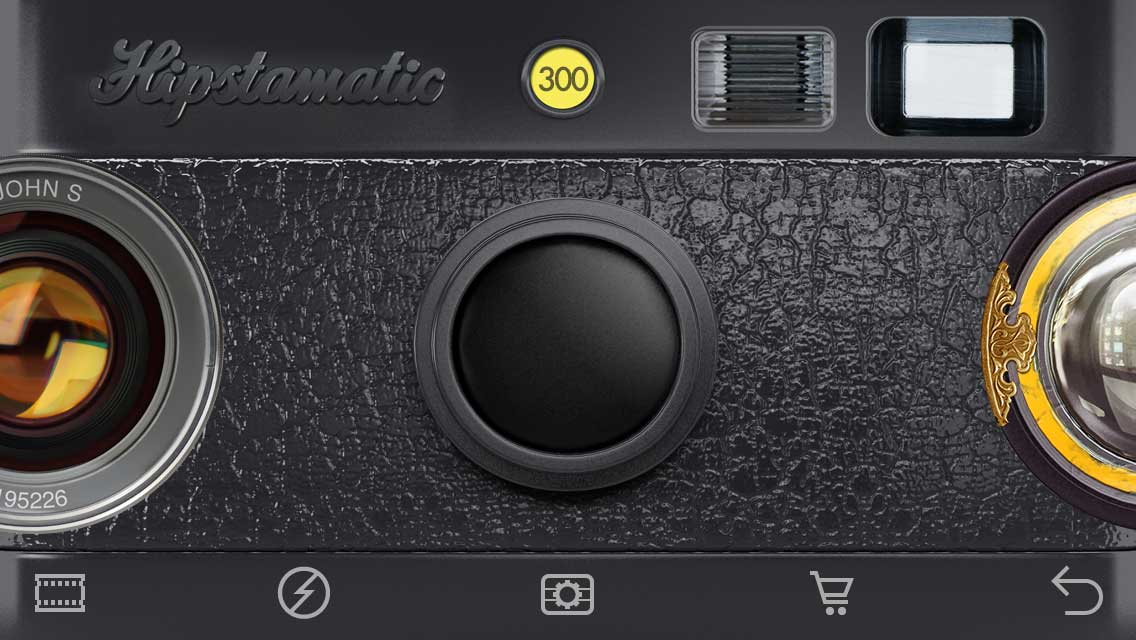
In my example, for instance, I have Jane, followed by John S, followed by Akira, followed by Kaimal Mark II. If I go to Classic Mode, I will find the exact same order, starting from the left: Jane, John S, Akira, Kaimal Mark II, etc…
And, in the Editing Suite, you will find the same thing.
The "Allowed to Shuffle" function relates to two options: "Shake" generates a totally random choice. After deactivating poor Sergio I'm now going to take care of Akira. I have nothing against Akira, but I needed a victim for this tutorial… ;-) And by deselecting "Allowed to Shuffle", I keep Akira available to take pictures but it will be absent from the "Shake to Randomize" or from the "Shuffle Mode".
After having put some order in your lenses, you can now go ahead and do exactly the same for your flashes and your films… Good luck… ;-)
Classification methods
It is, of course, up to you how you classify your elements. There are several different classification systems, such as alphabetically (Adler 9009, Akira, Americana…). Or according to style: you can choose to group the lenses that produce a Tilt-shift, like Americana, Loftus, Tinto 1884… Or even by favorites: gather all the elements you like and use most, so that you have easy access to them. In my case that would be Florence, Adler 9009, Eric and Madalena.
As far as the films go, it’s rather useful to have all the black-and-white films grouped together.
This post is also available in: French


0 comments